Hello, lovelies!
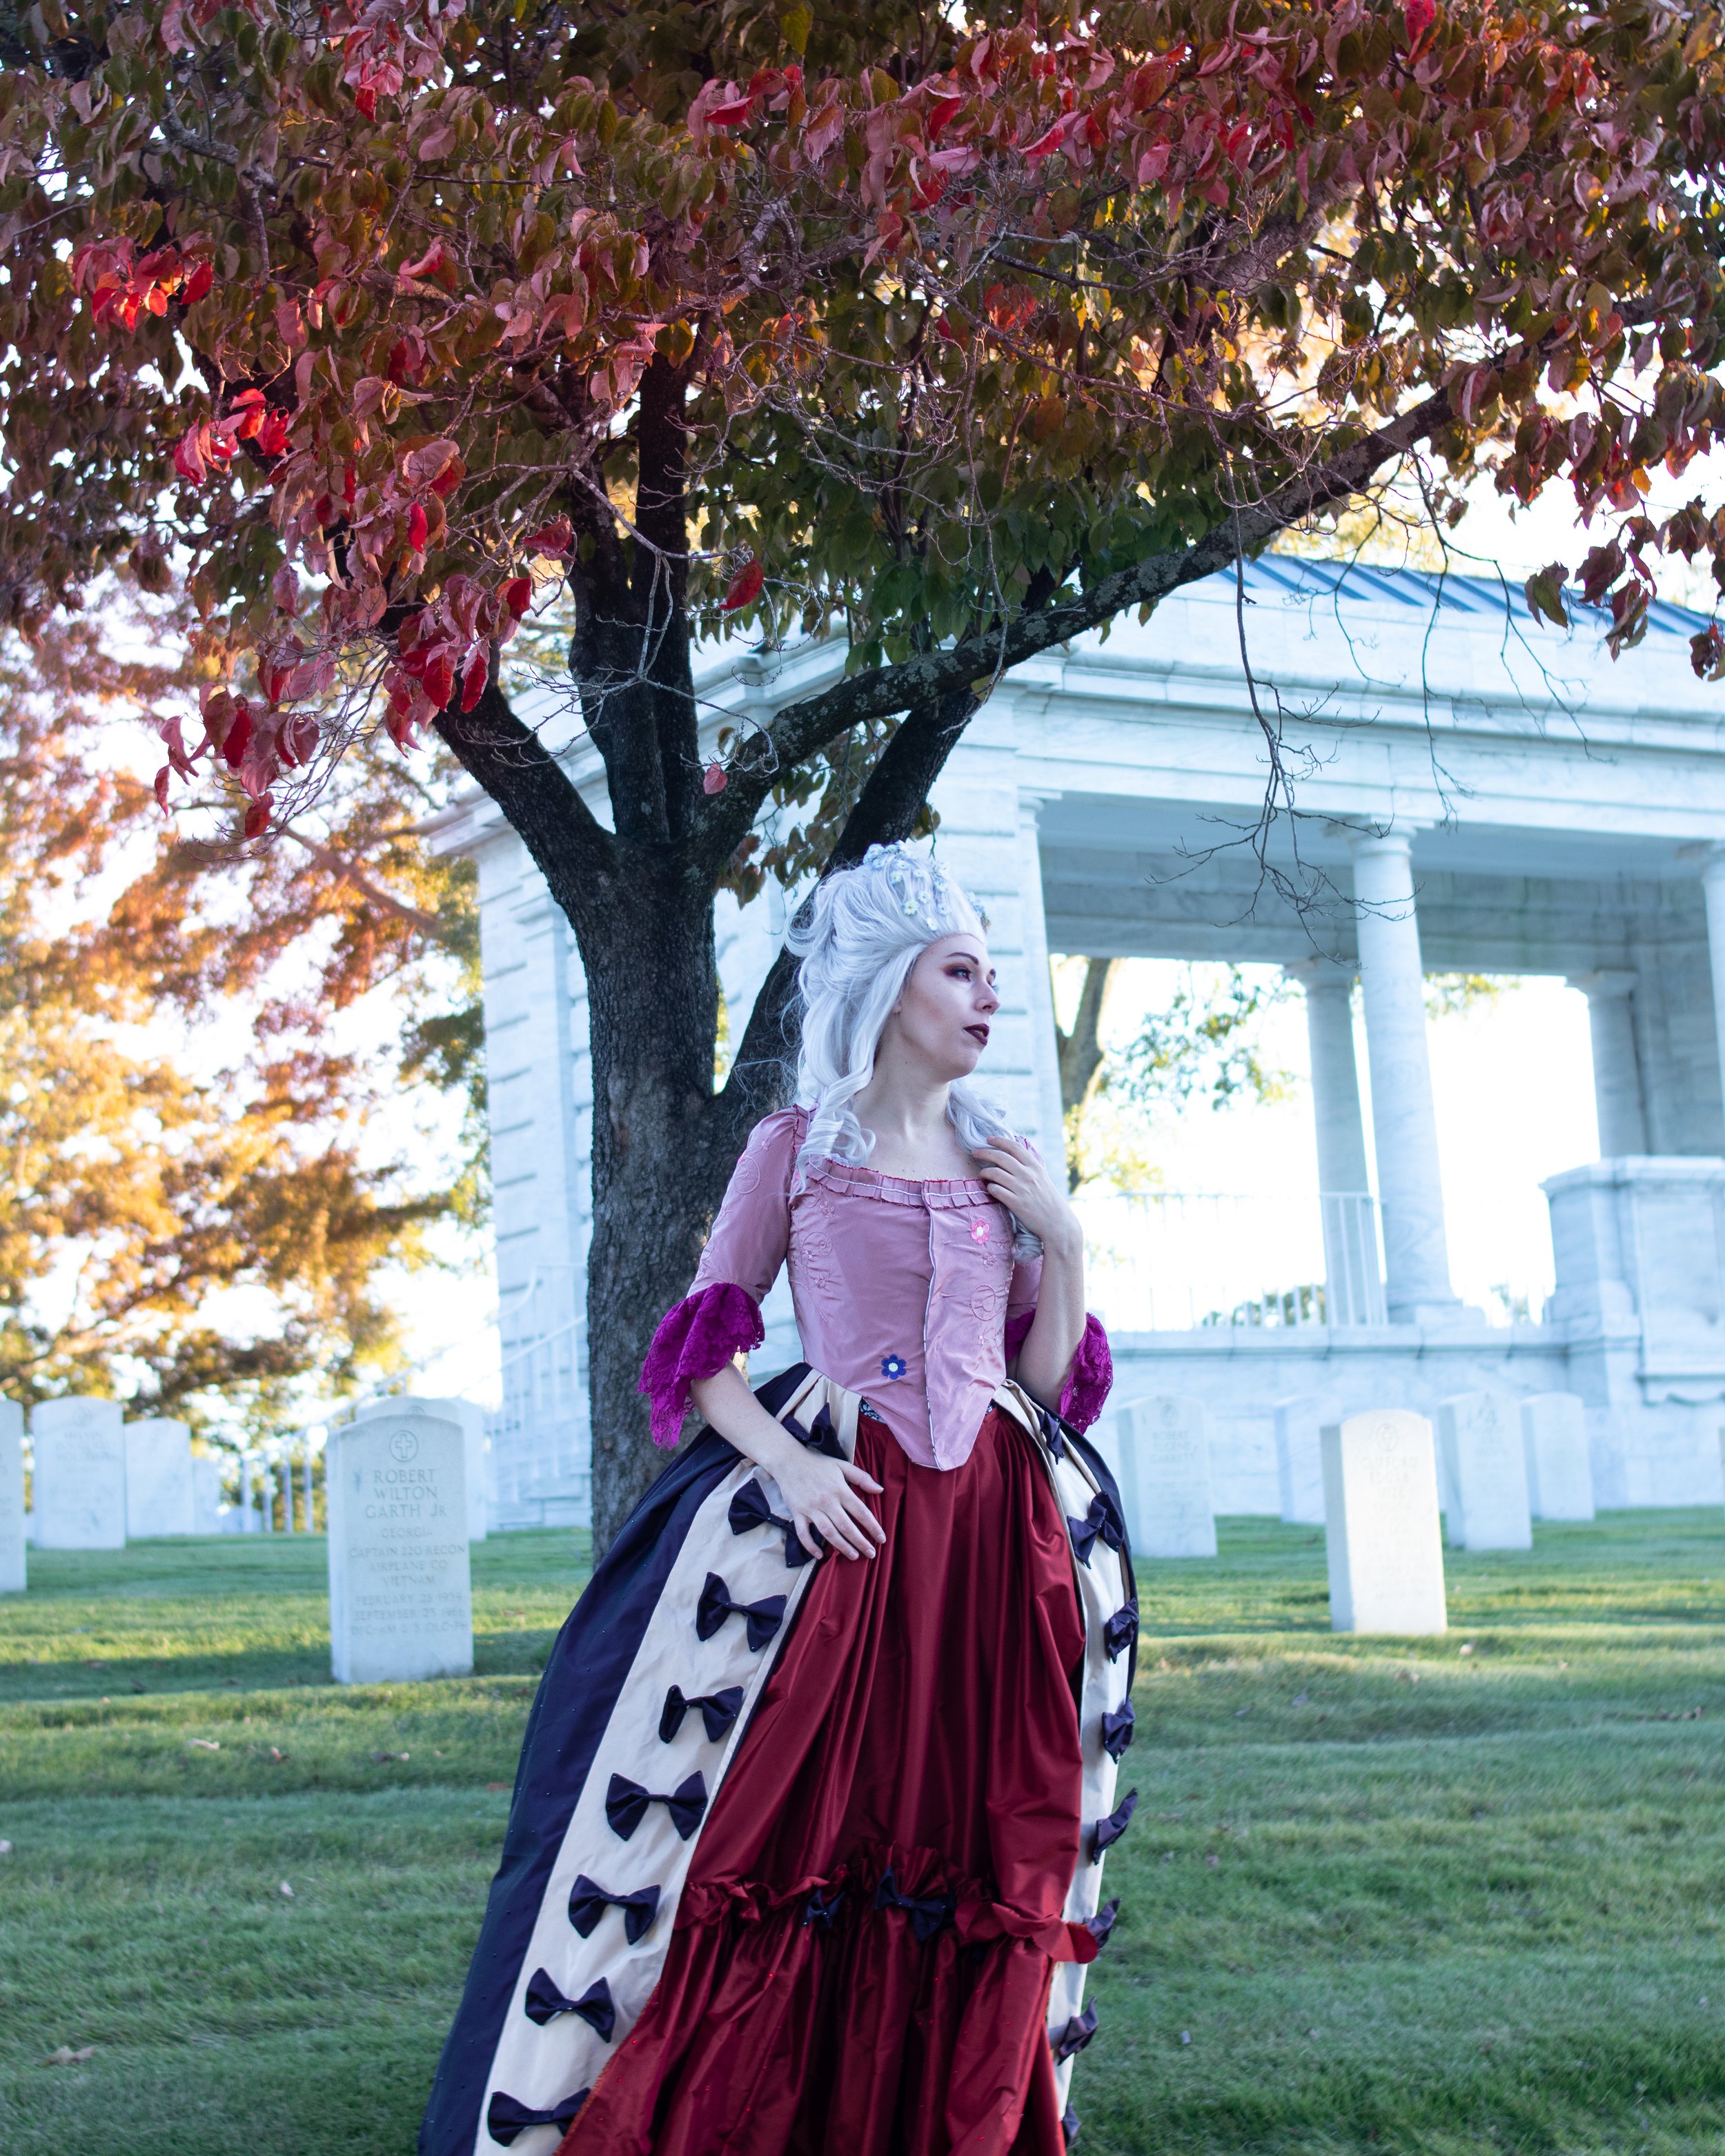
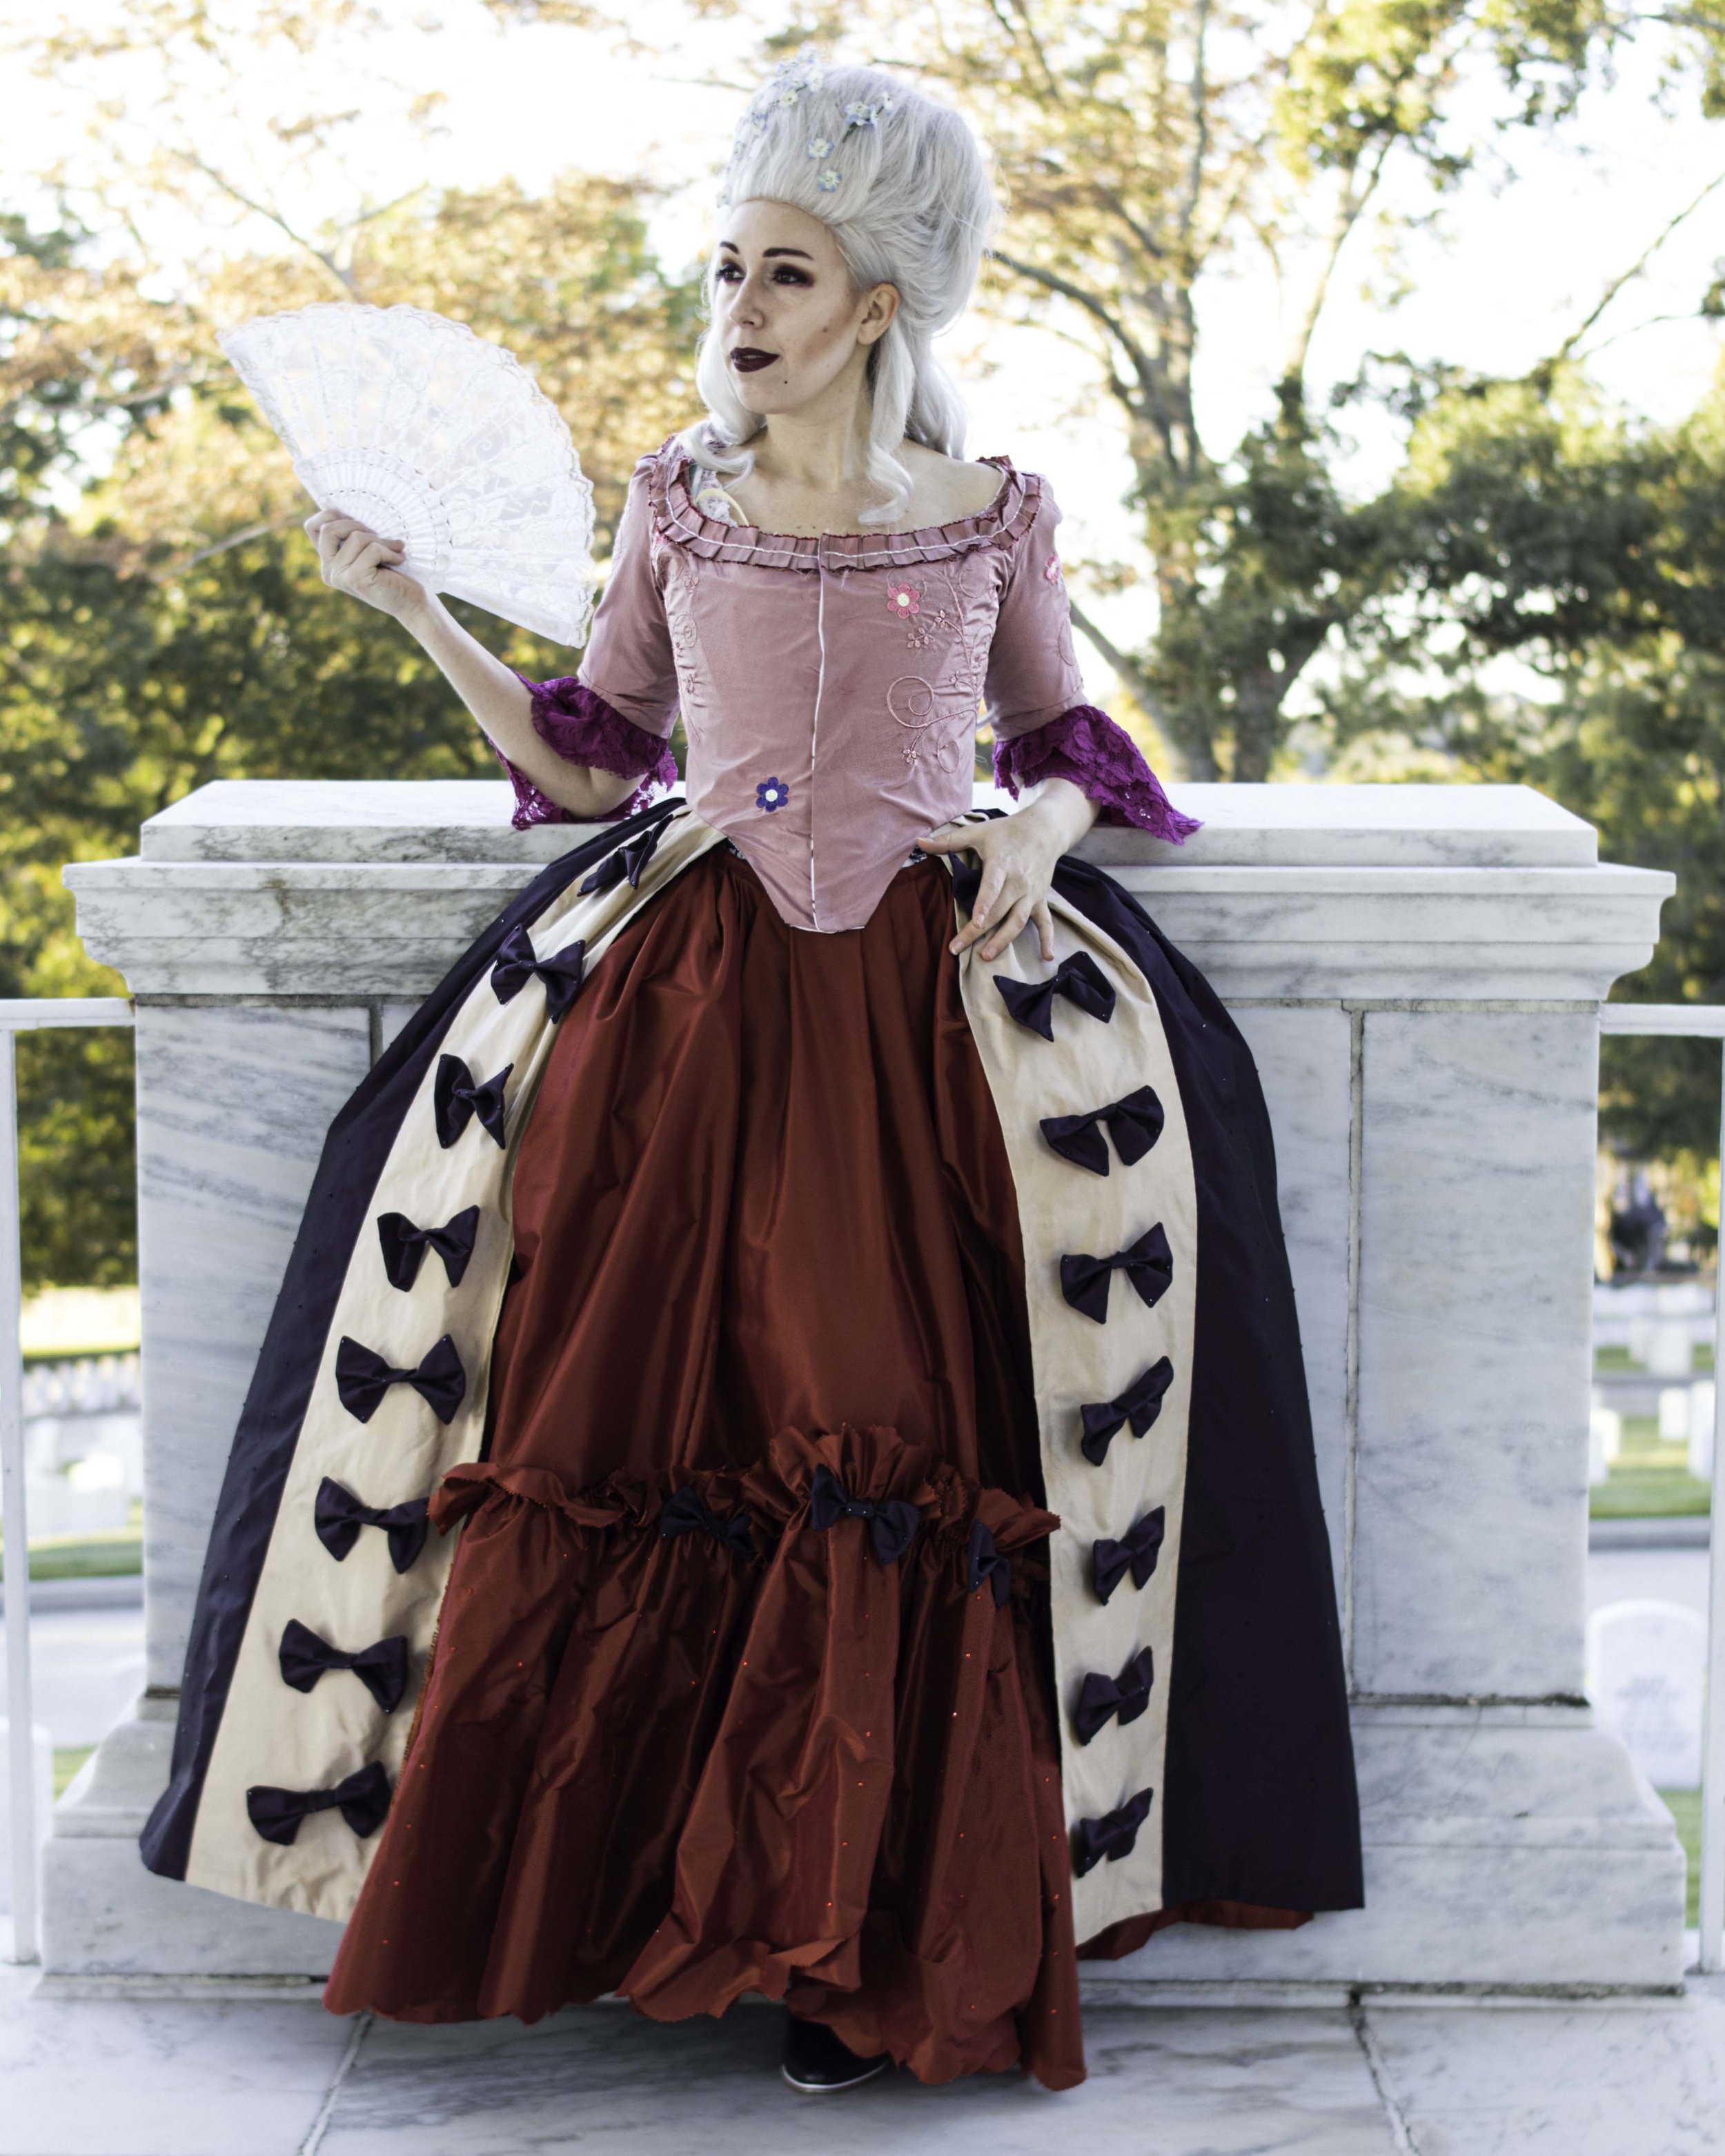
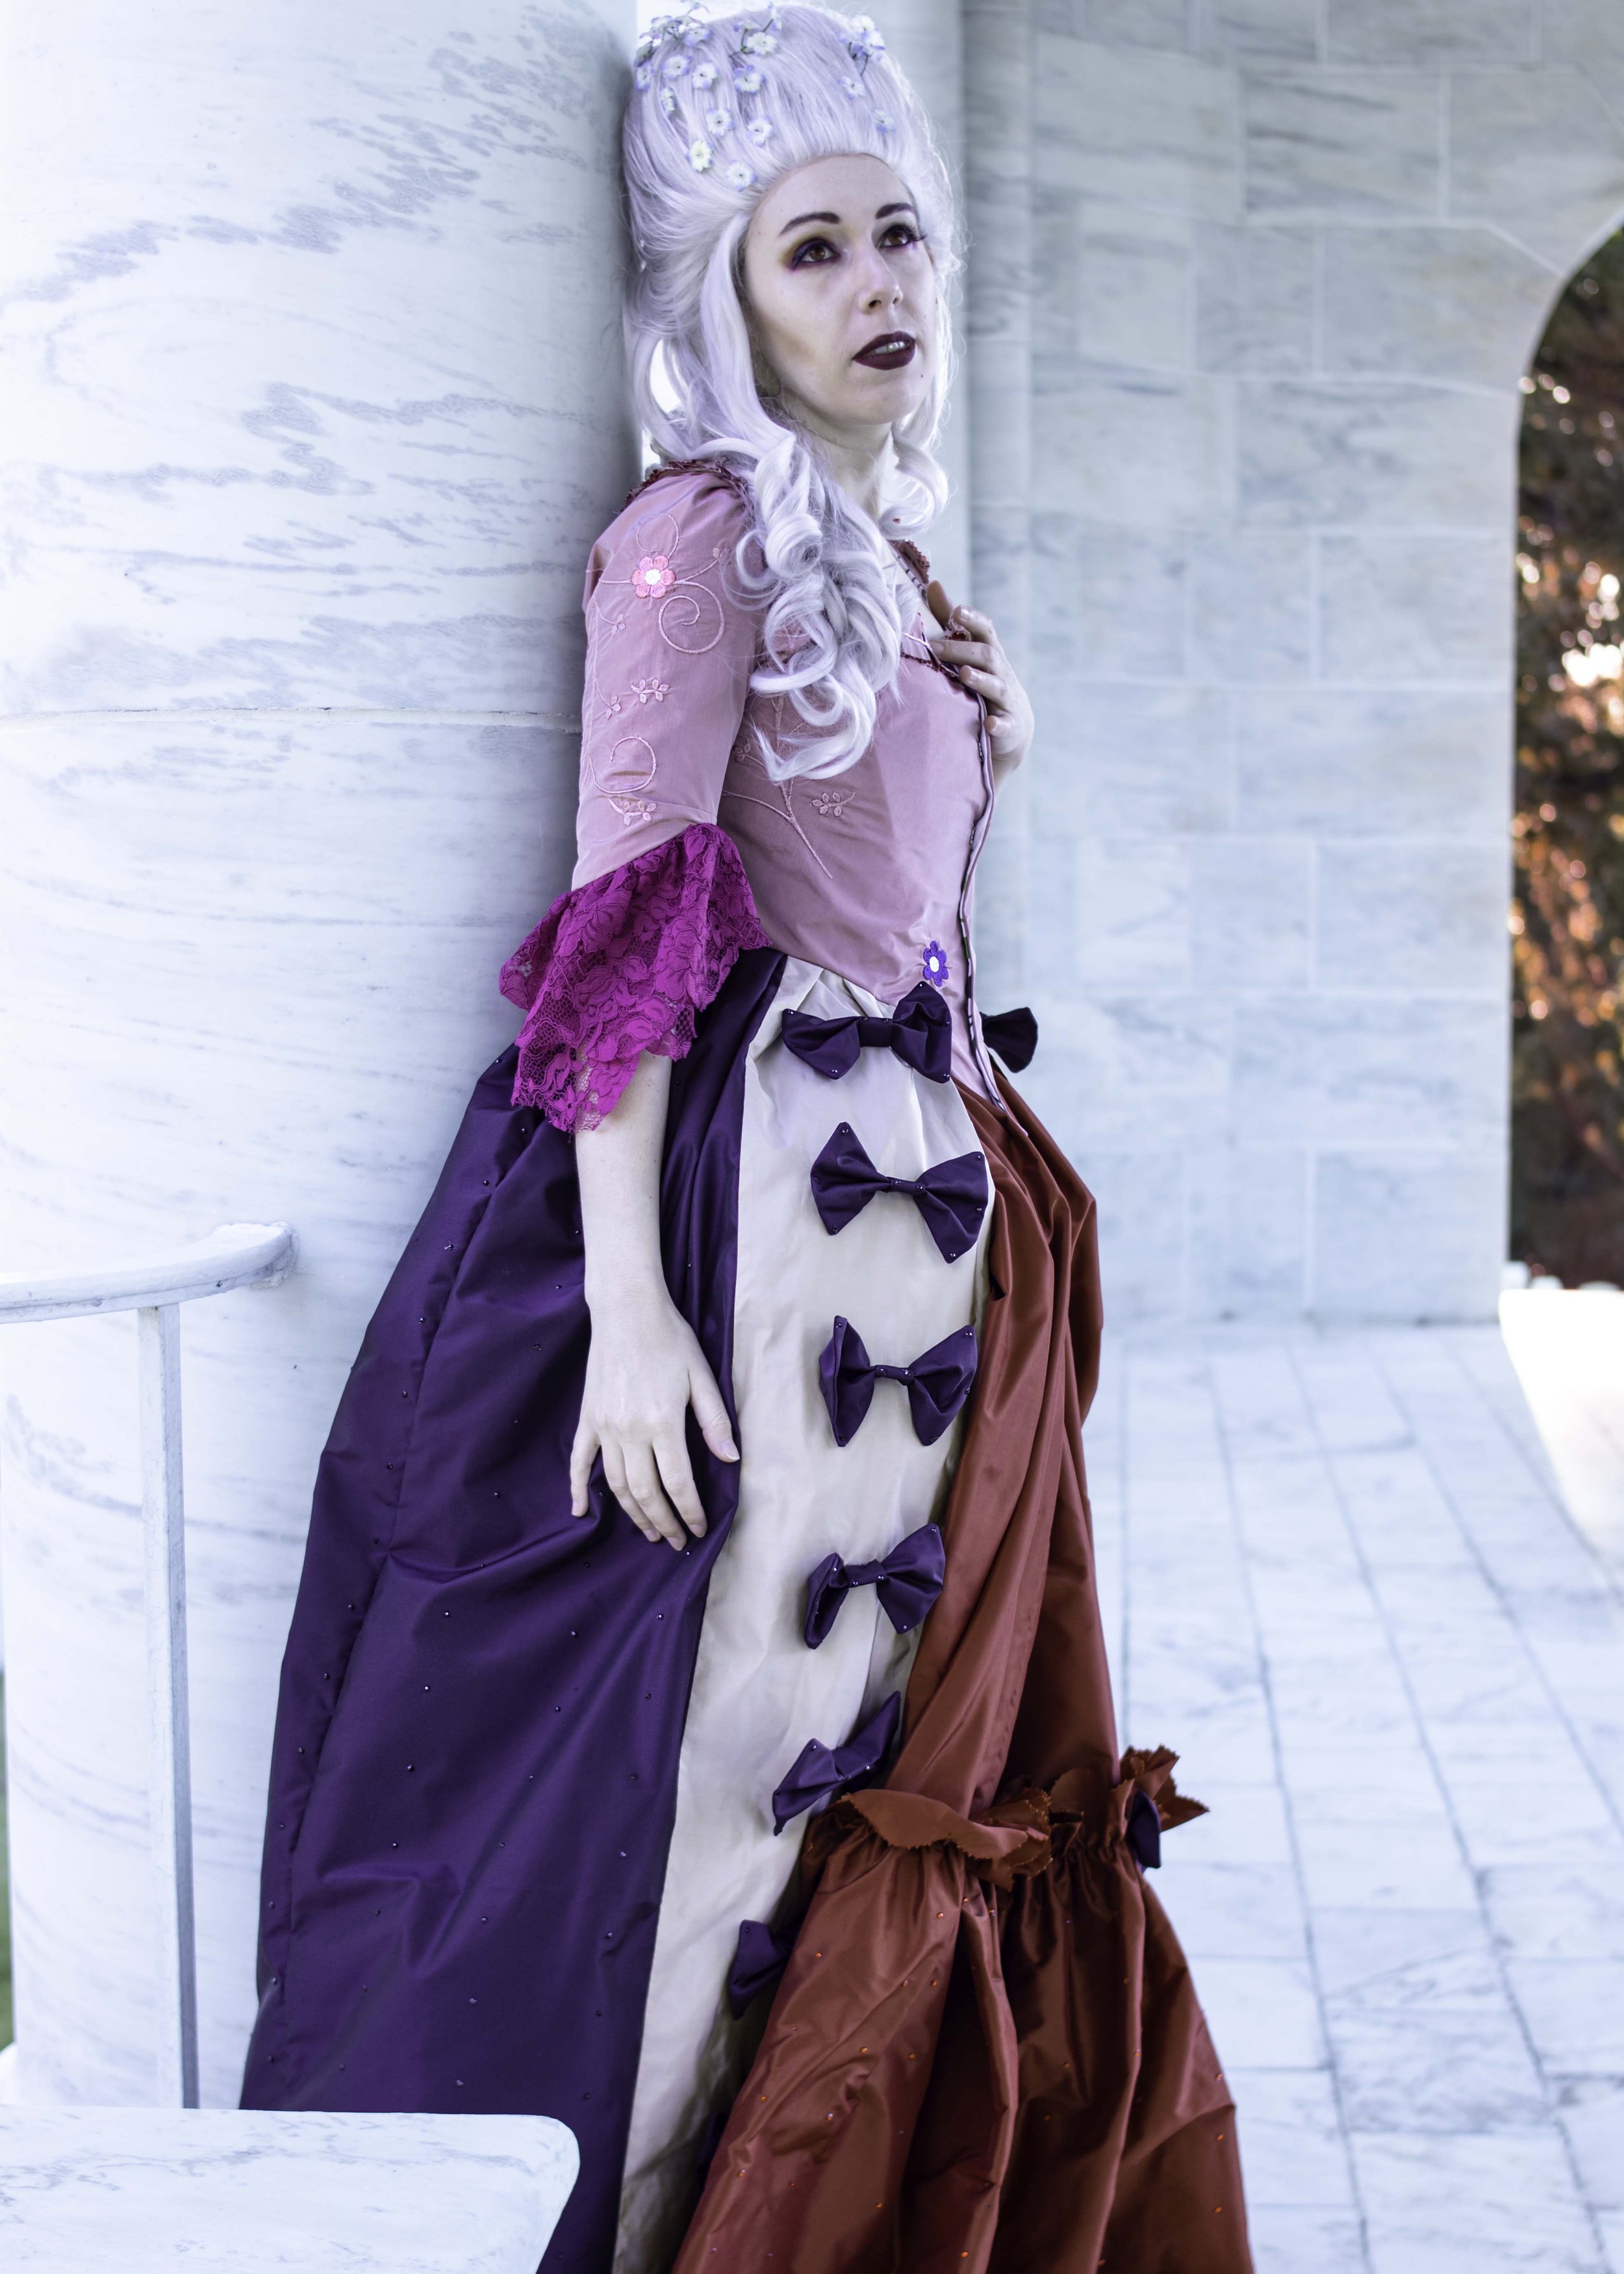
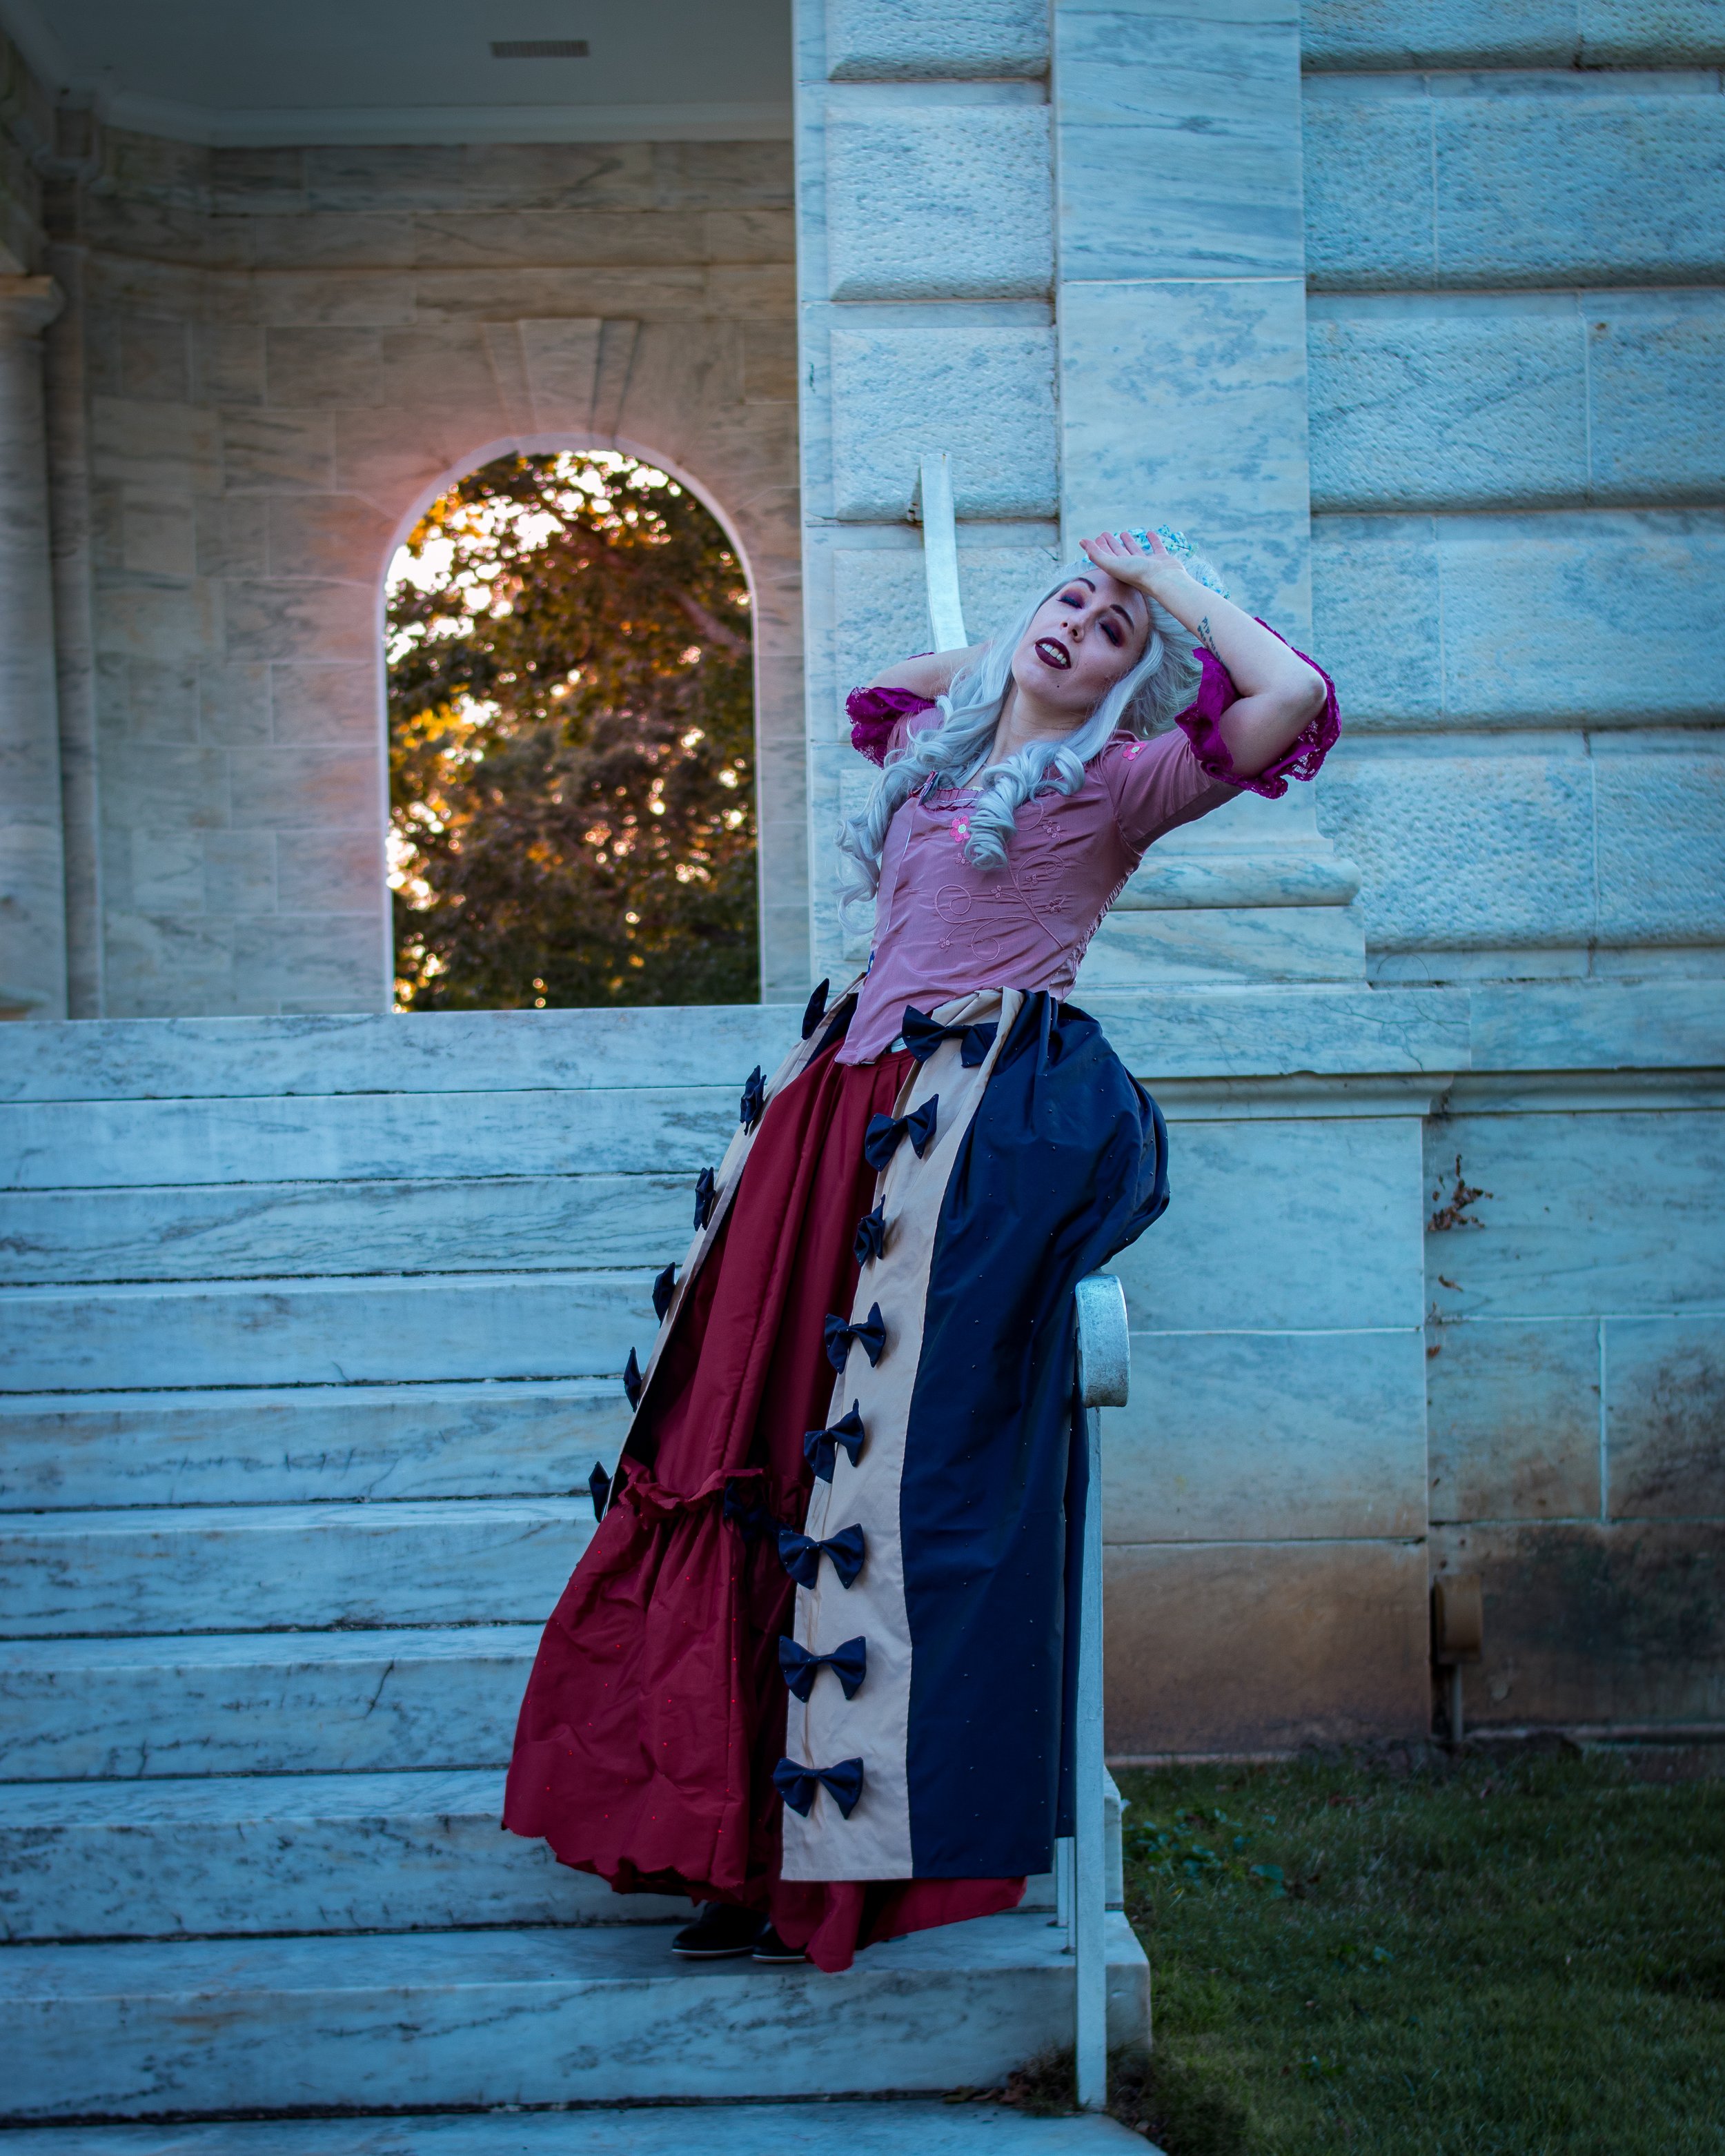
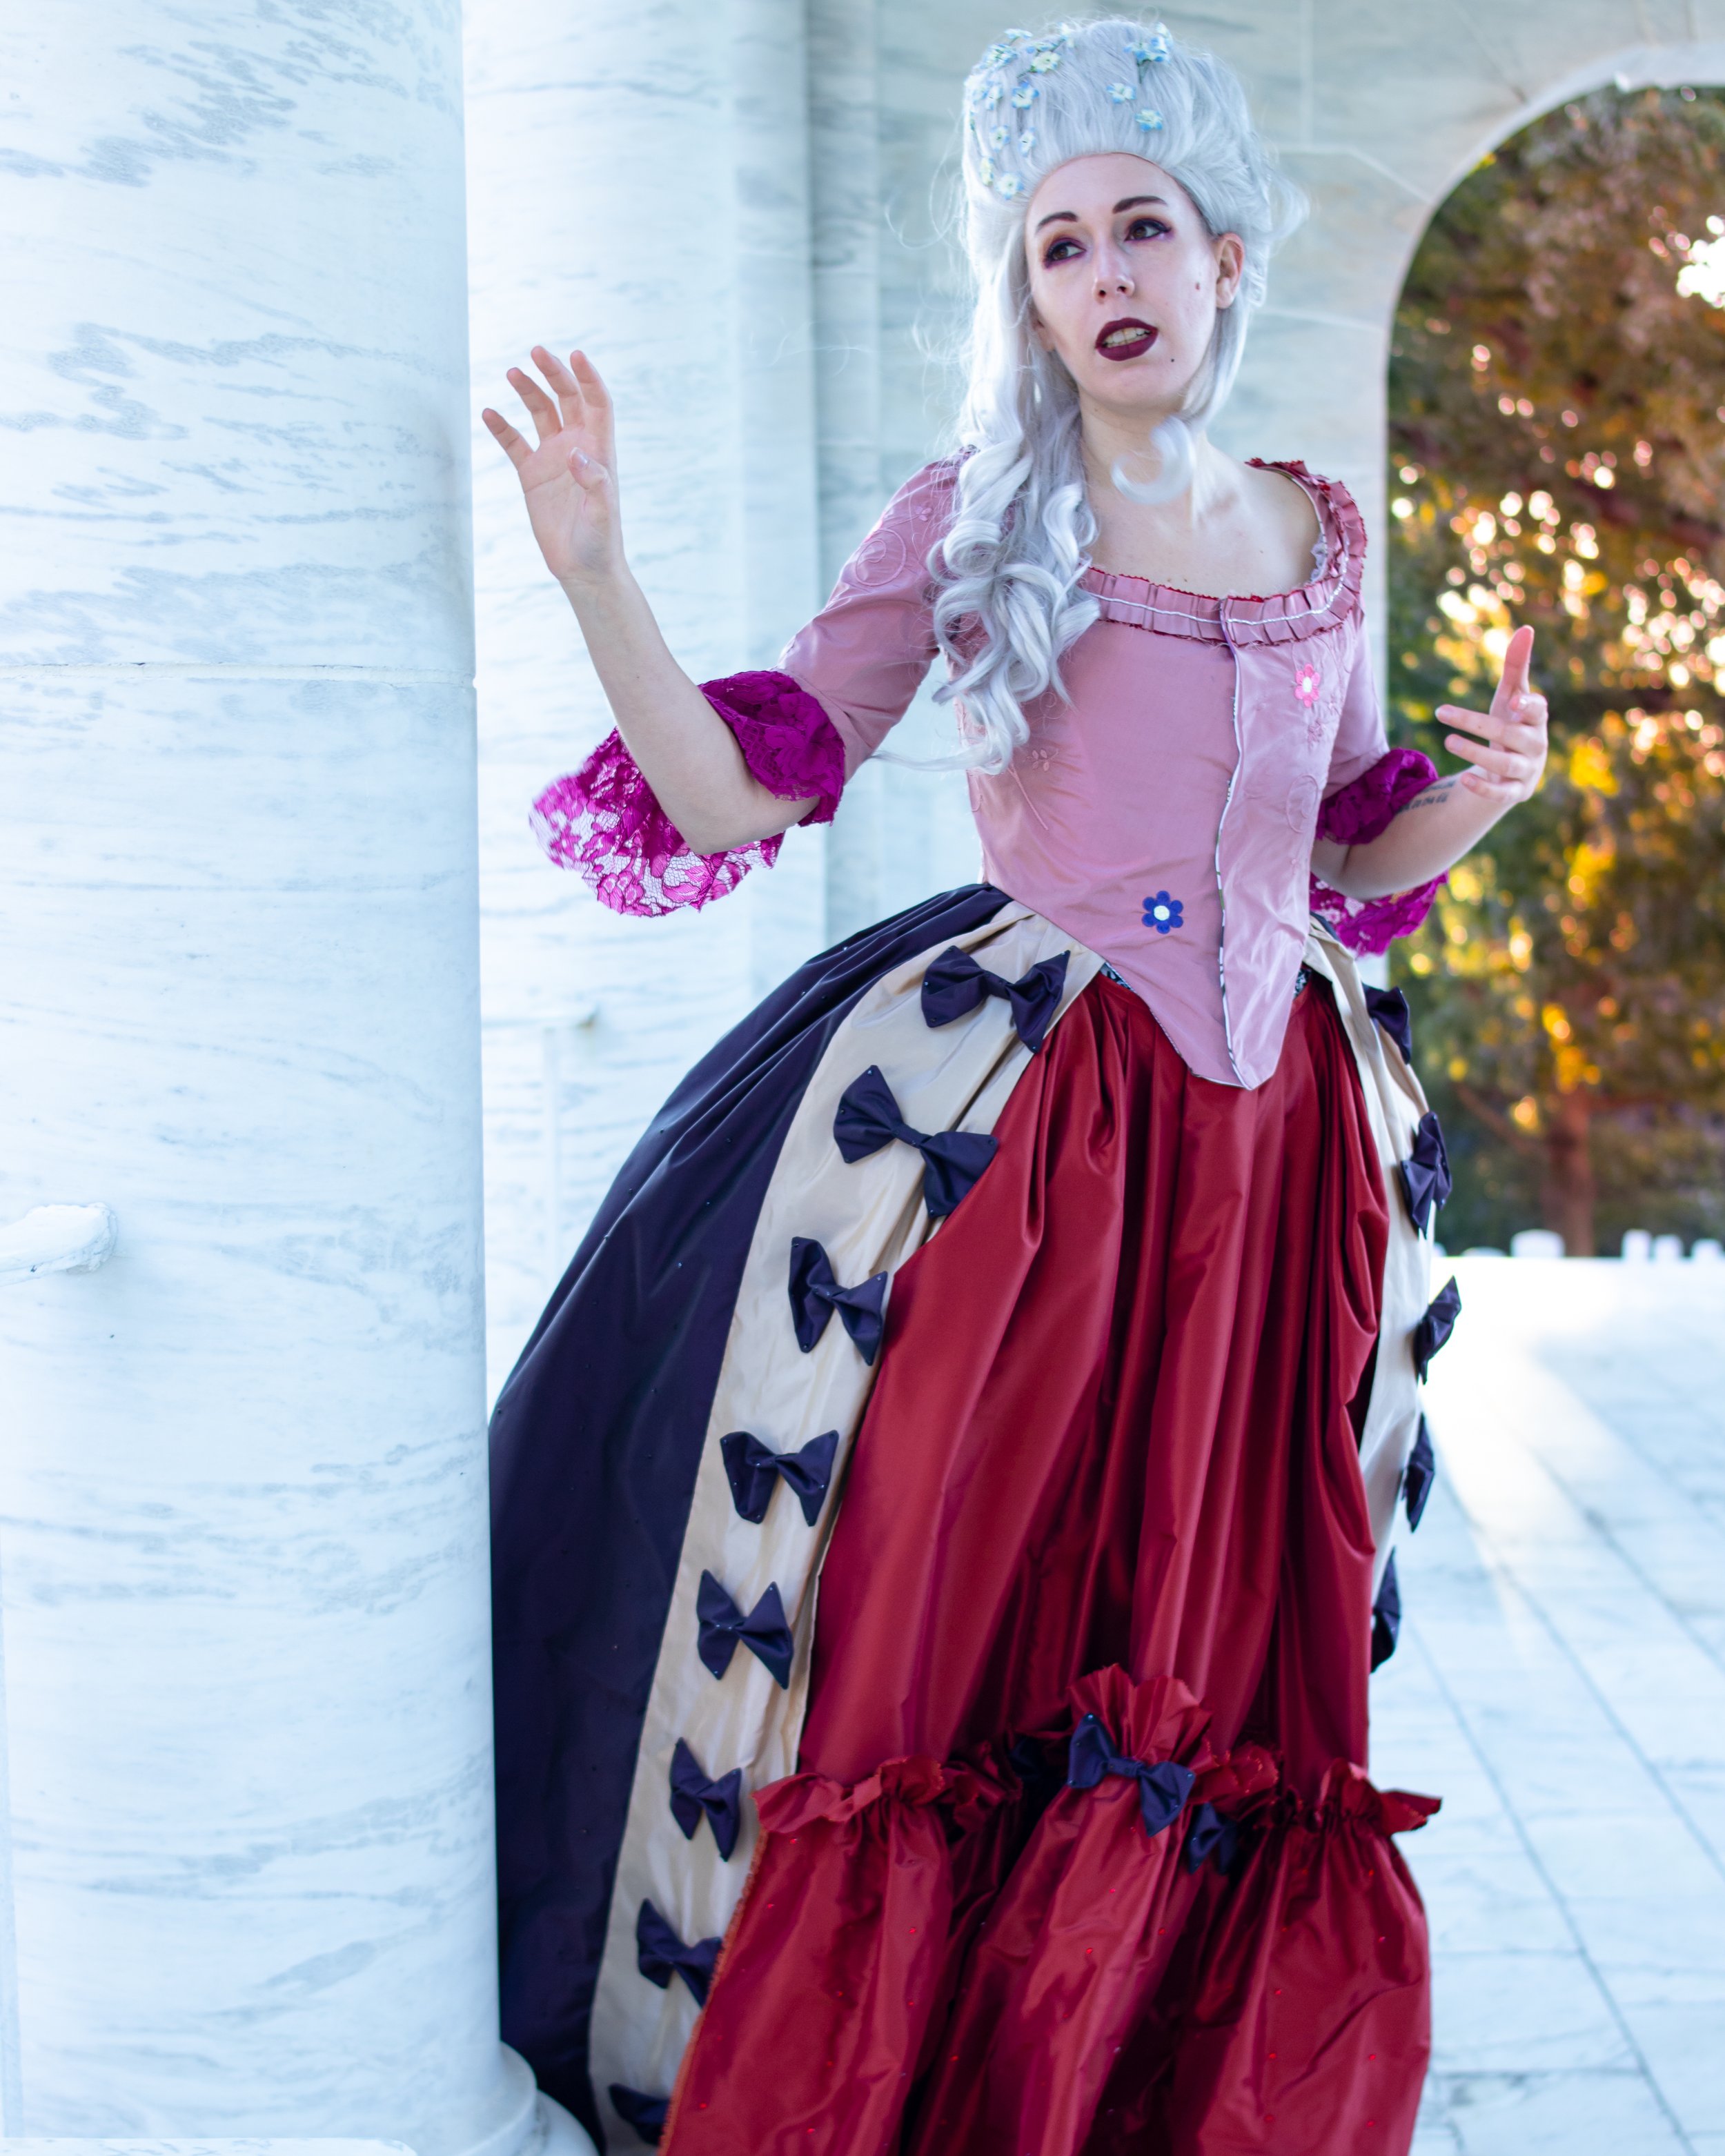
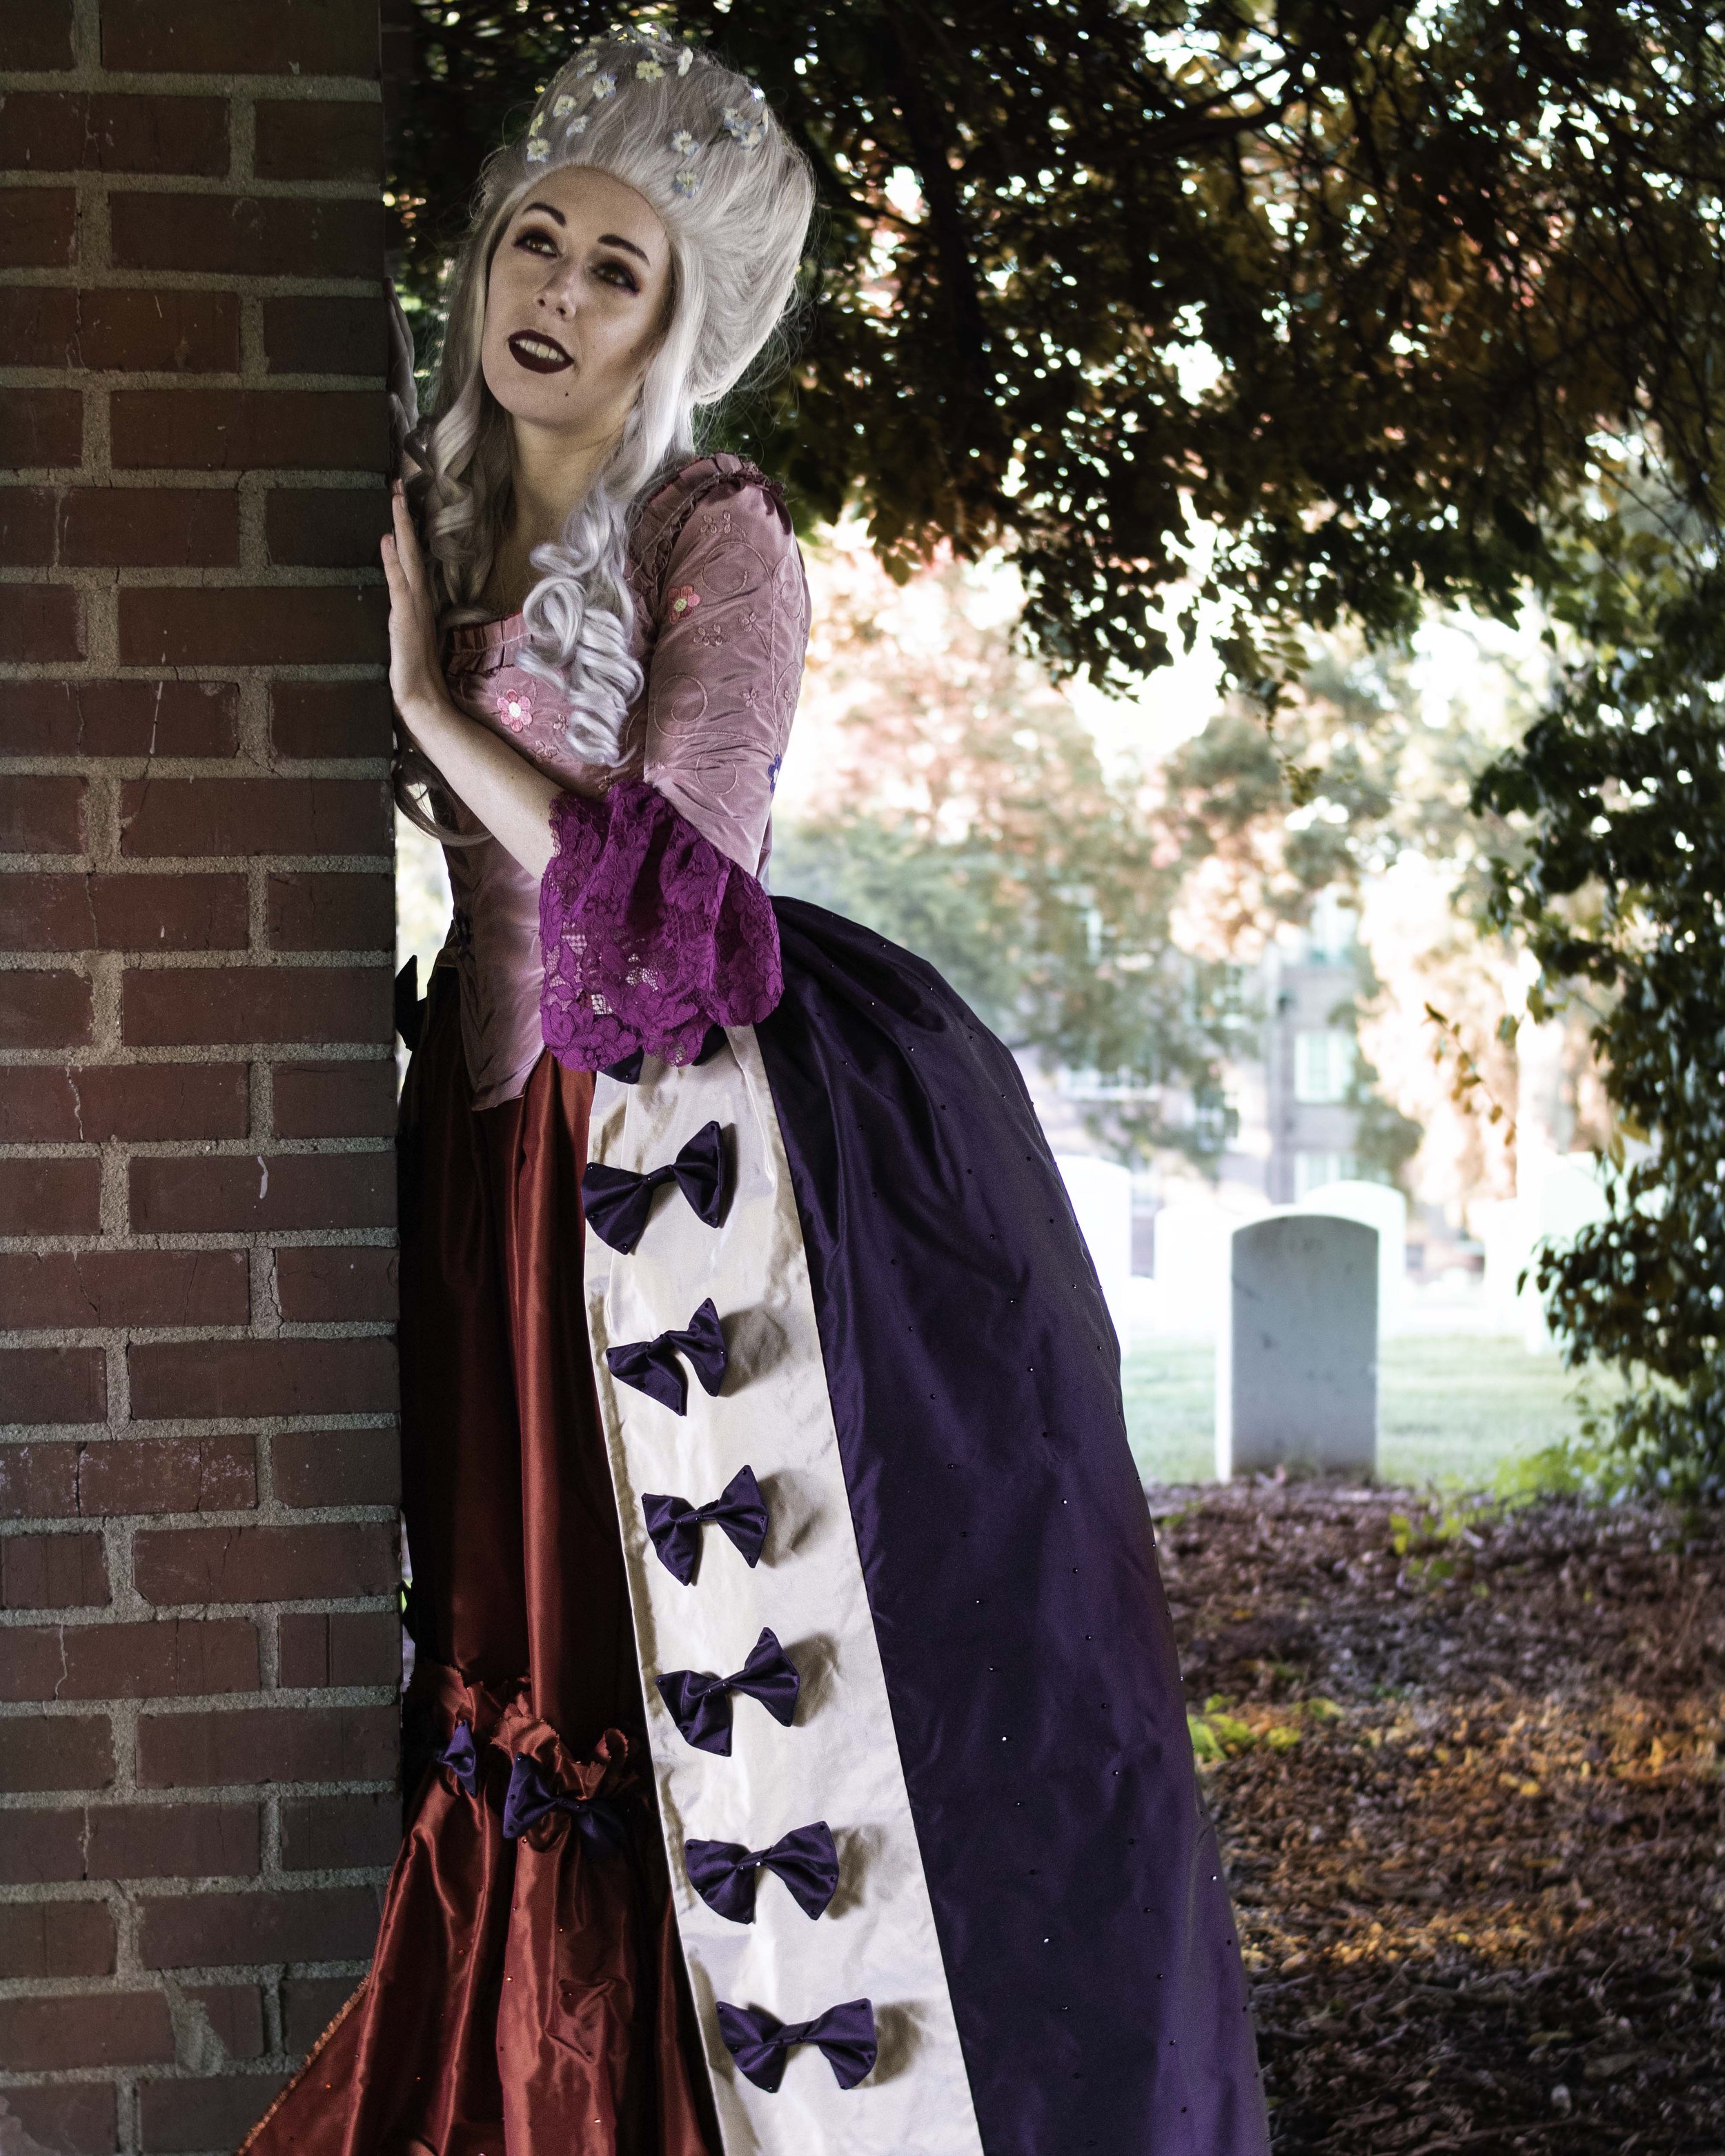
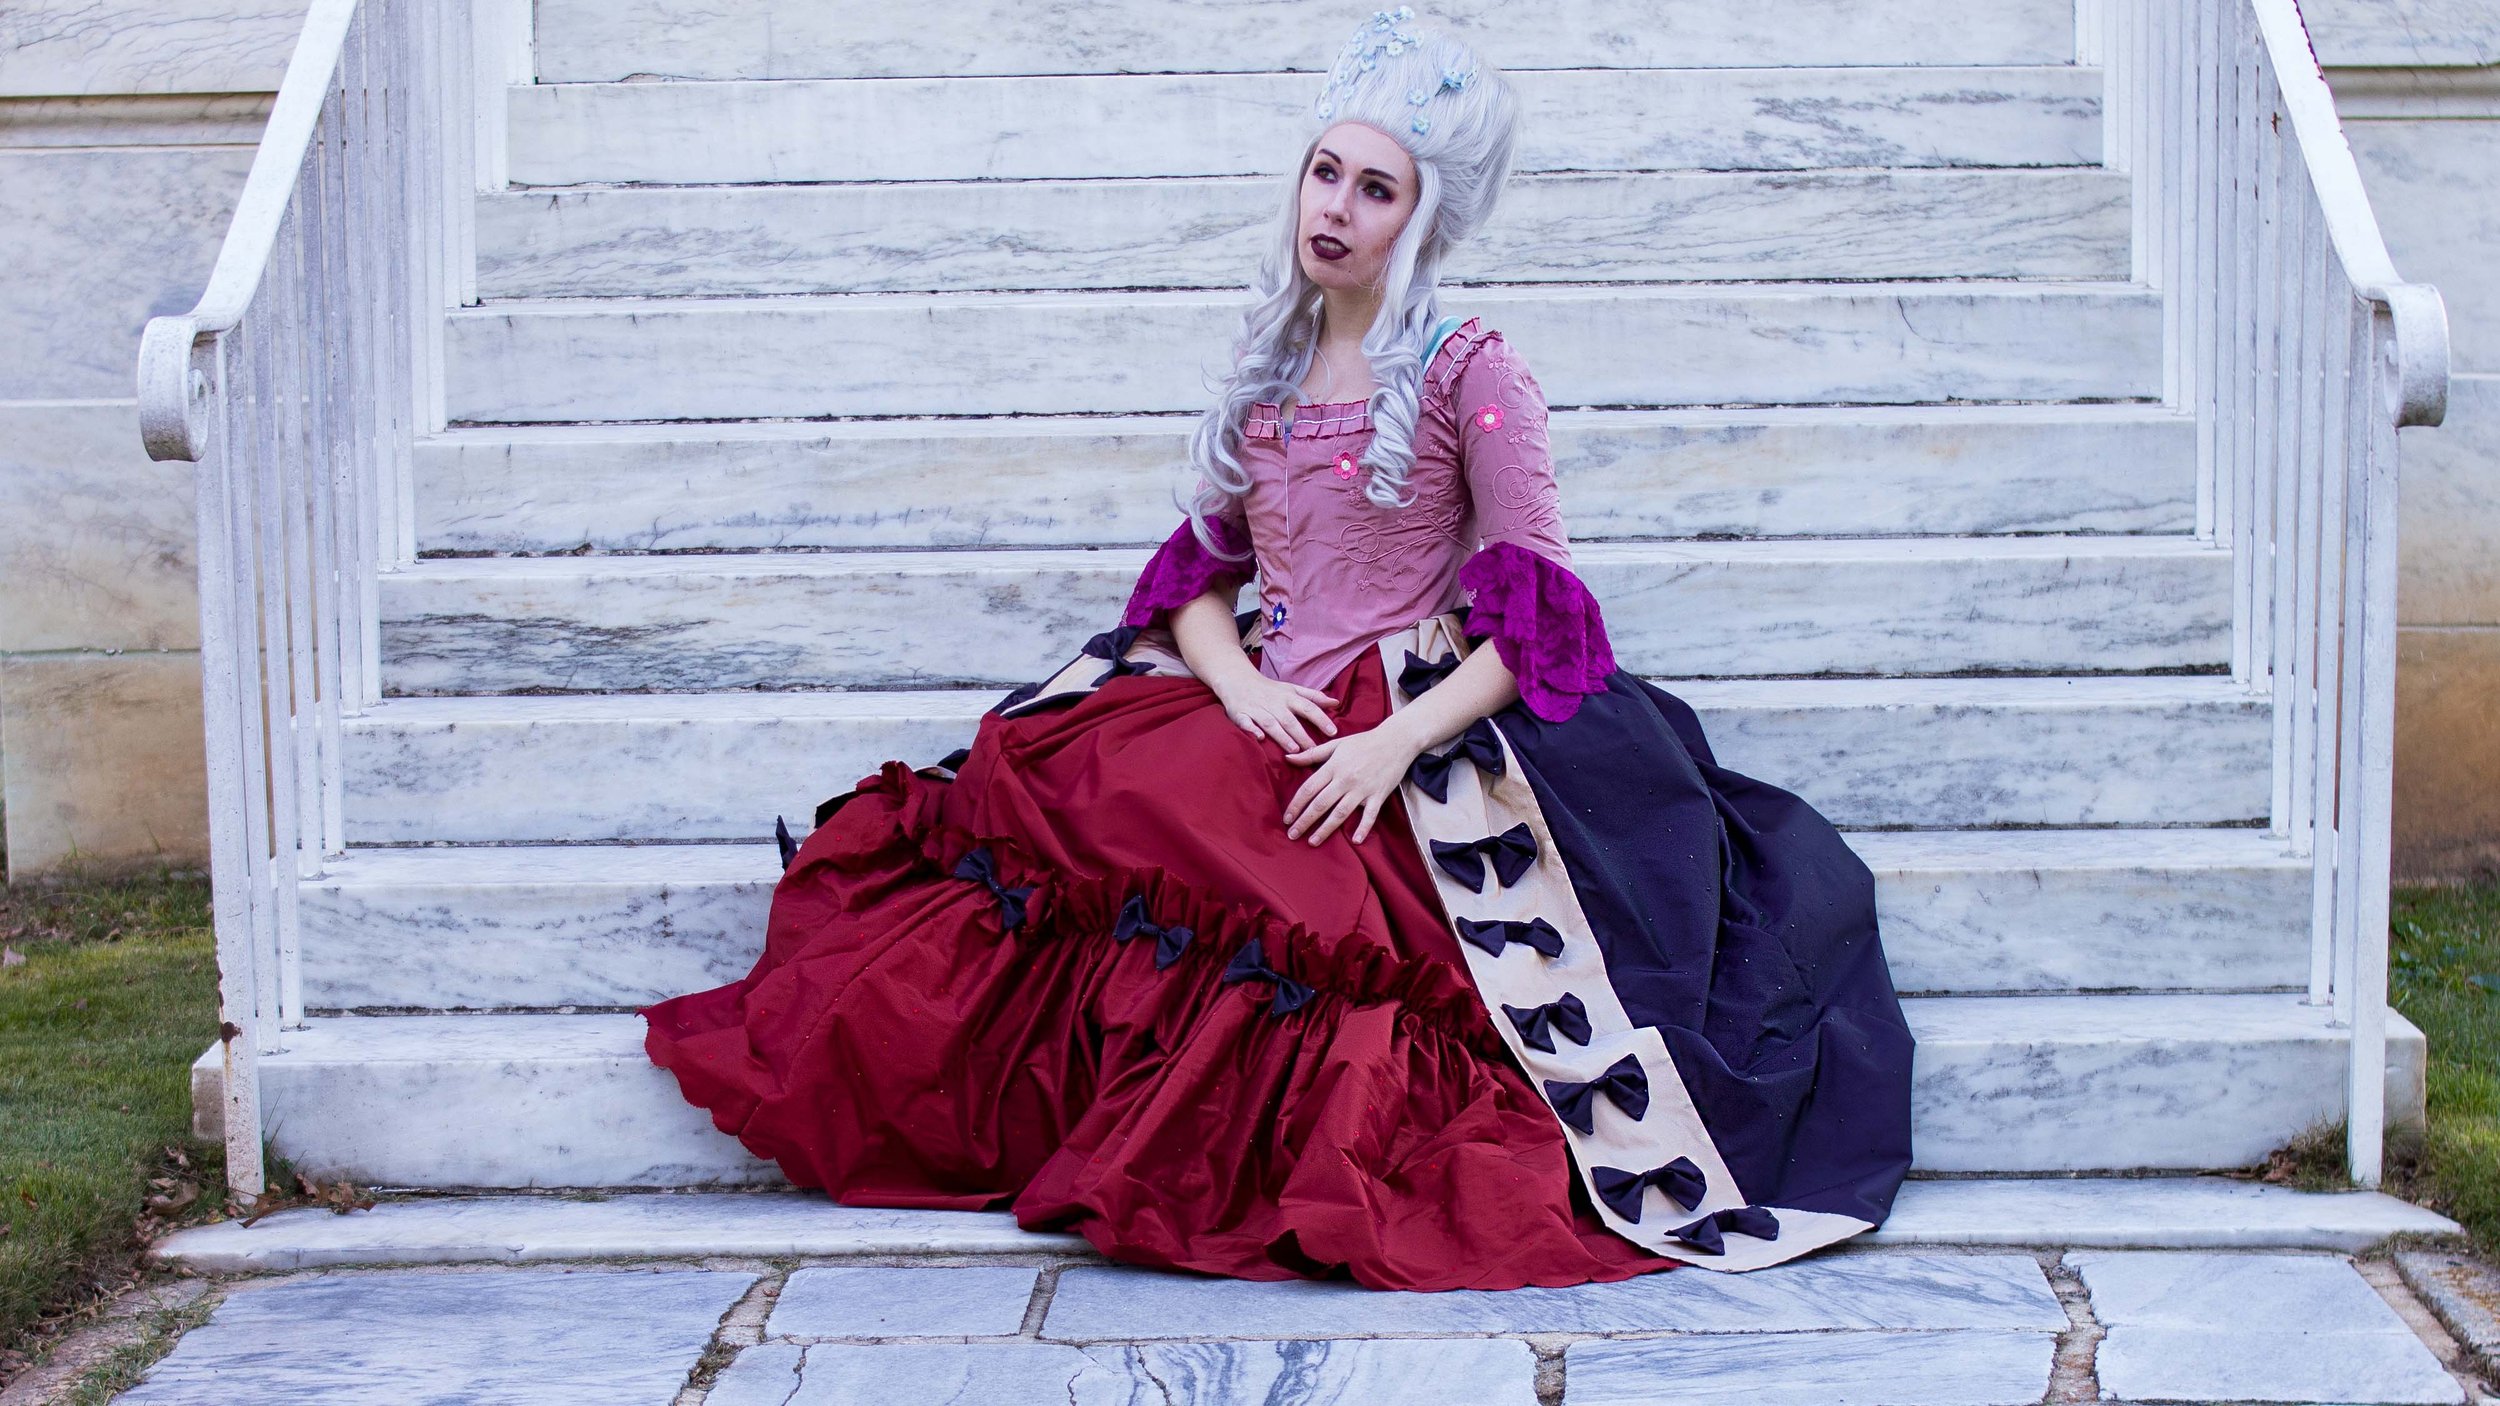
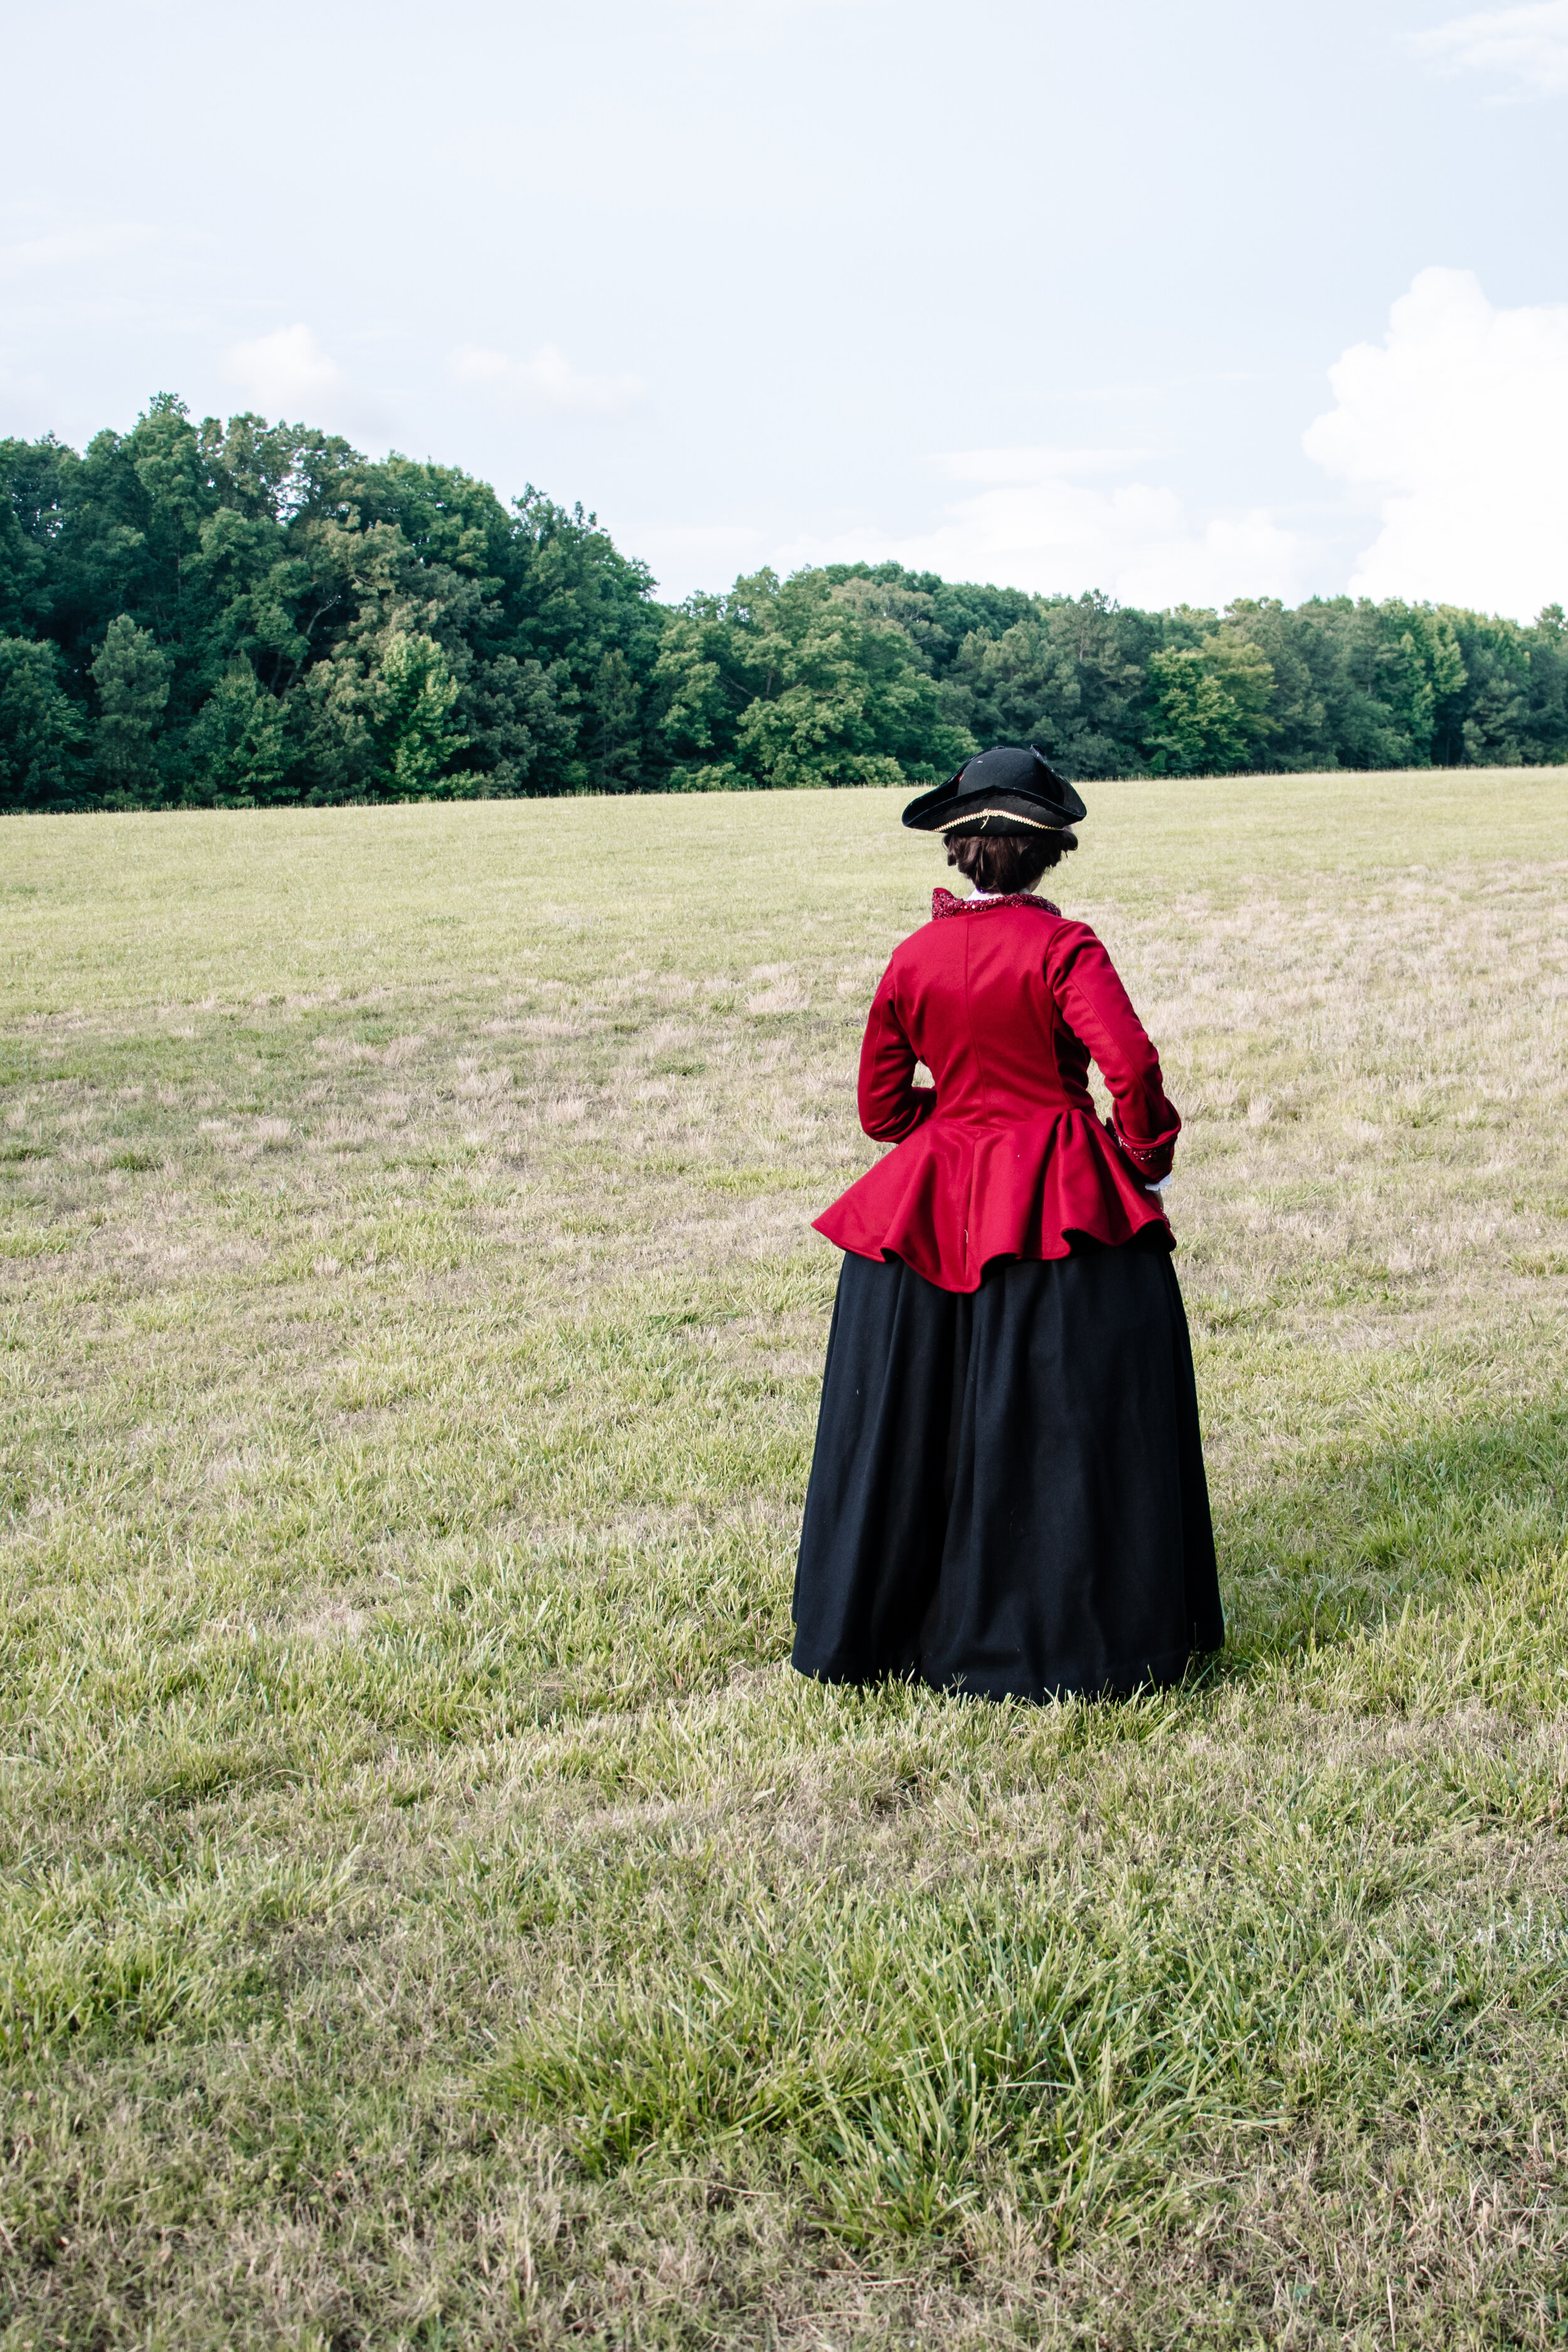
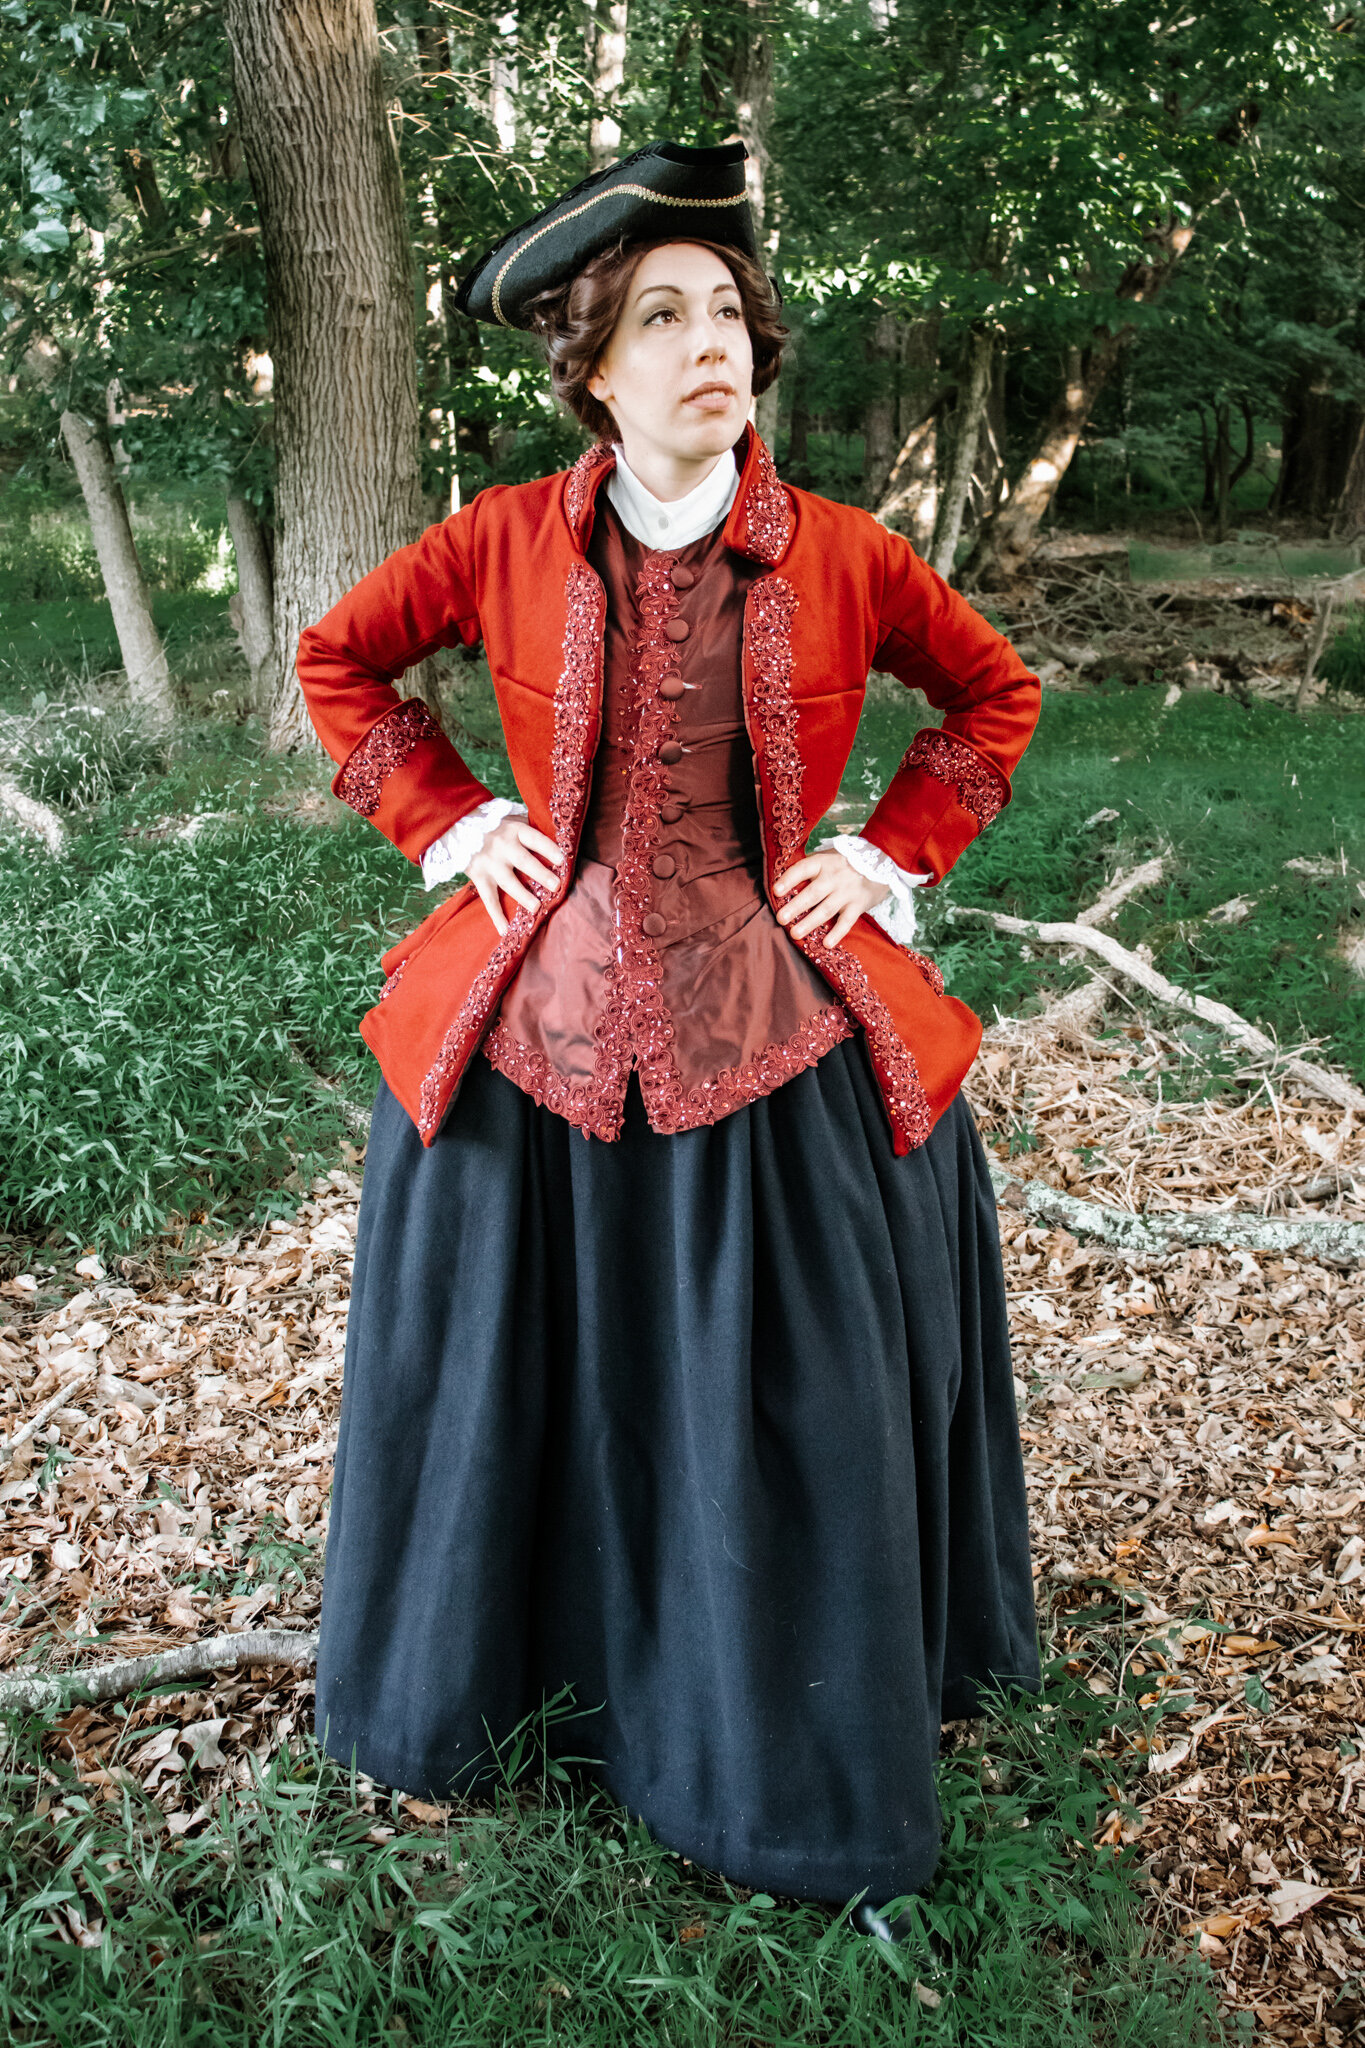
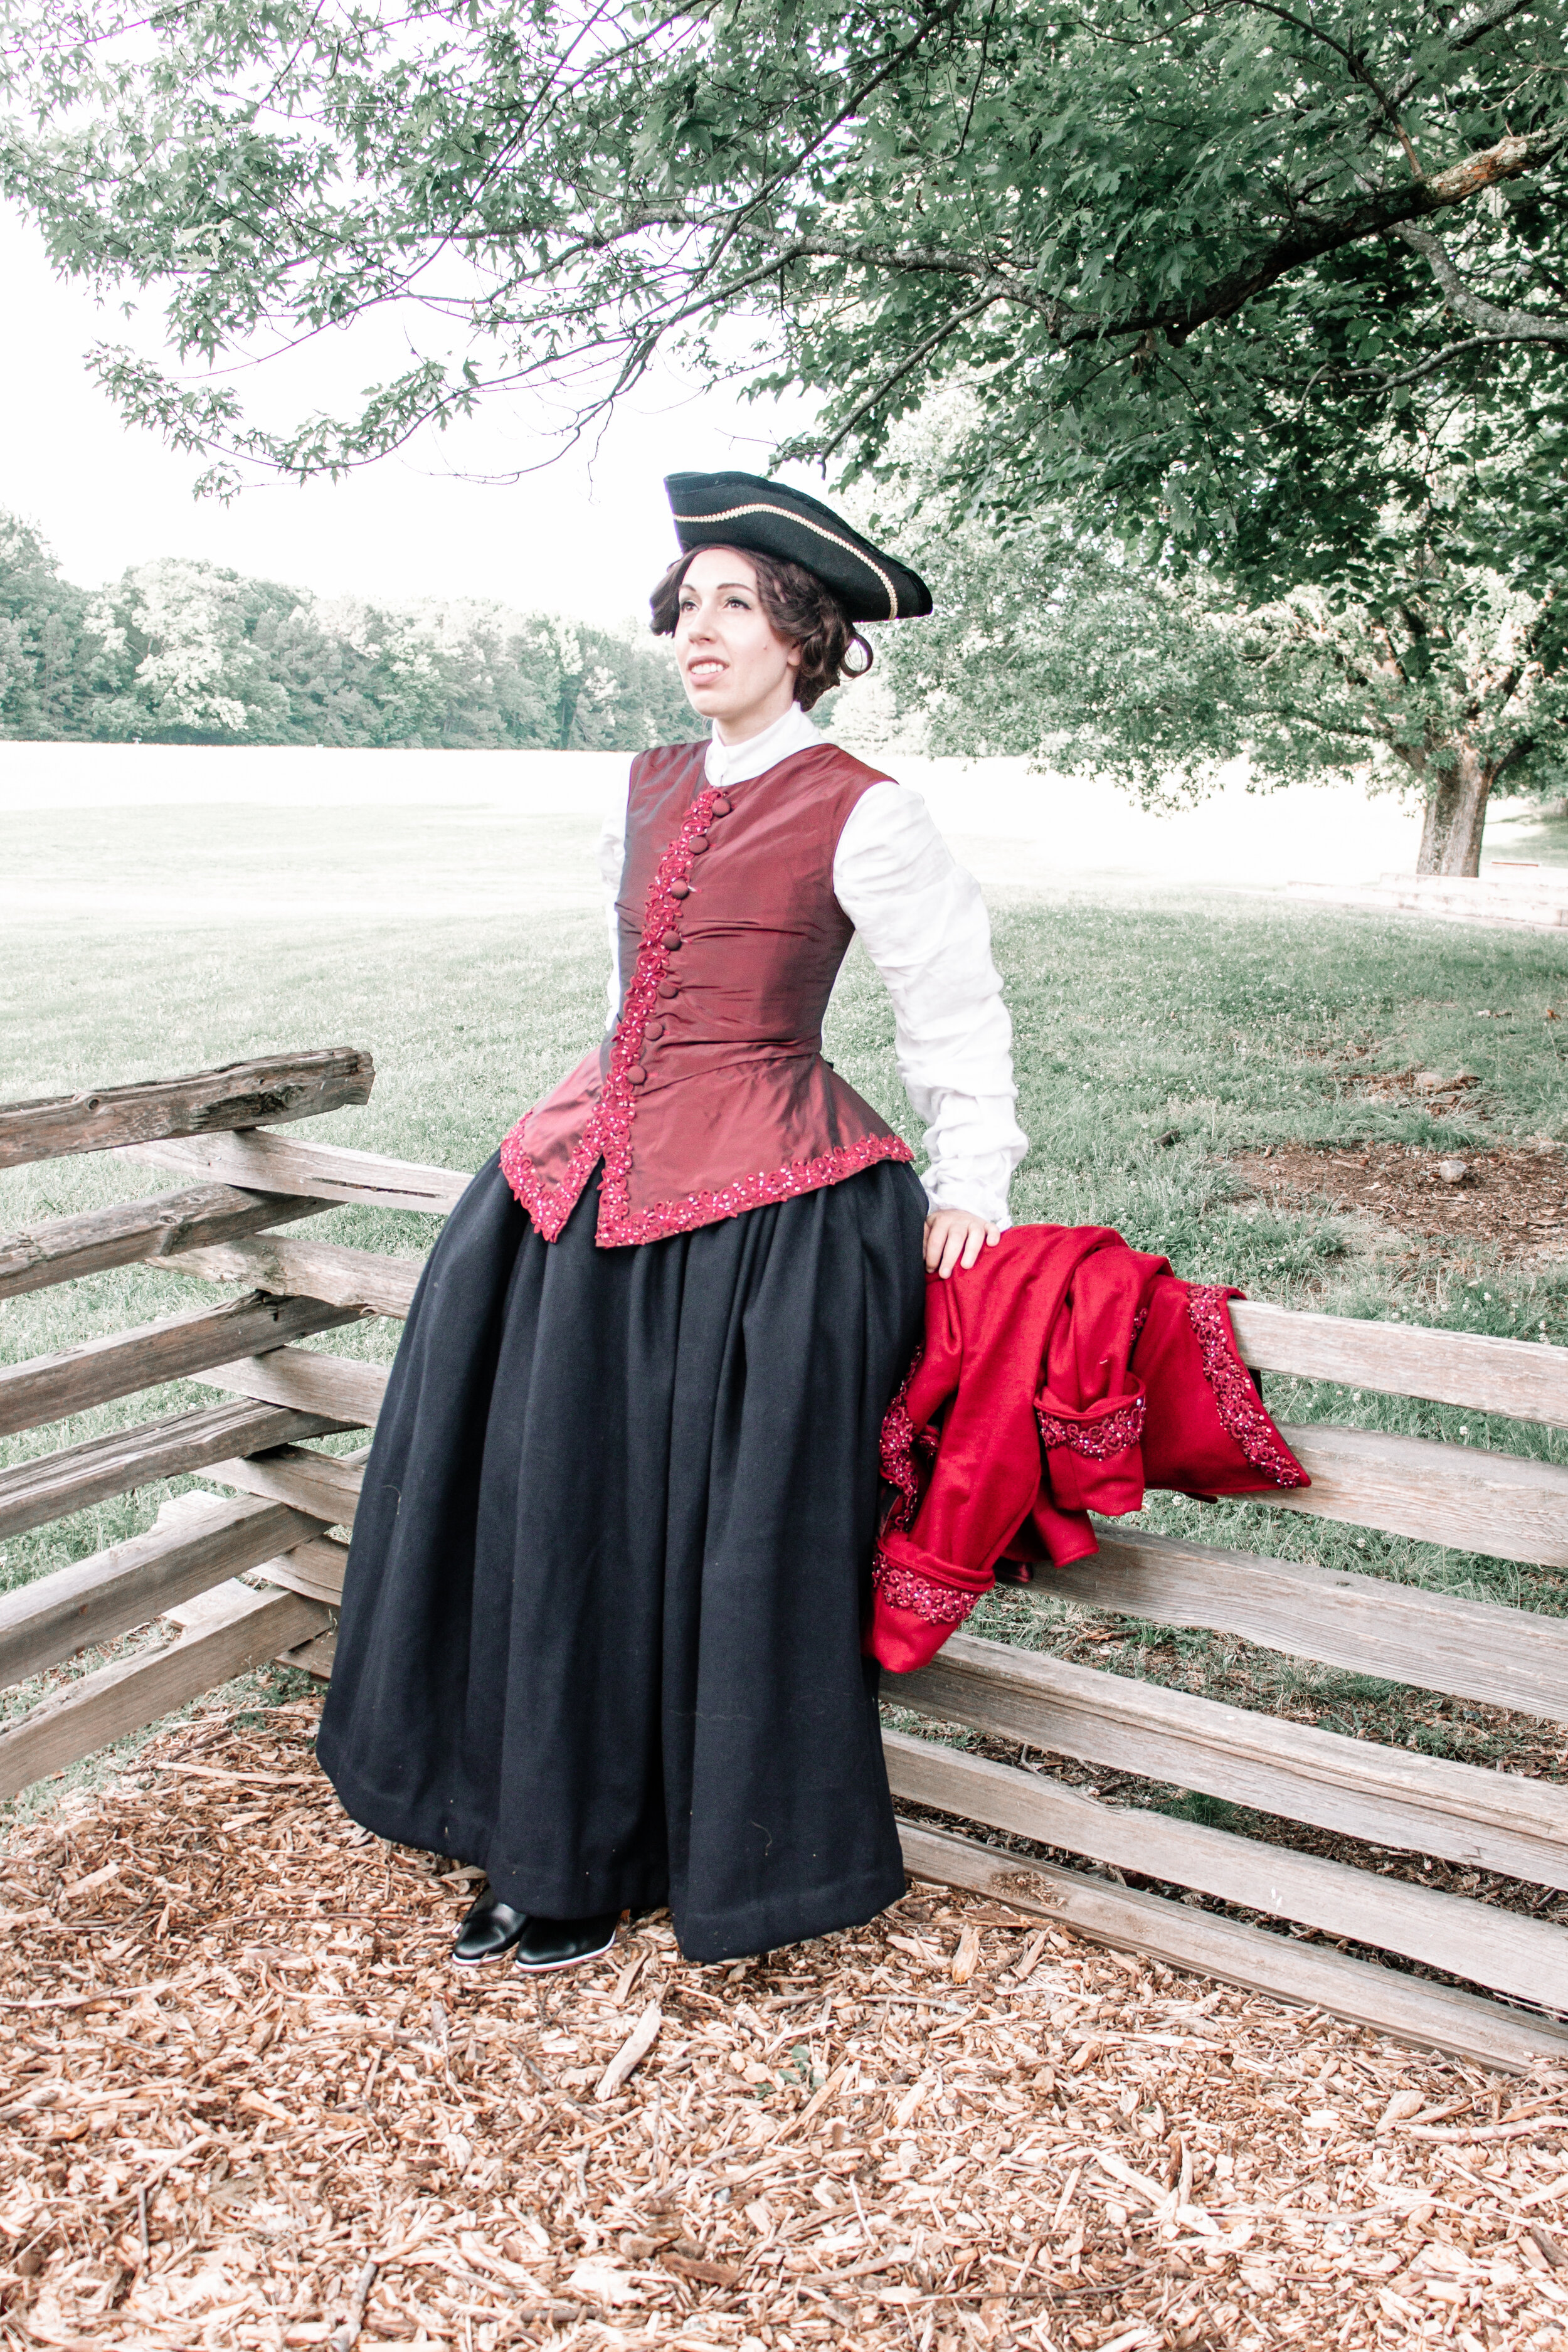
This blog is going to be a compilation of all the content I made around my 18th Century Sarah Sanderson Costume. This was my Halloween costume for 2021 and while the final week of construction I had so many setbacks, I am pretty happy with the final results.
To start out, if you would like to support the content that I create head on over to Patreon to get exclusive content.
Materials
I’ll do my absolute best to include everything I used, the specific silk colors might not exist anymore and all the cotton was used from my stash but I will do the best I can, this list will likely be very short.
Silk:
6 yards for the petticoat: https://www.silkbaron.com/ProductDetails.asp?ProductCode=712
1 yard (I would buy more next time) for the bodice: https://www.silkbaron.com/ProductDetails.asp?ProductCode=1032
4yards for the skirt and bows: https://www.silkbaron.com/ProductDetails.asp?ProductCode=620
1 yard for the skirt: https://www.silkbaron.com/product_p/1118.htm
Embroidery:
Floriani Dream Weave Ultra (this can be used for interlining as well)
Floriani Thread
Floriani Total Control U Software
Quilters Select Tear Away Stabilizer
Rhinestones and Beads:
Since these are all from my stash it’s hard to determine which I bought where but I’m linking where I think I got them.
Beads: https://www.firemountaingems.com/shop/beads?navsrc=top_1_Beads
Rhinestones: https://www.ebay.com/sch/i.html?_id=162703977266&_nkw=5000PCS+Crystal+Flat+Back+Resin+Rhinestones+Gems+33+colors+2mm%2C3mm%2C+4mm%2C5mm%2C6mm
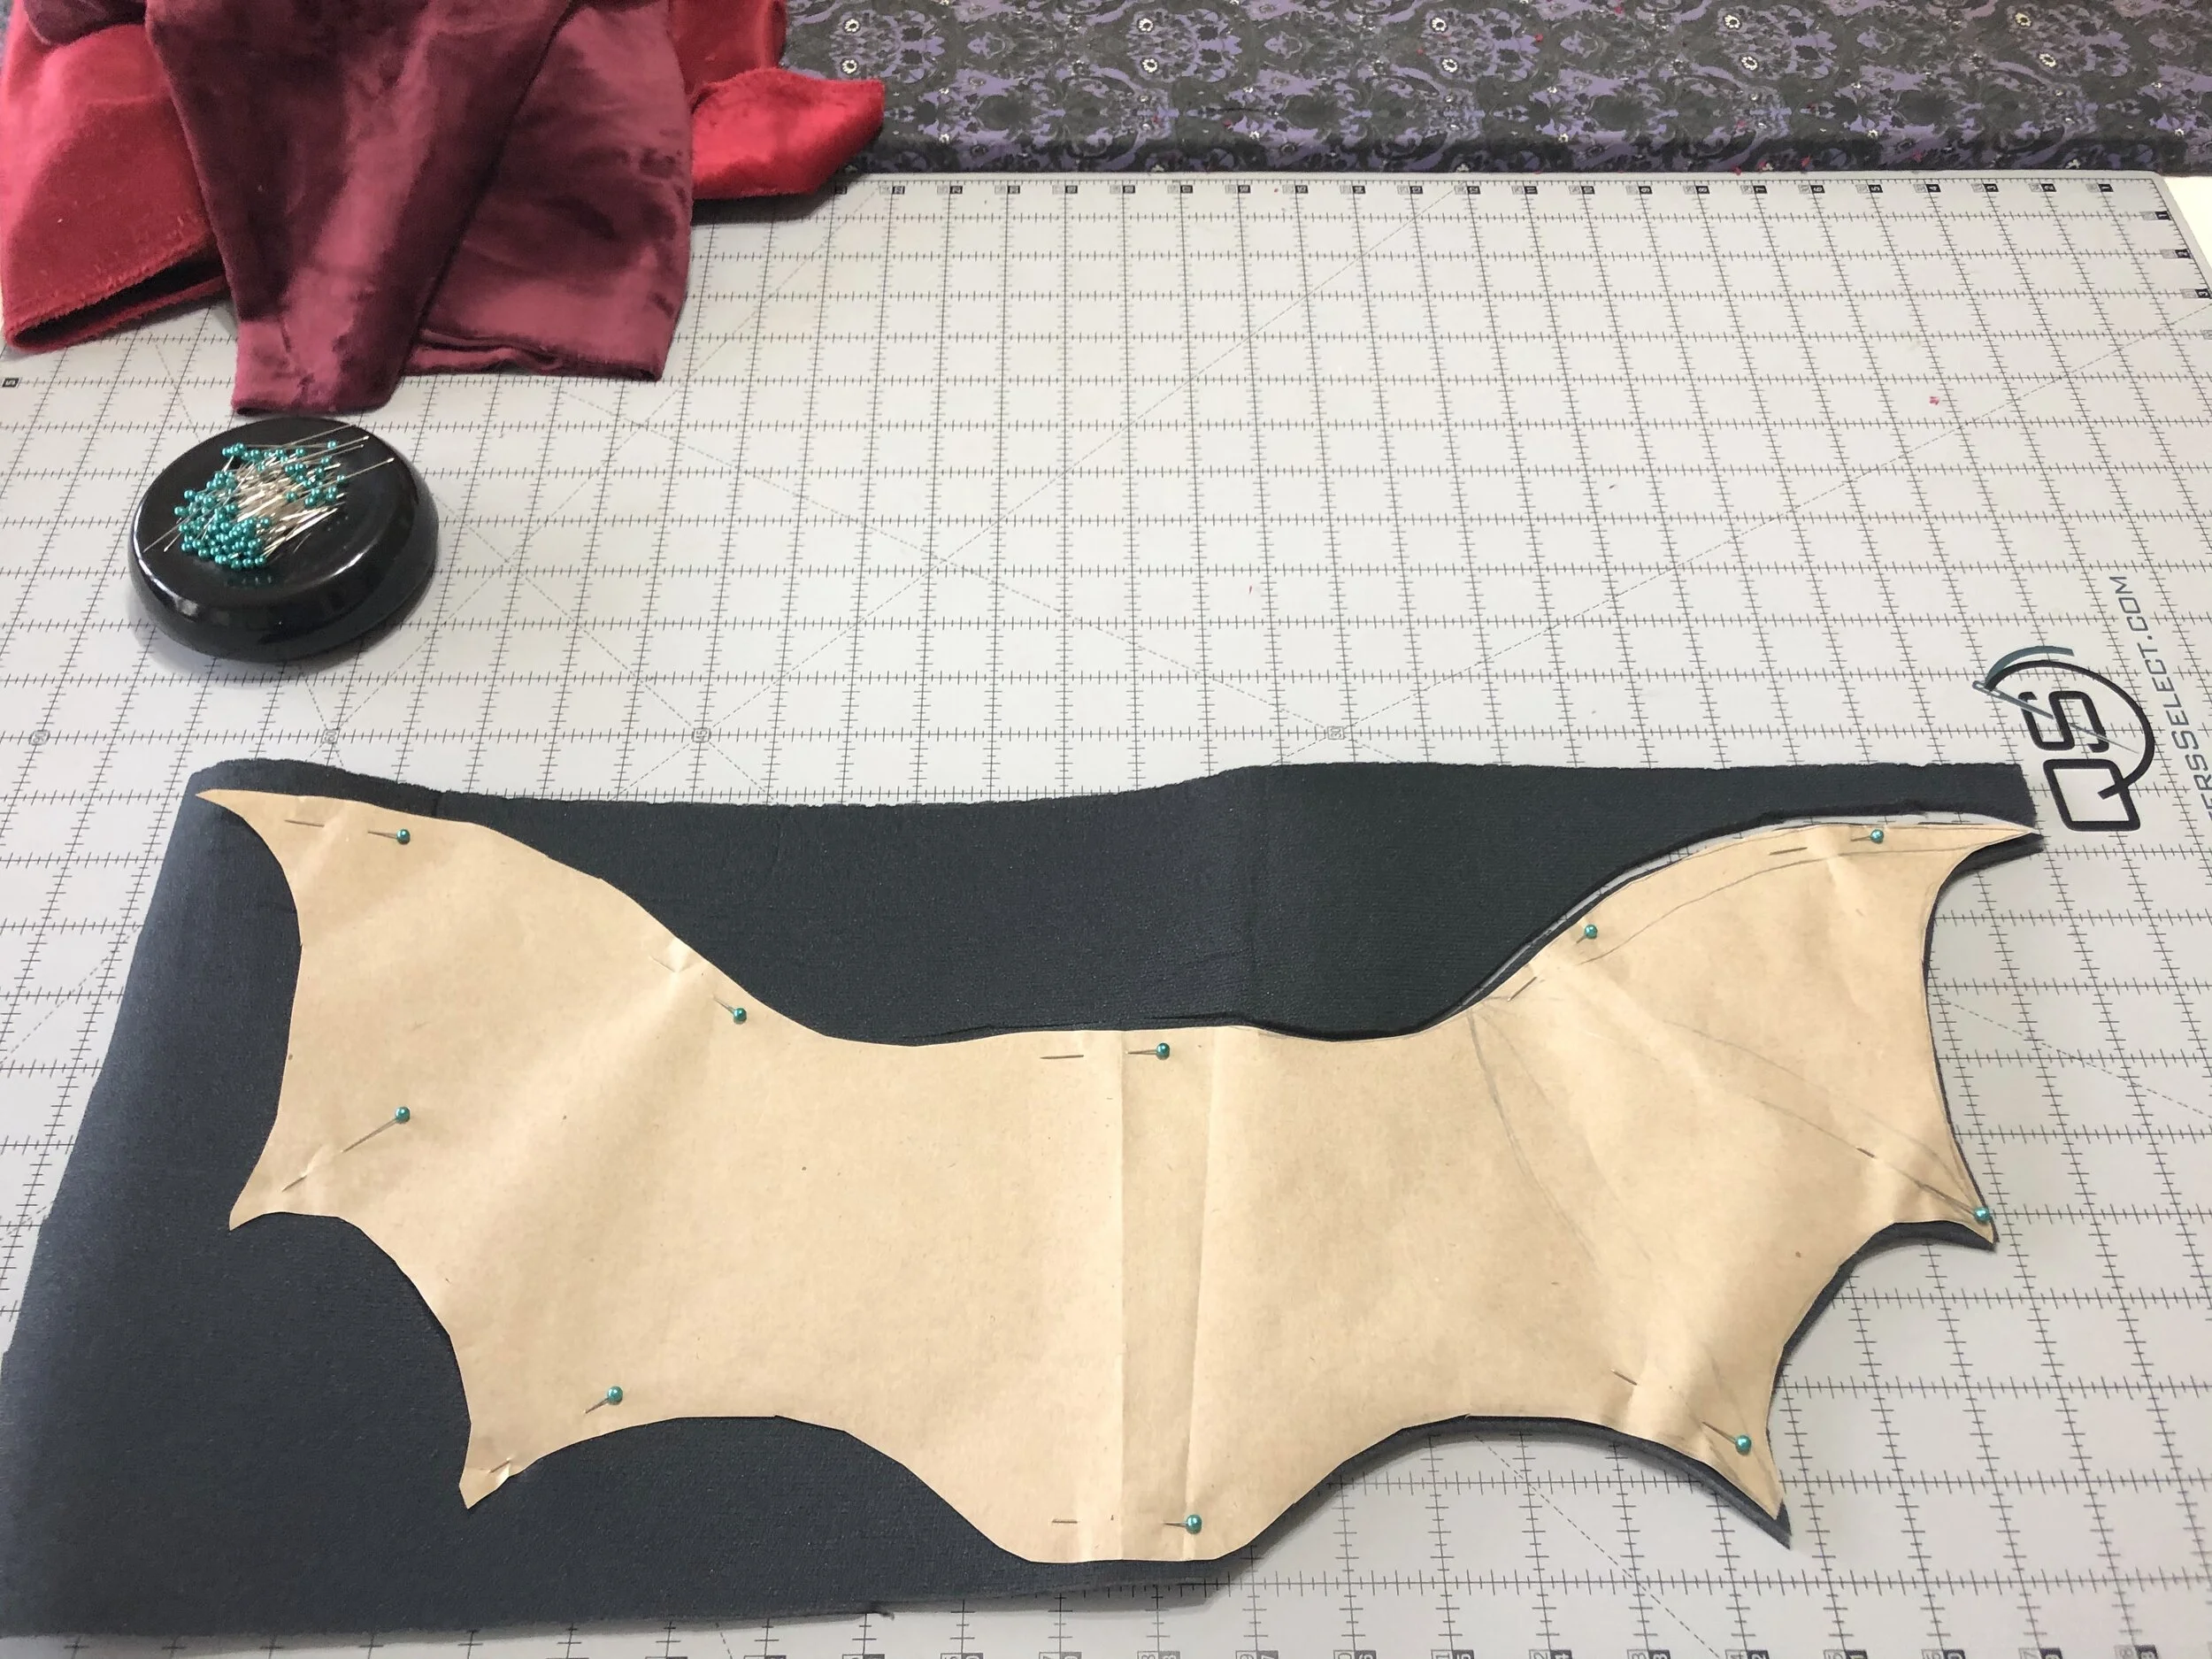
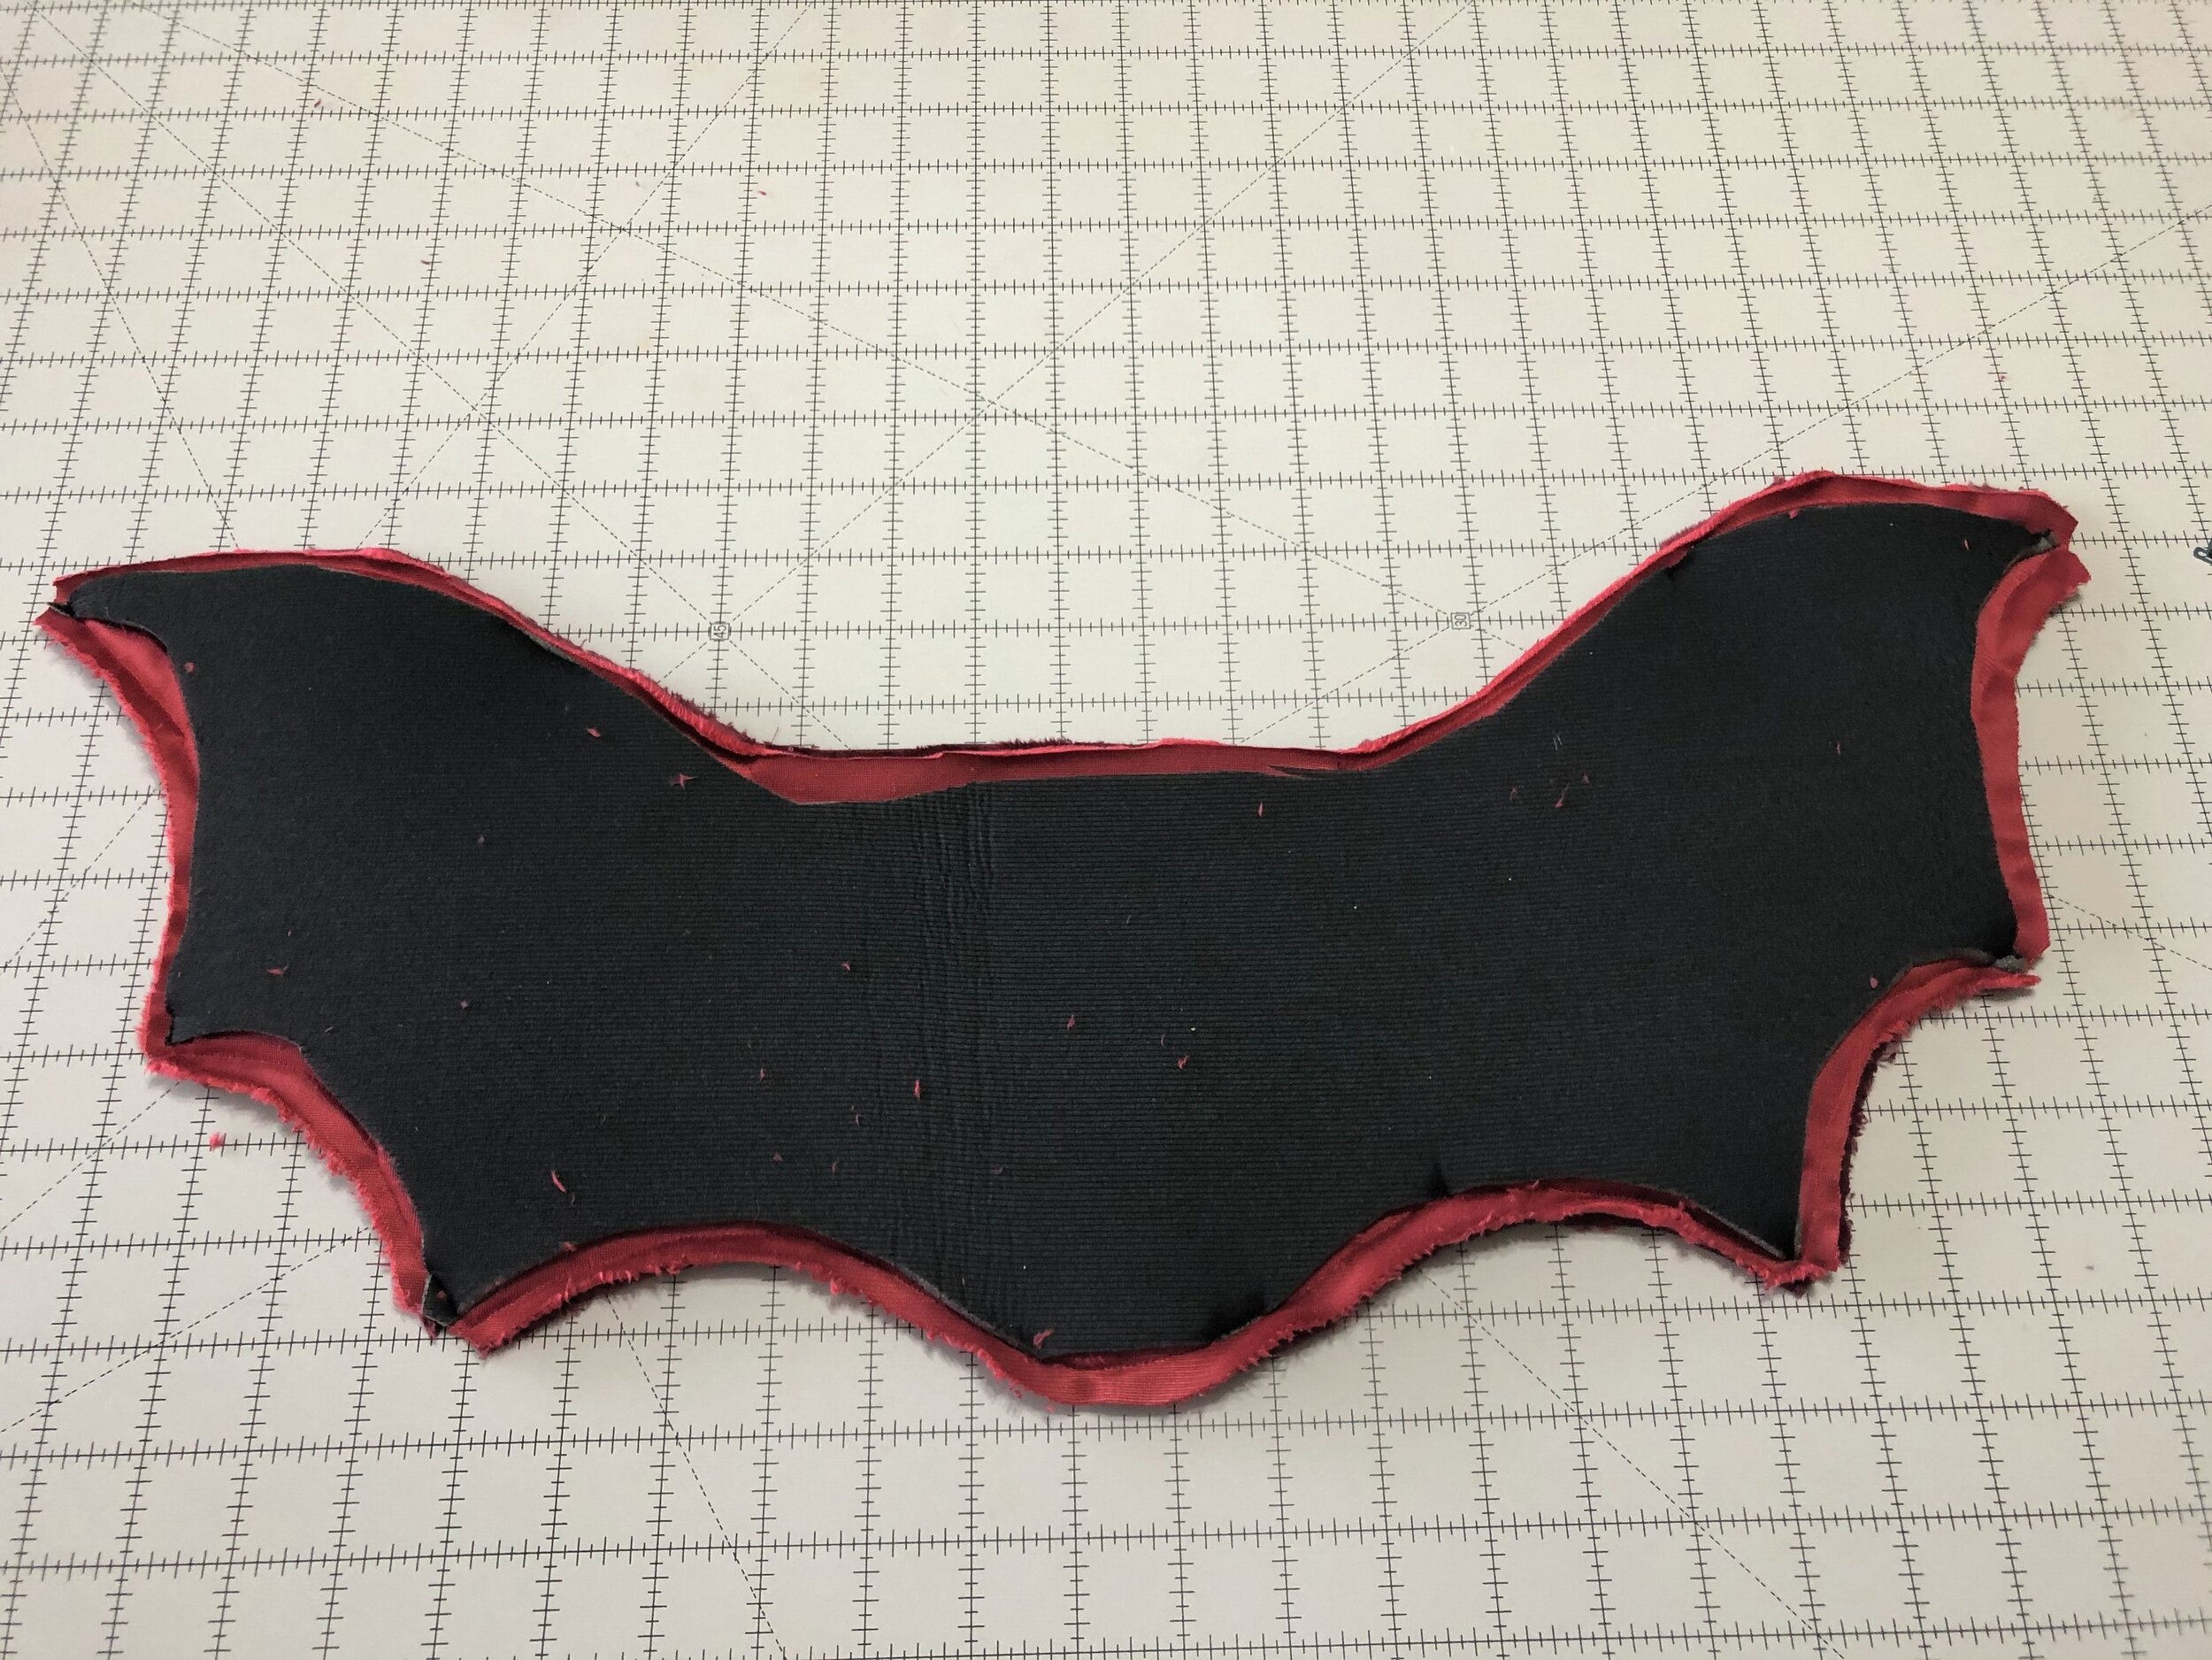
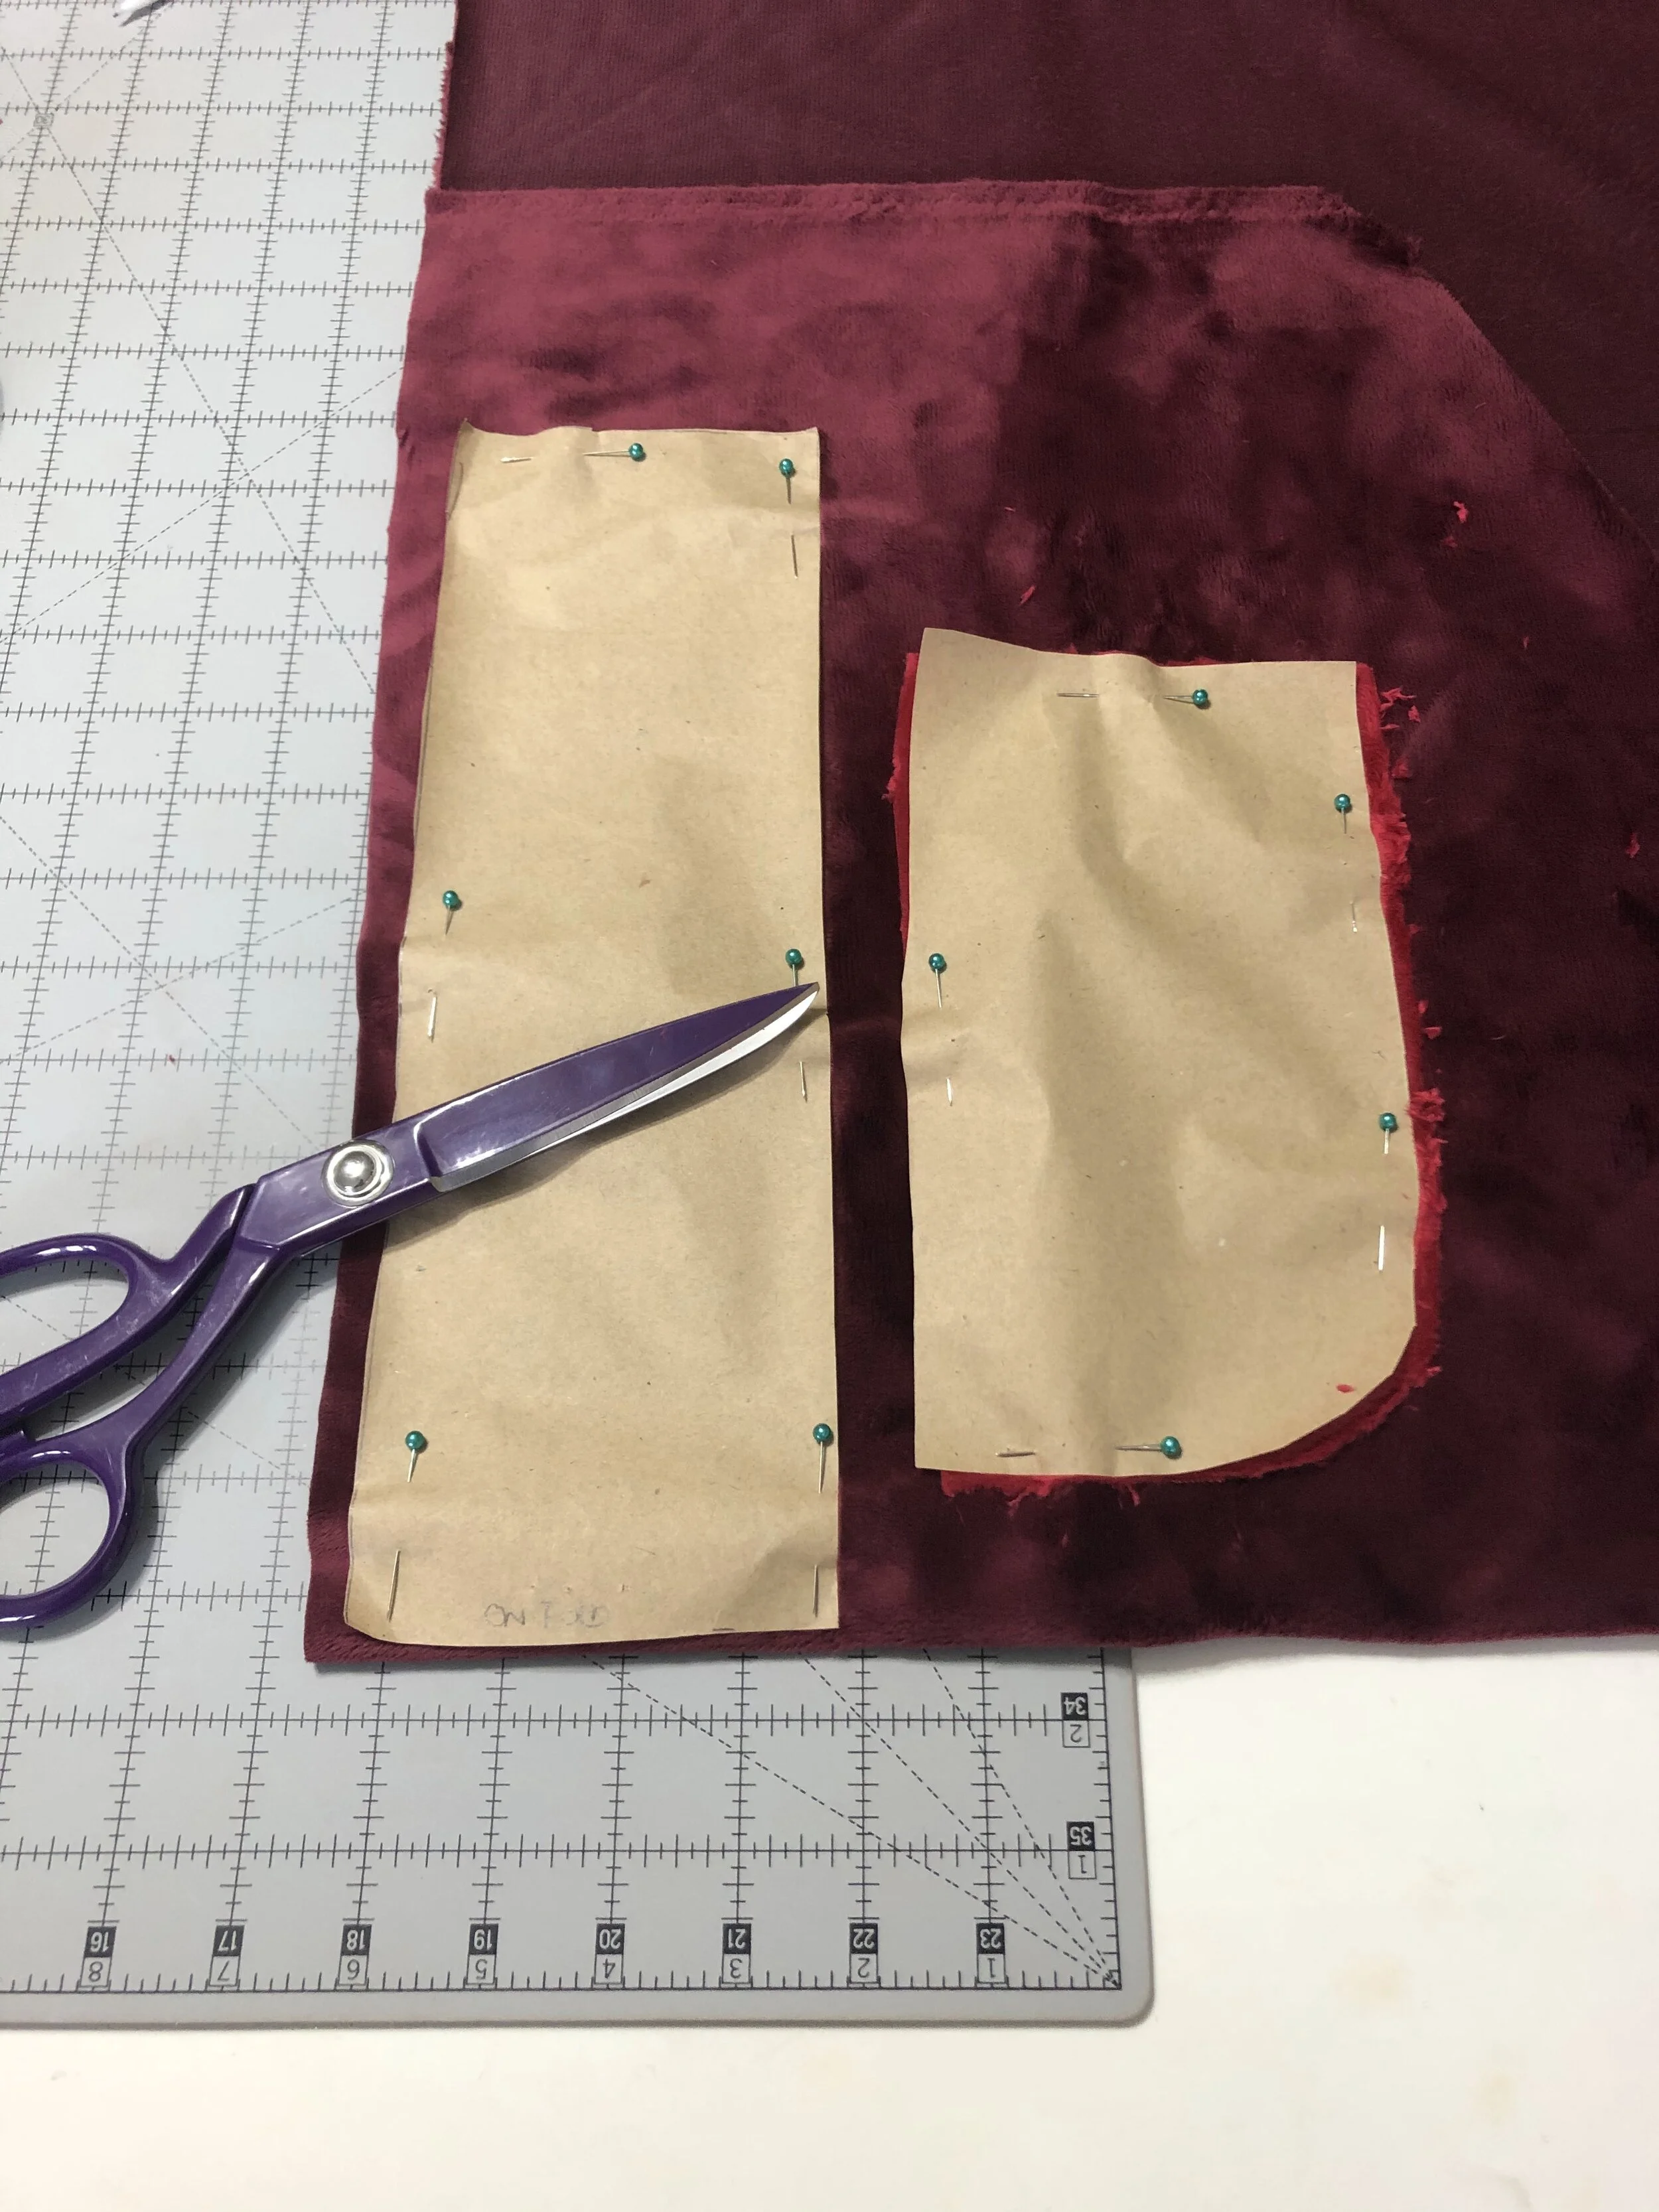
How I made the costume:
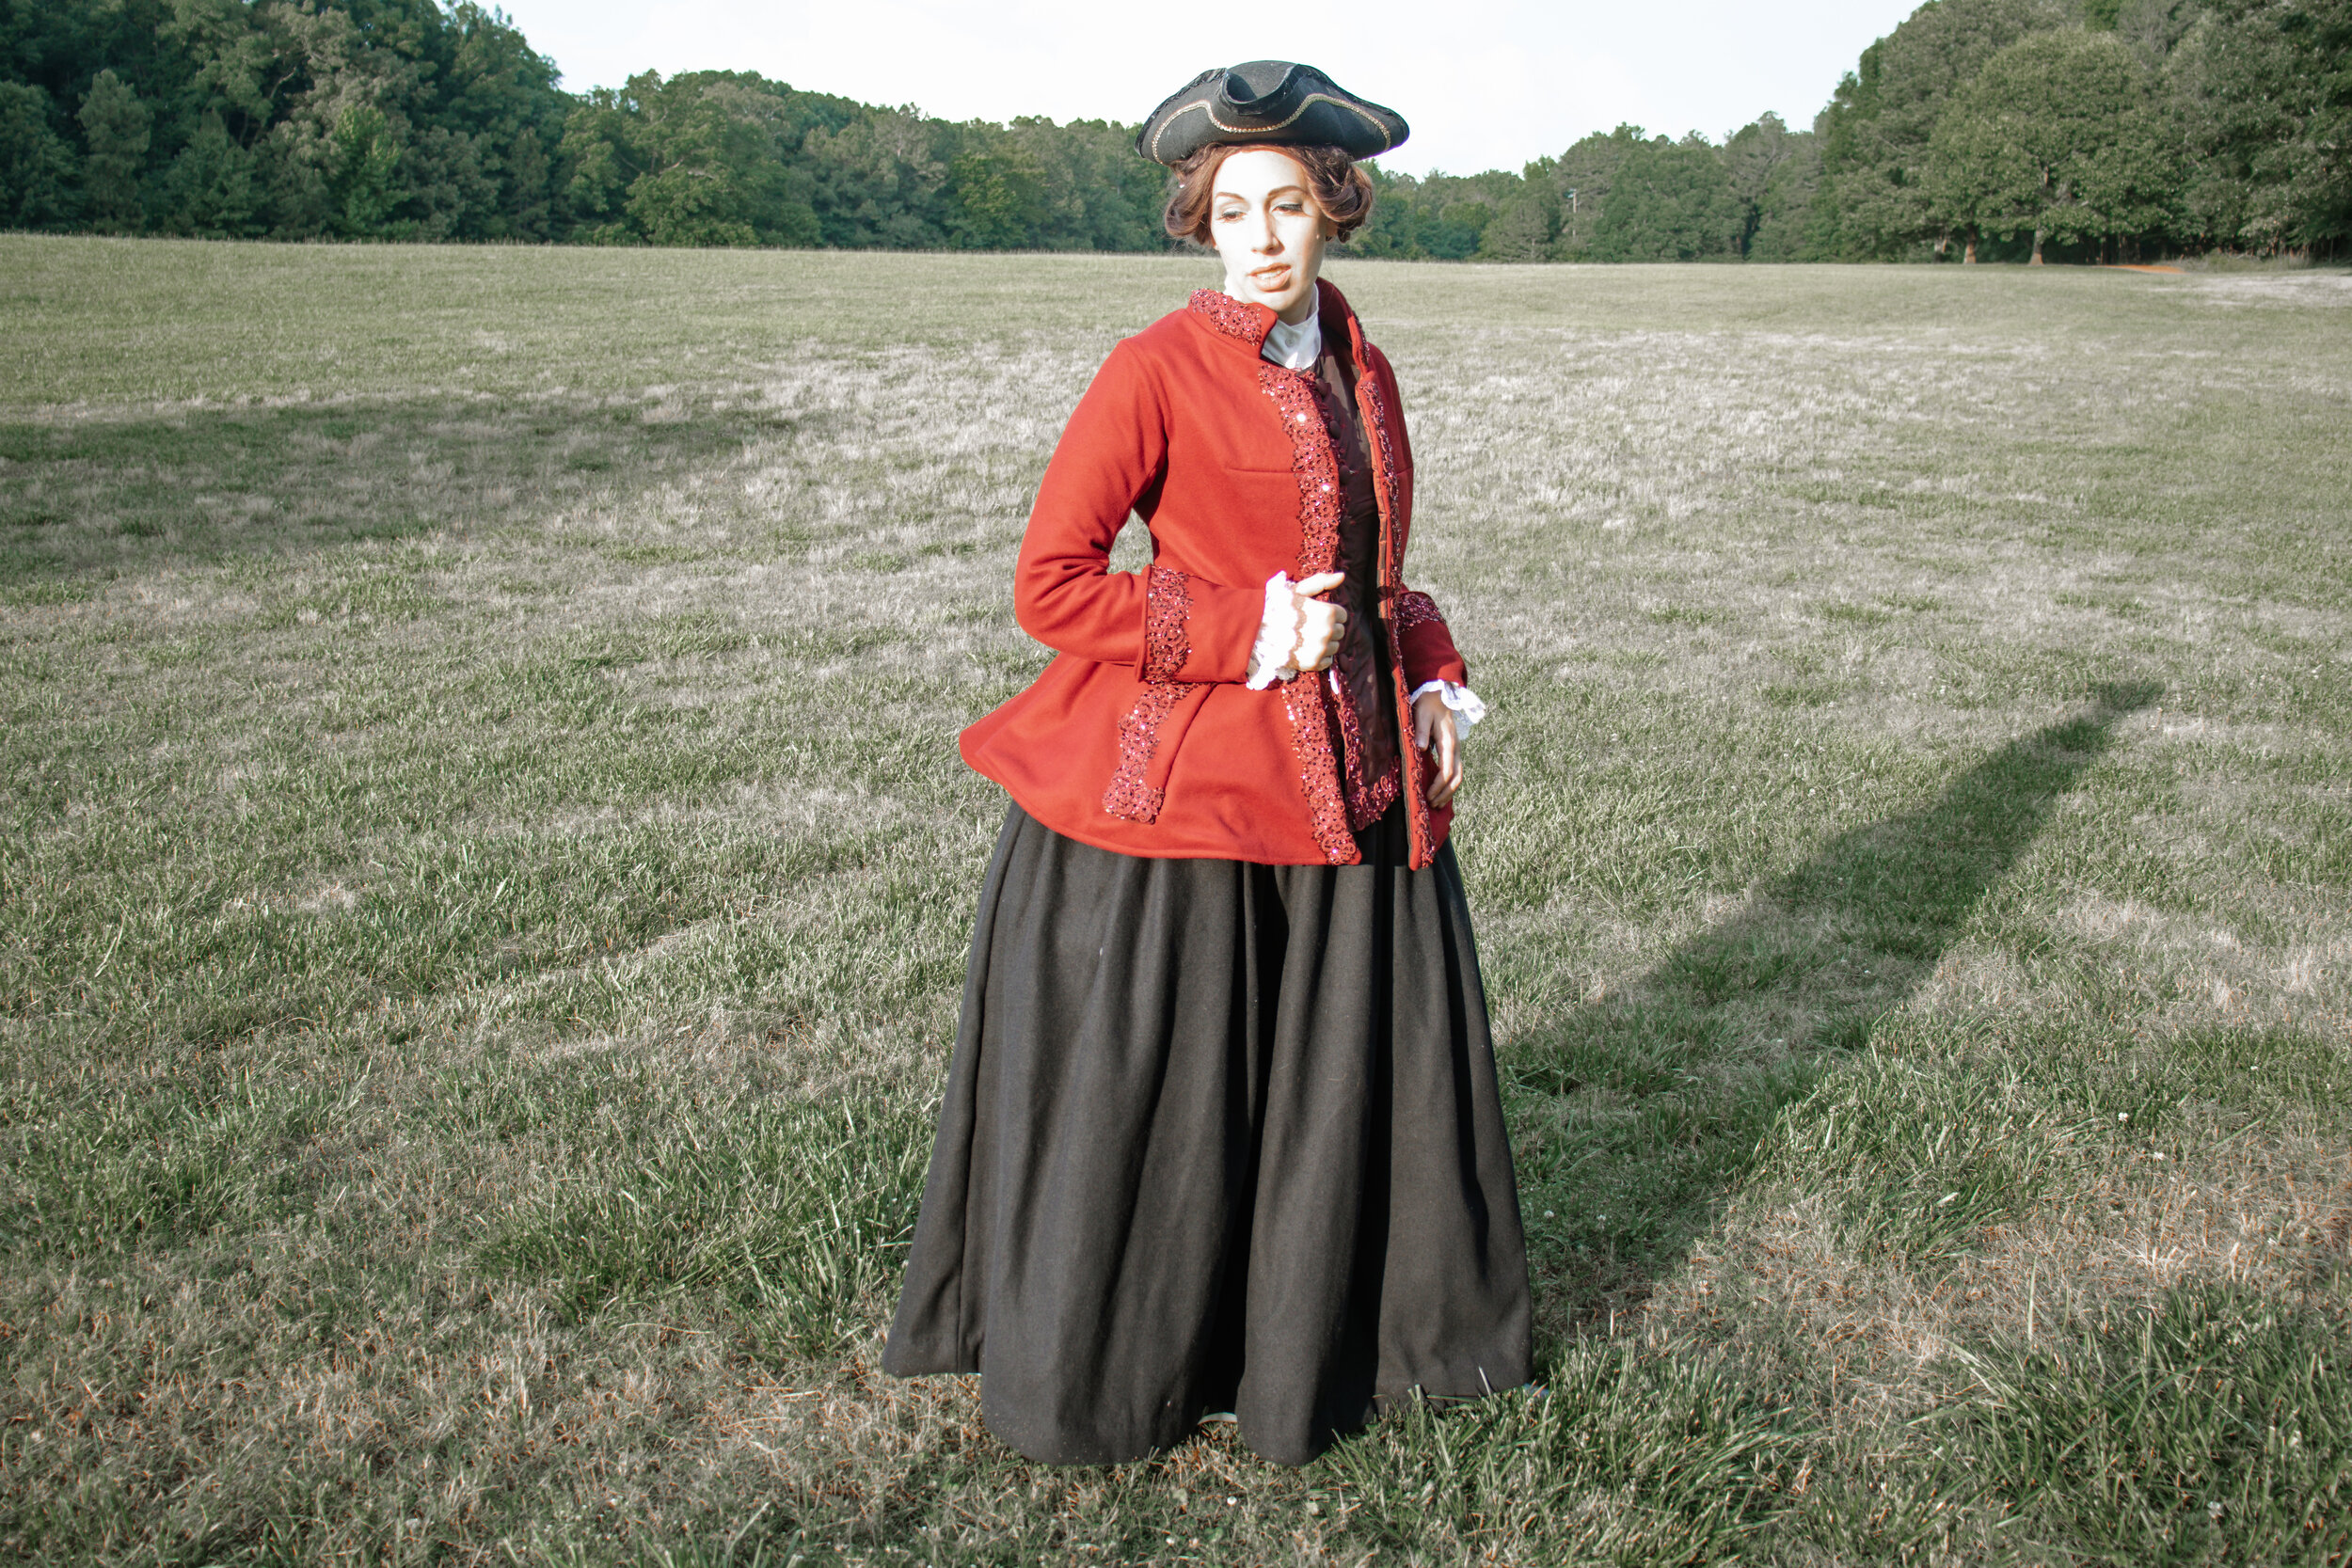
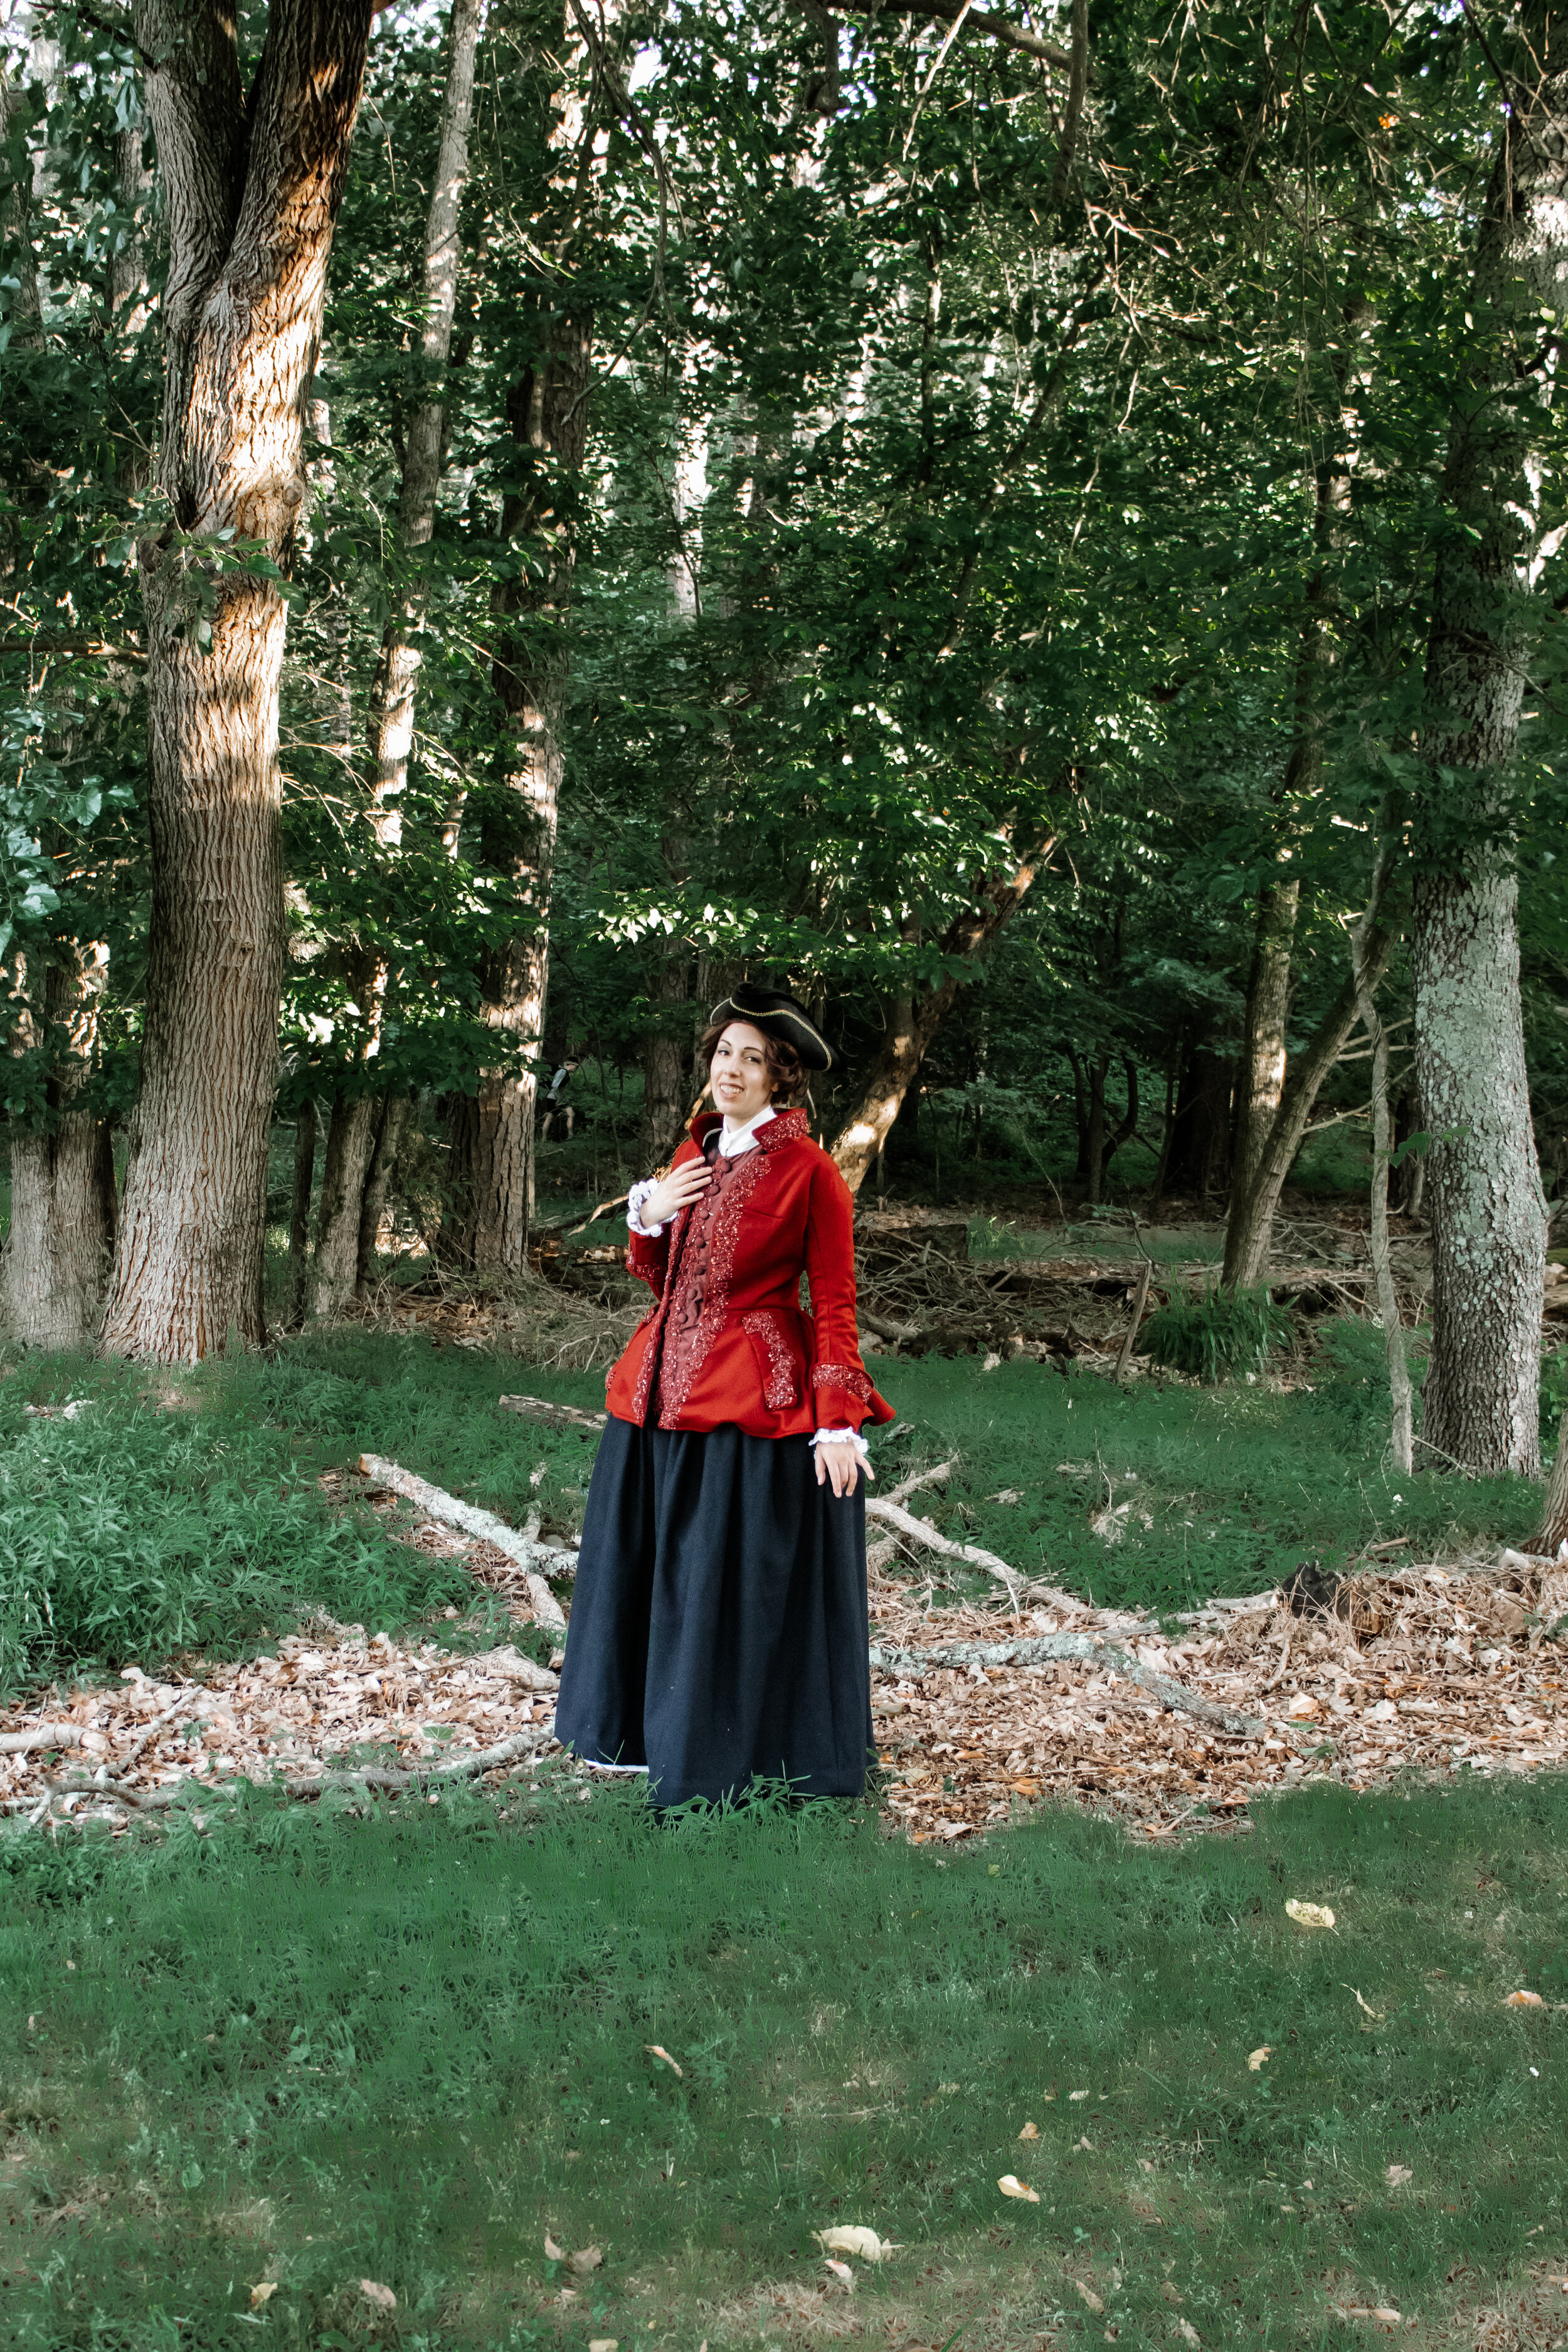
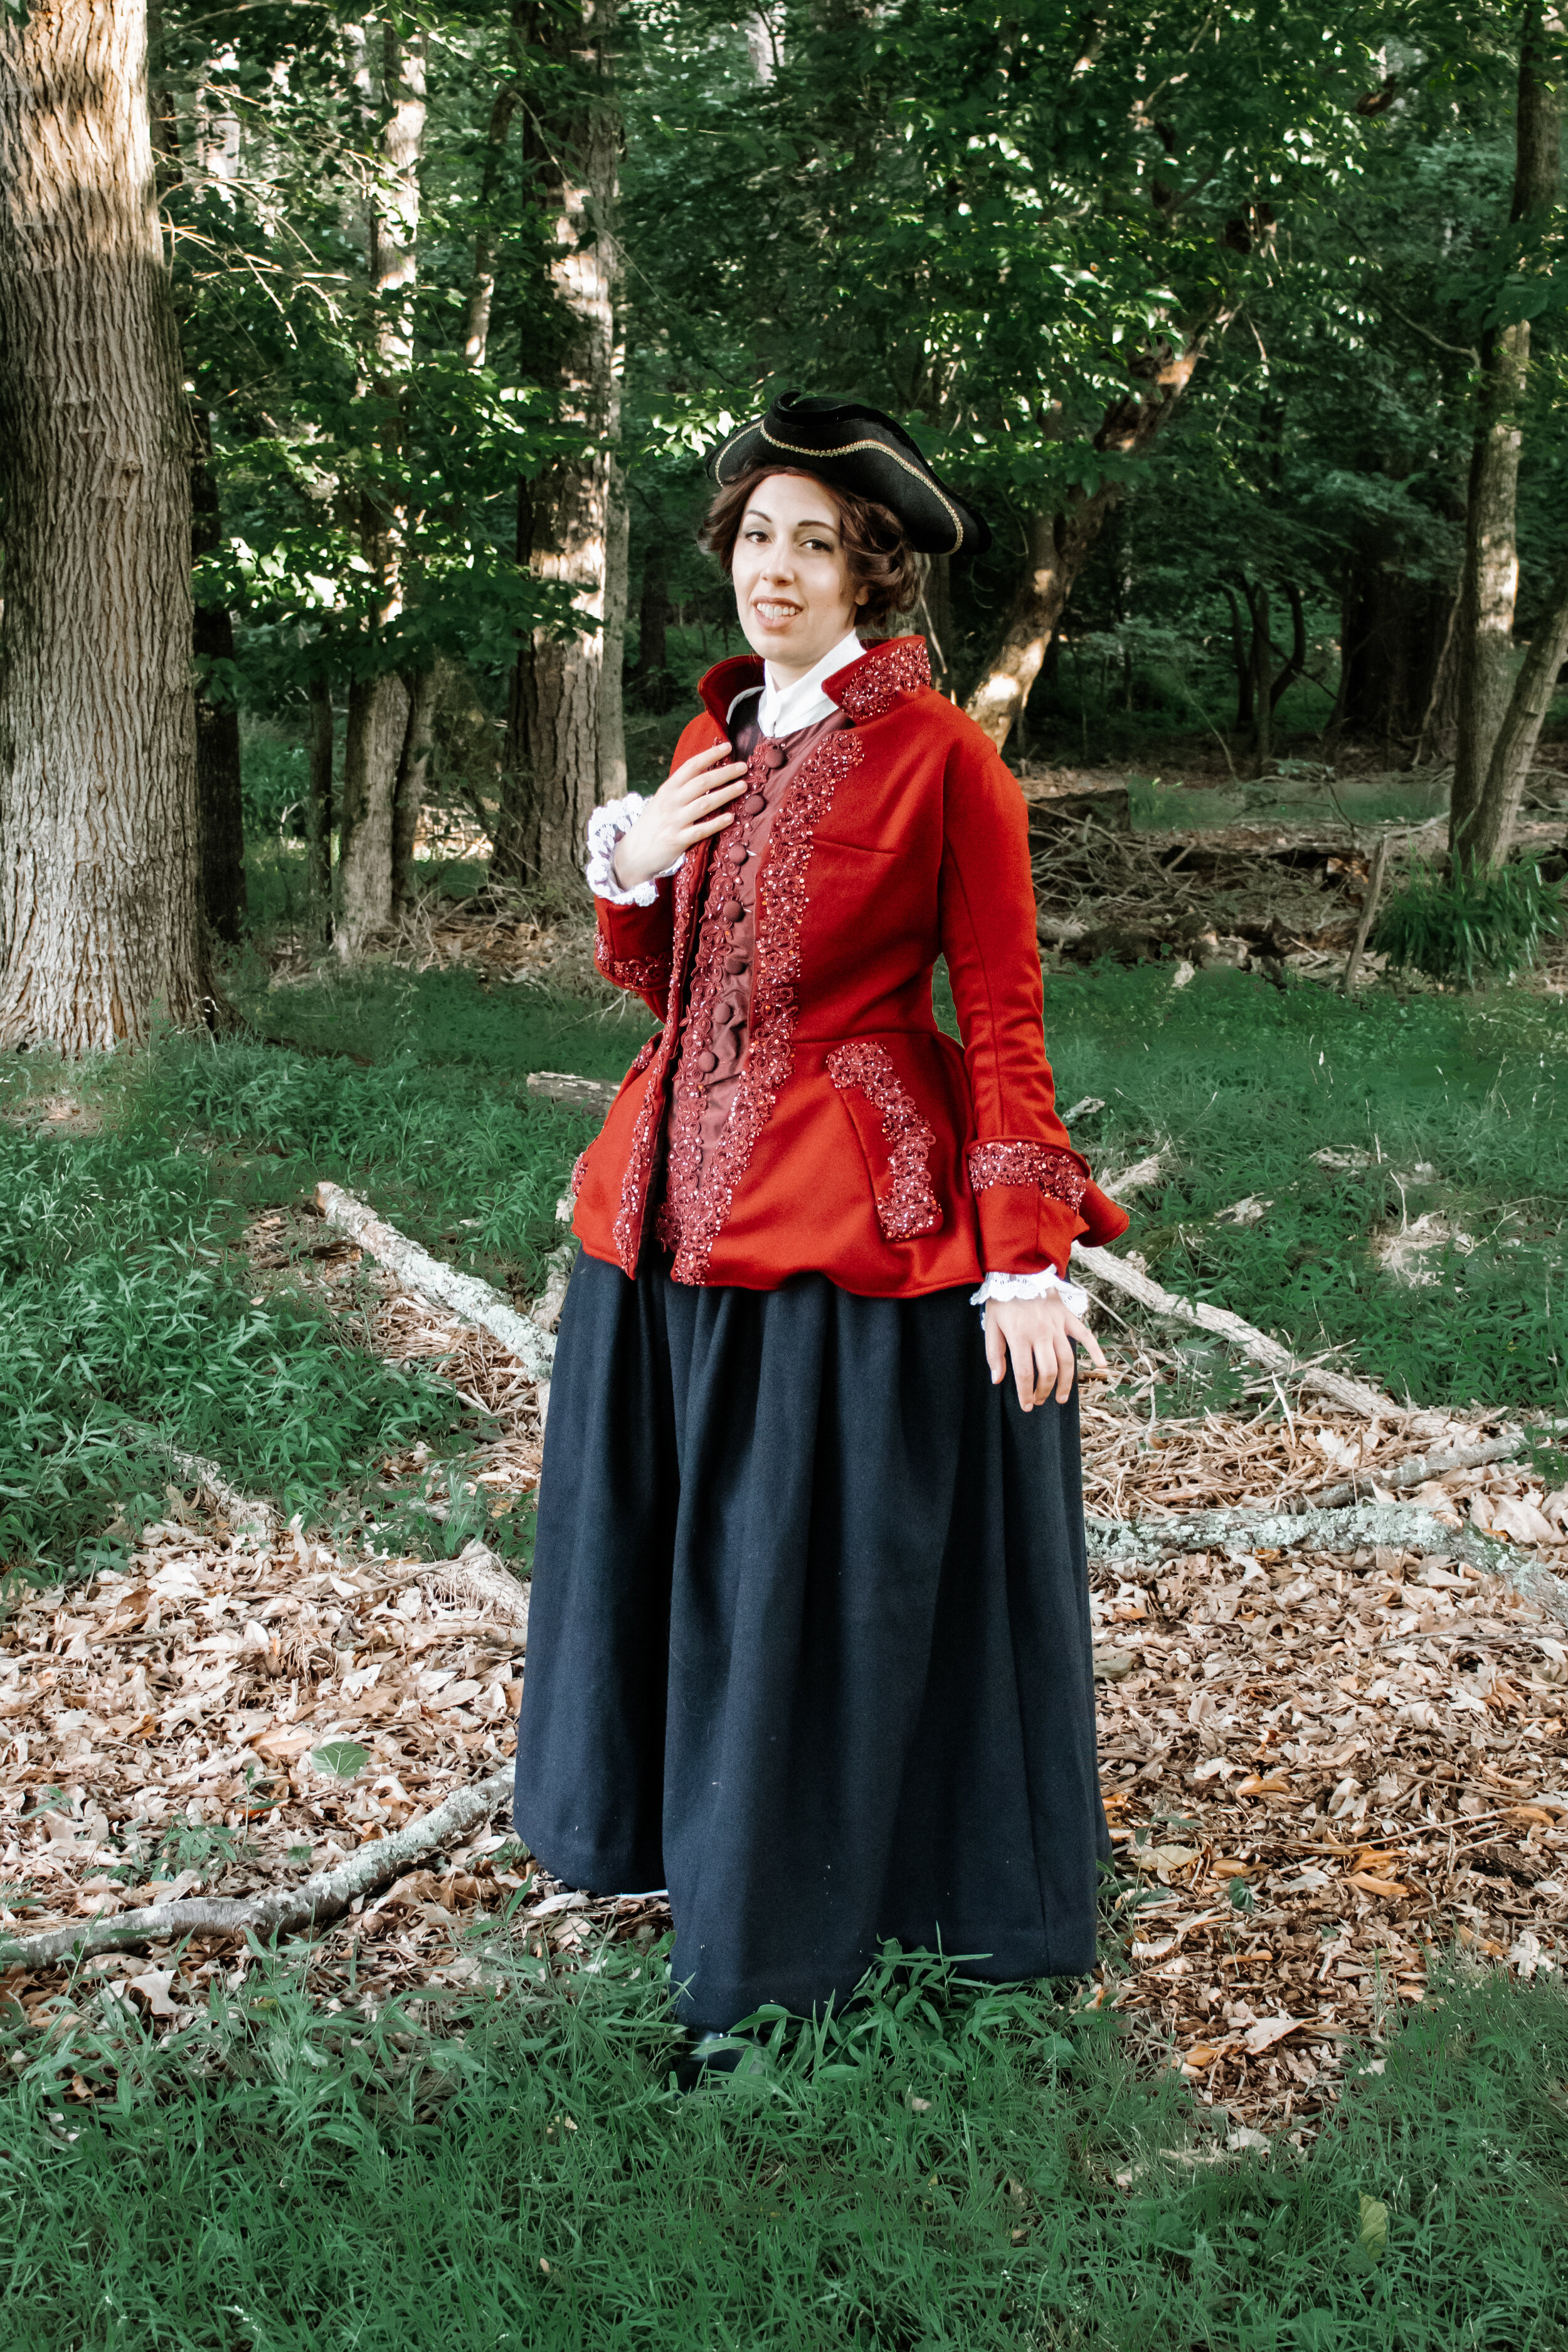
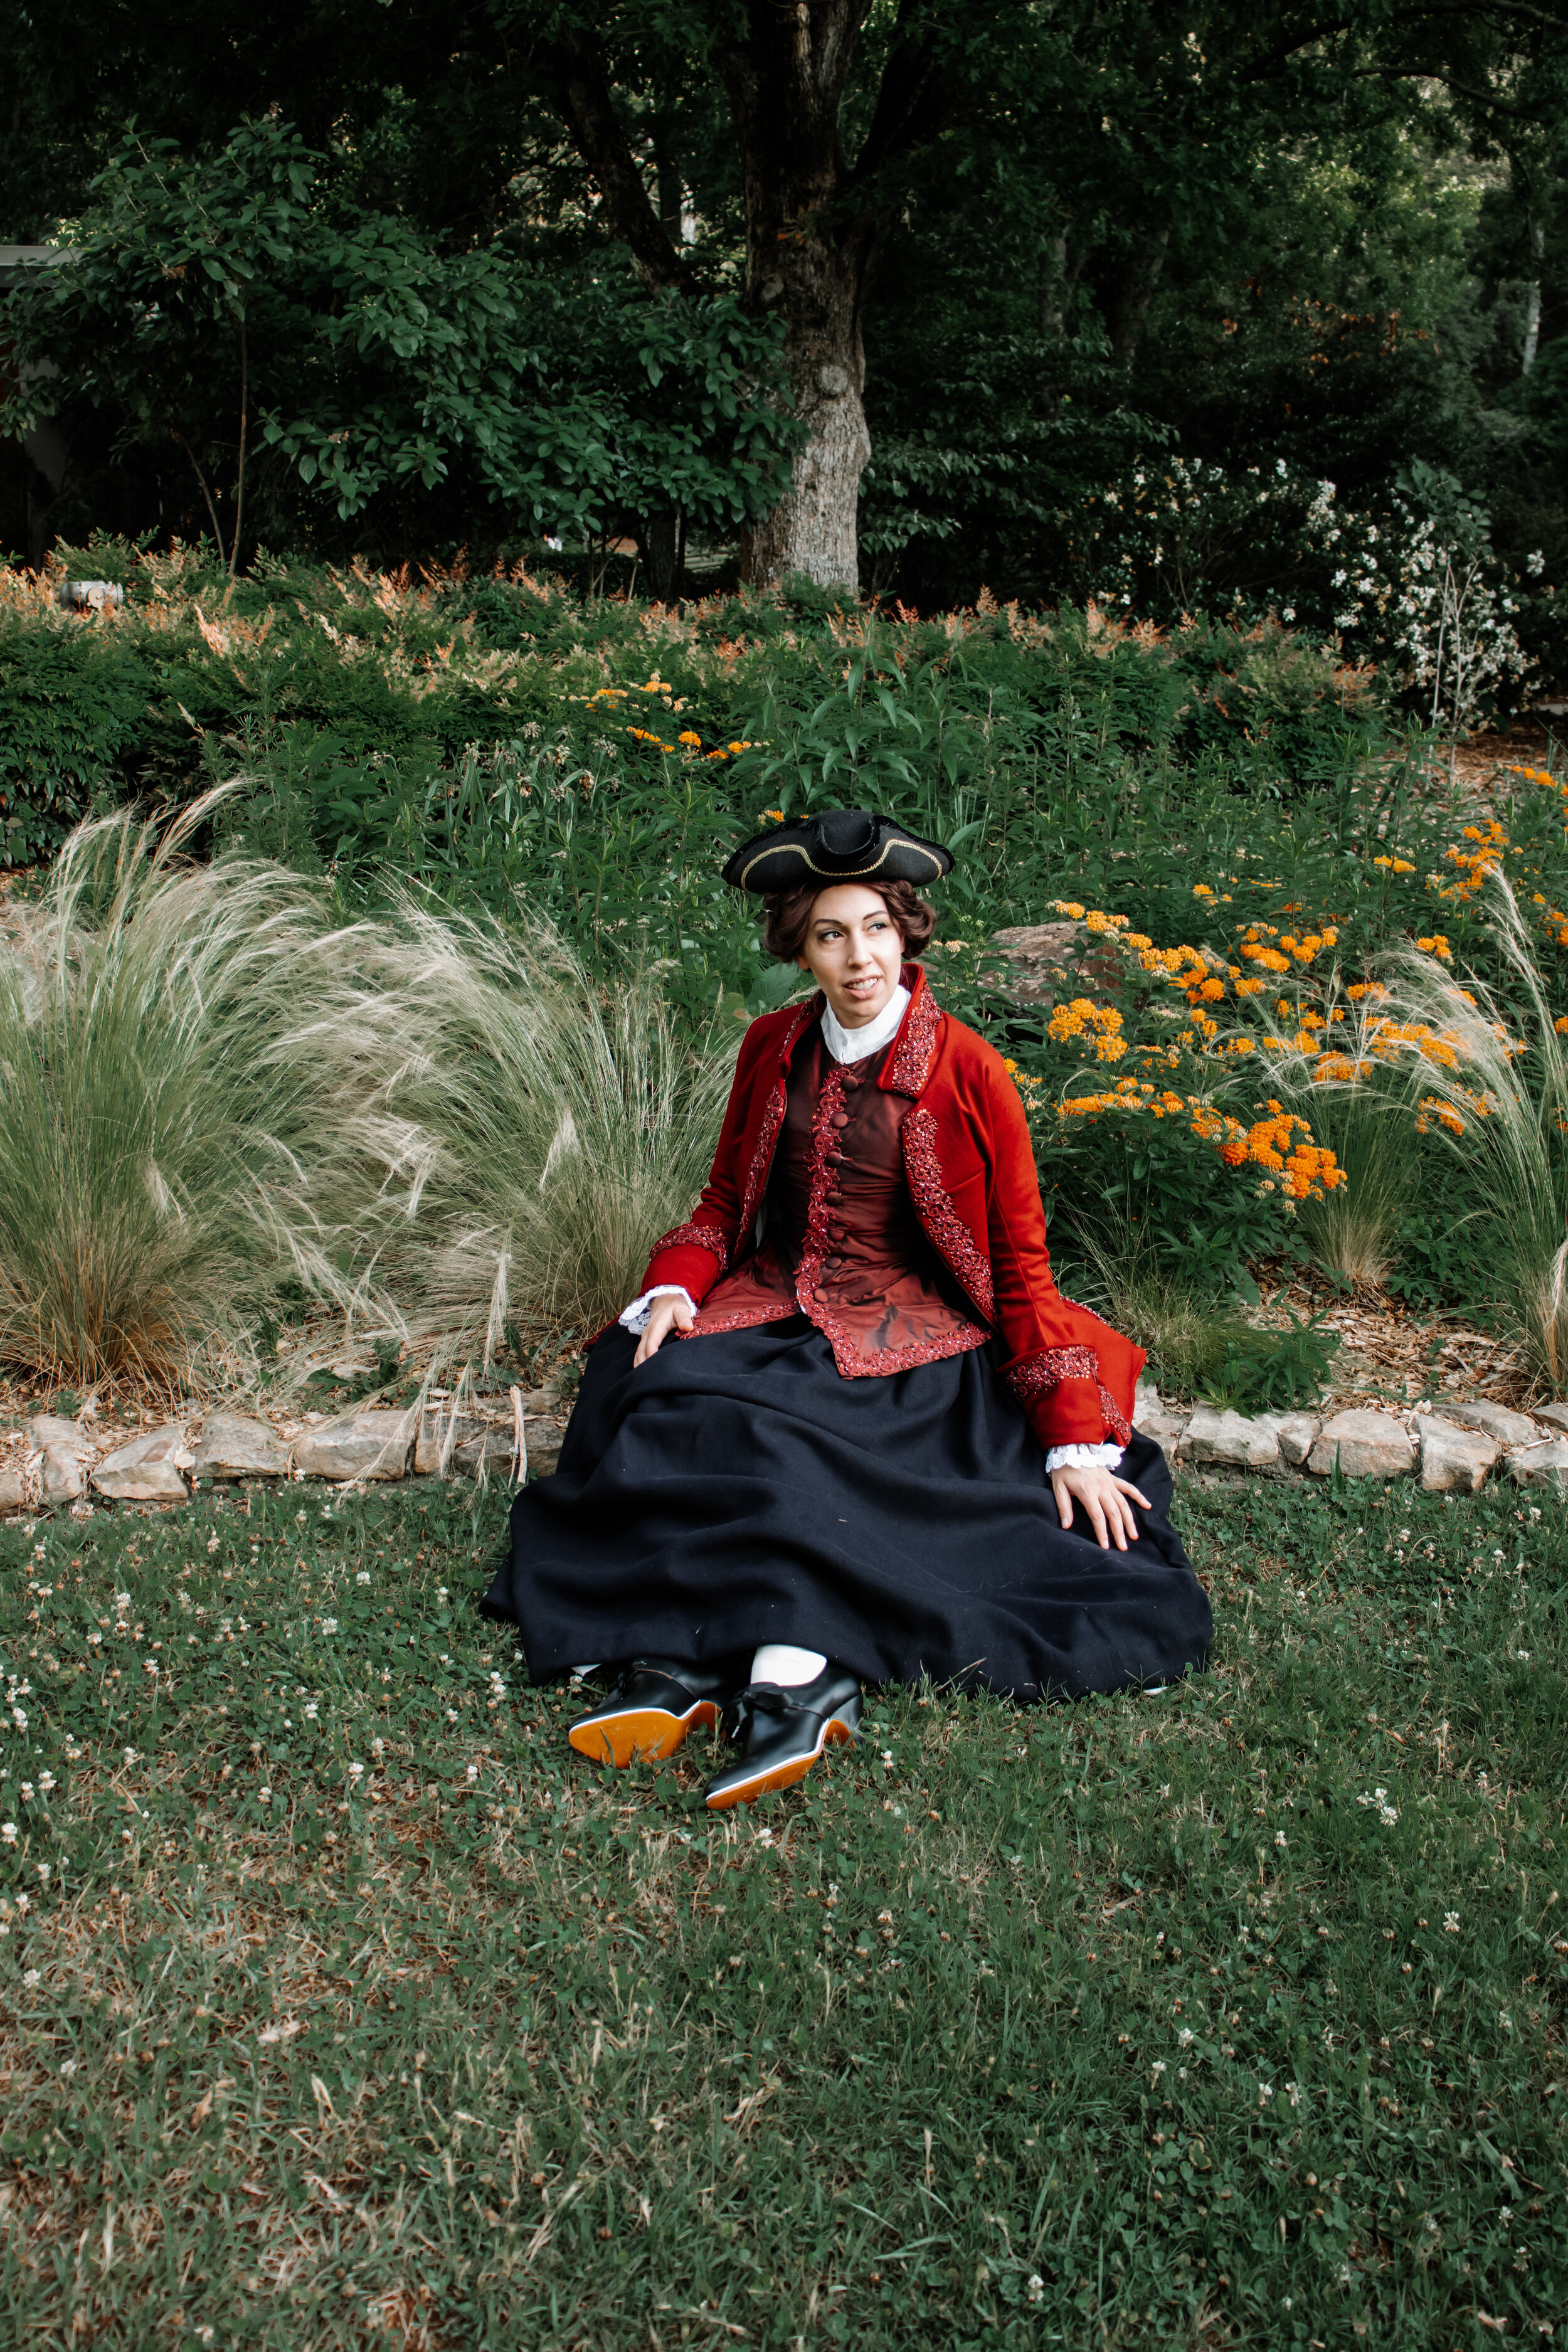
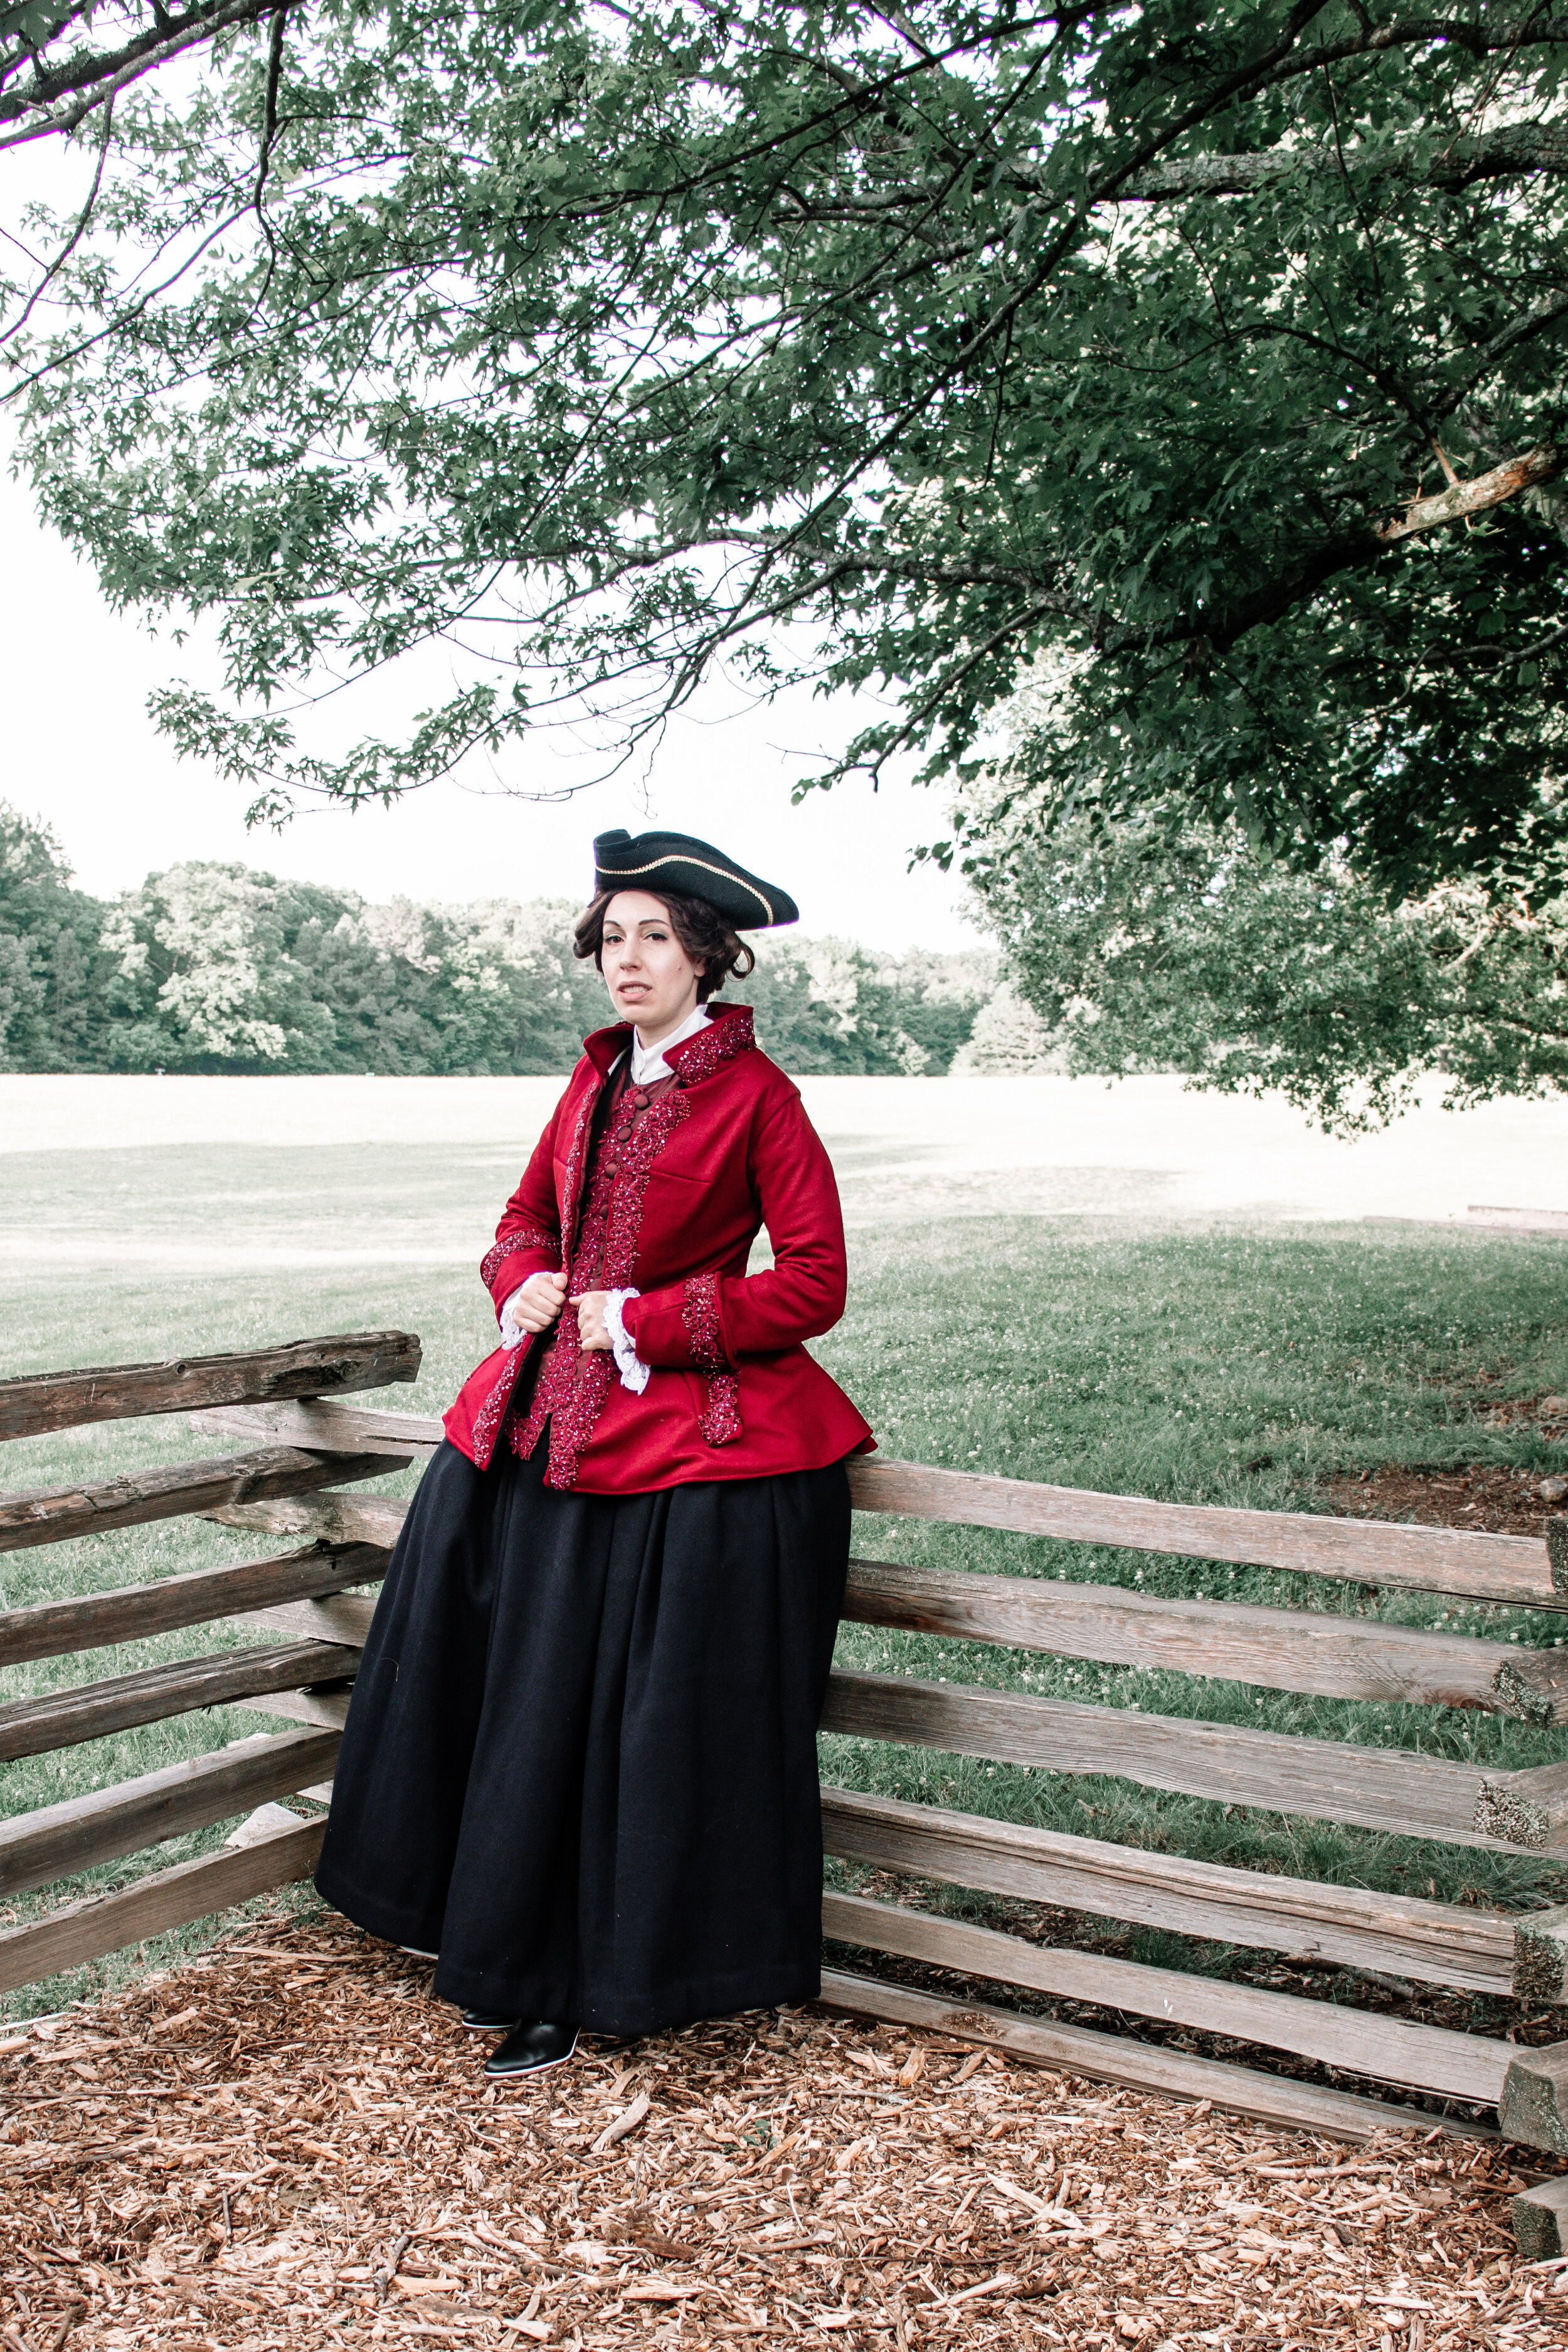
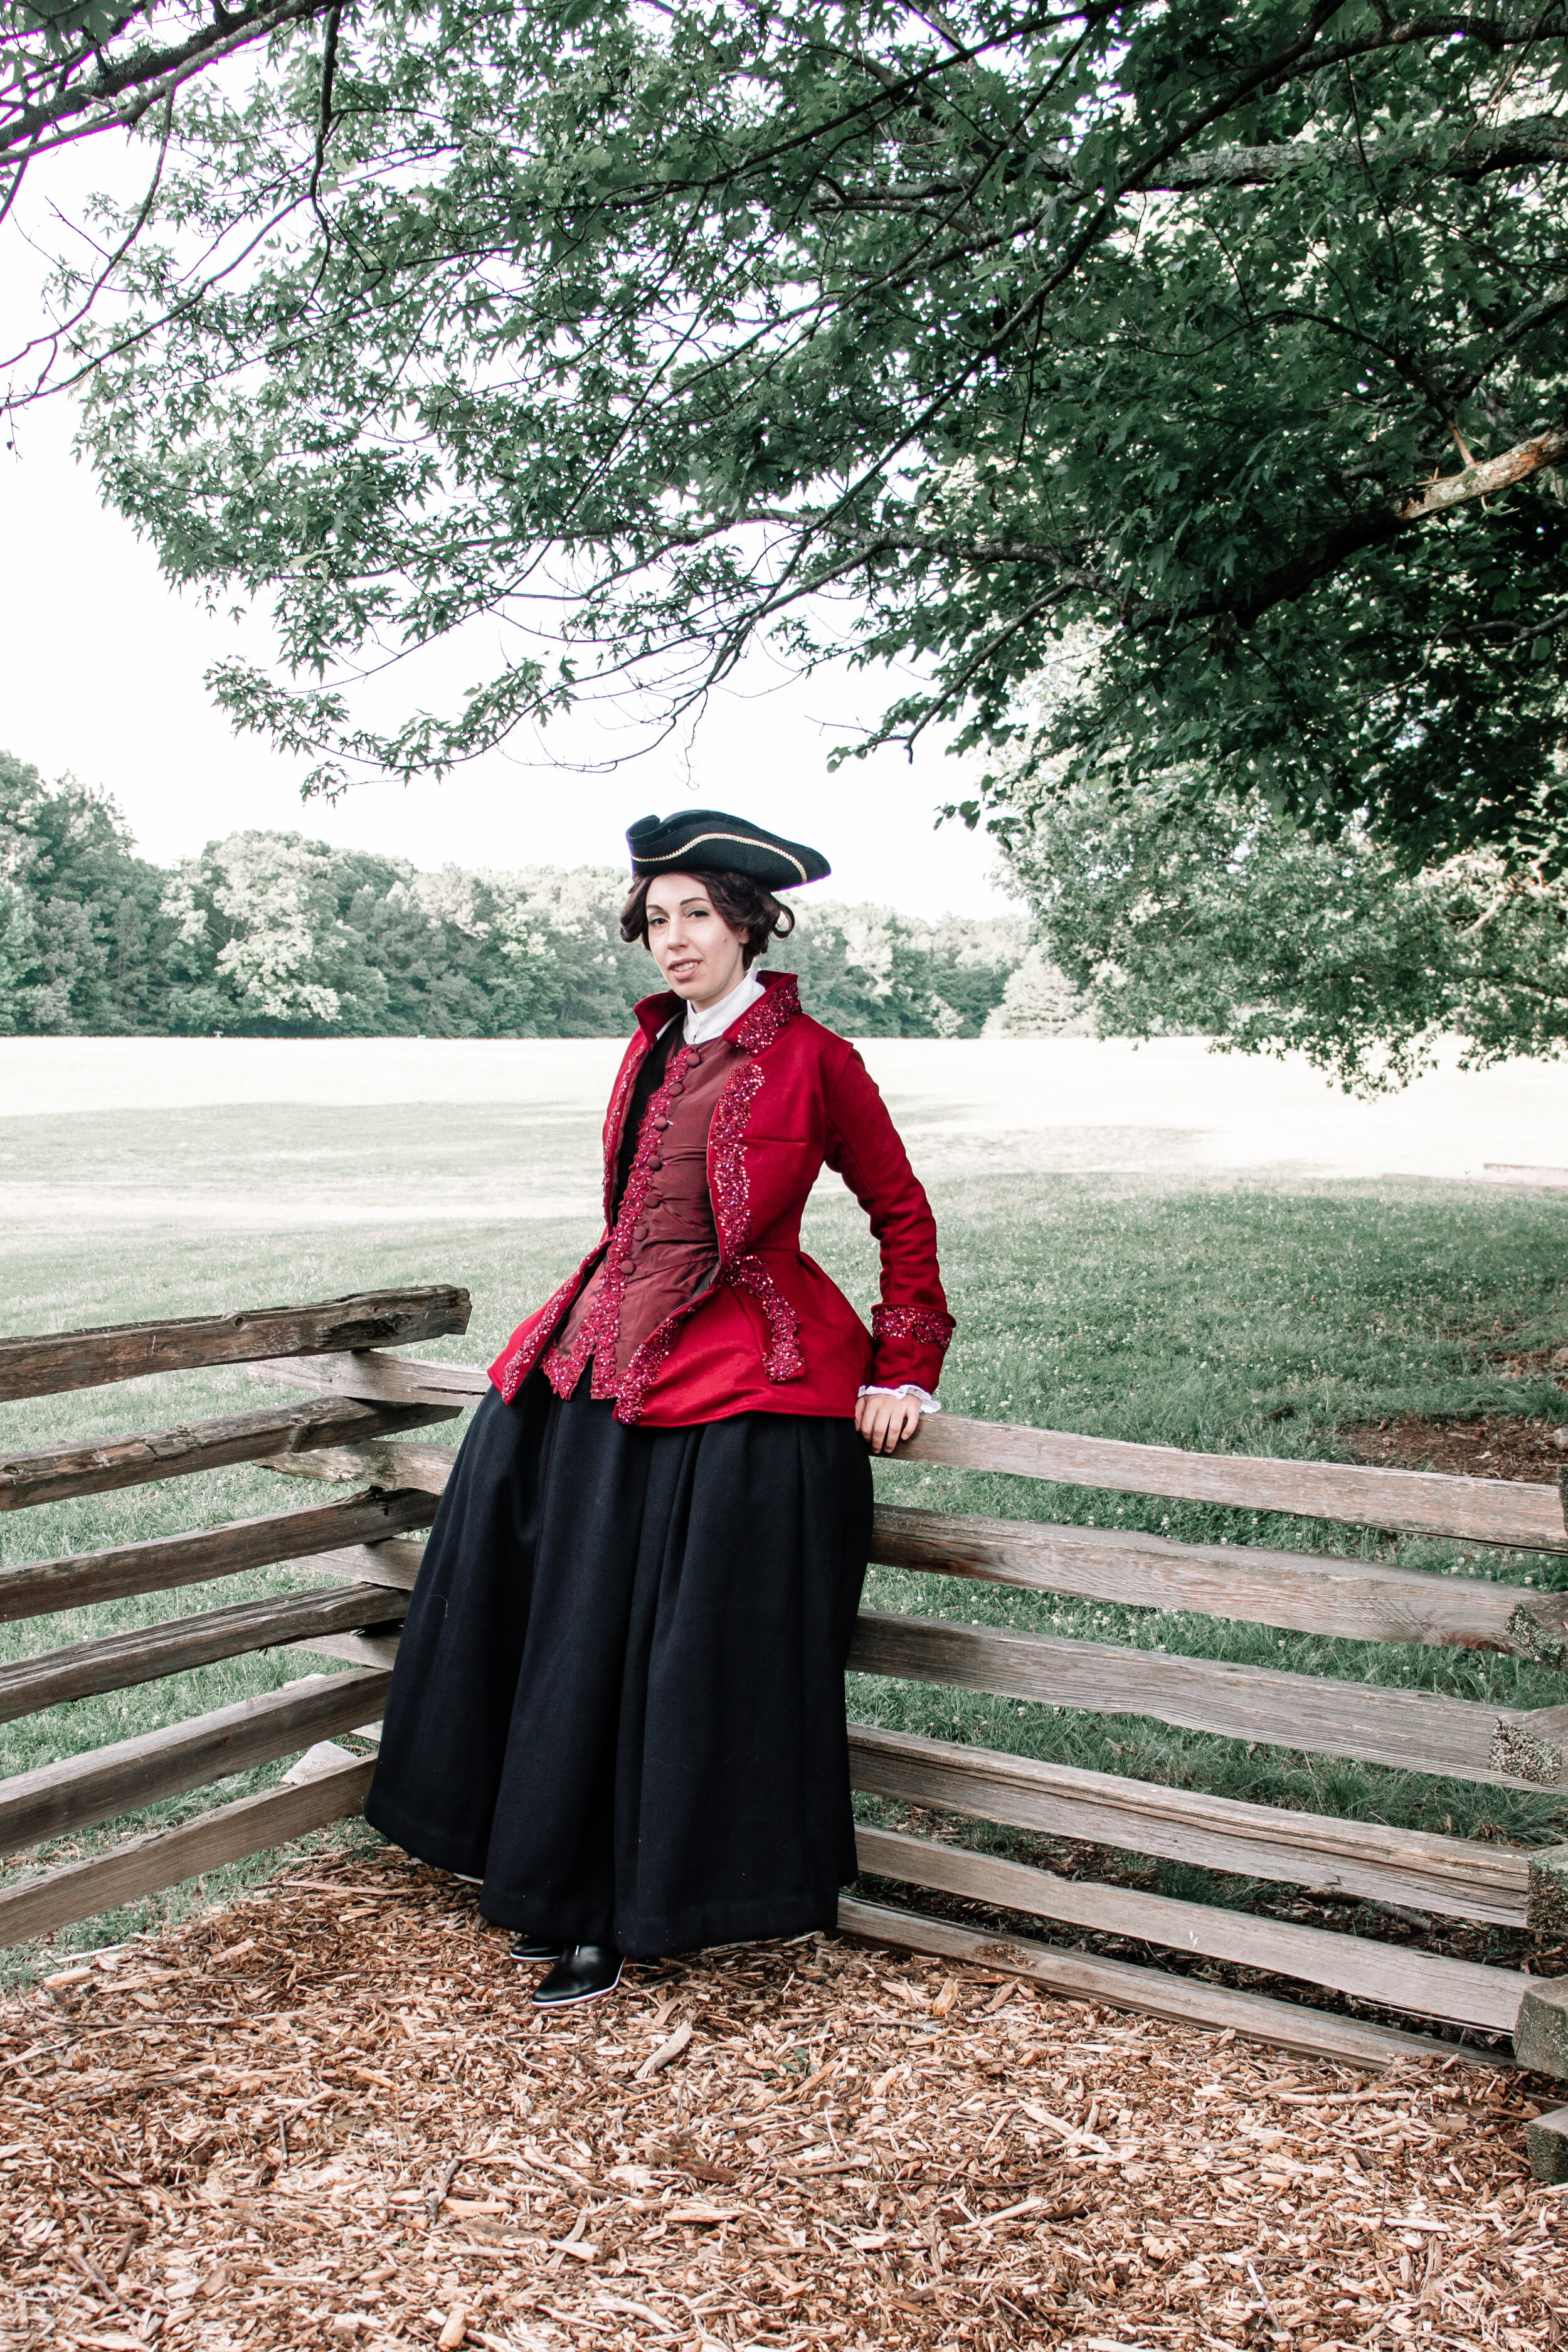
Photos:
I had major issues styling the wig for this so I switched out the wigs at the last minute and instead of using a blond wig I used a powdered white wig, it’s not perfect but it did the job.