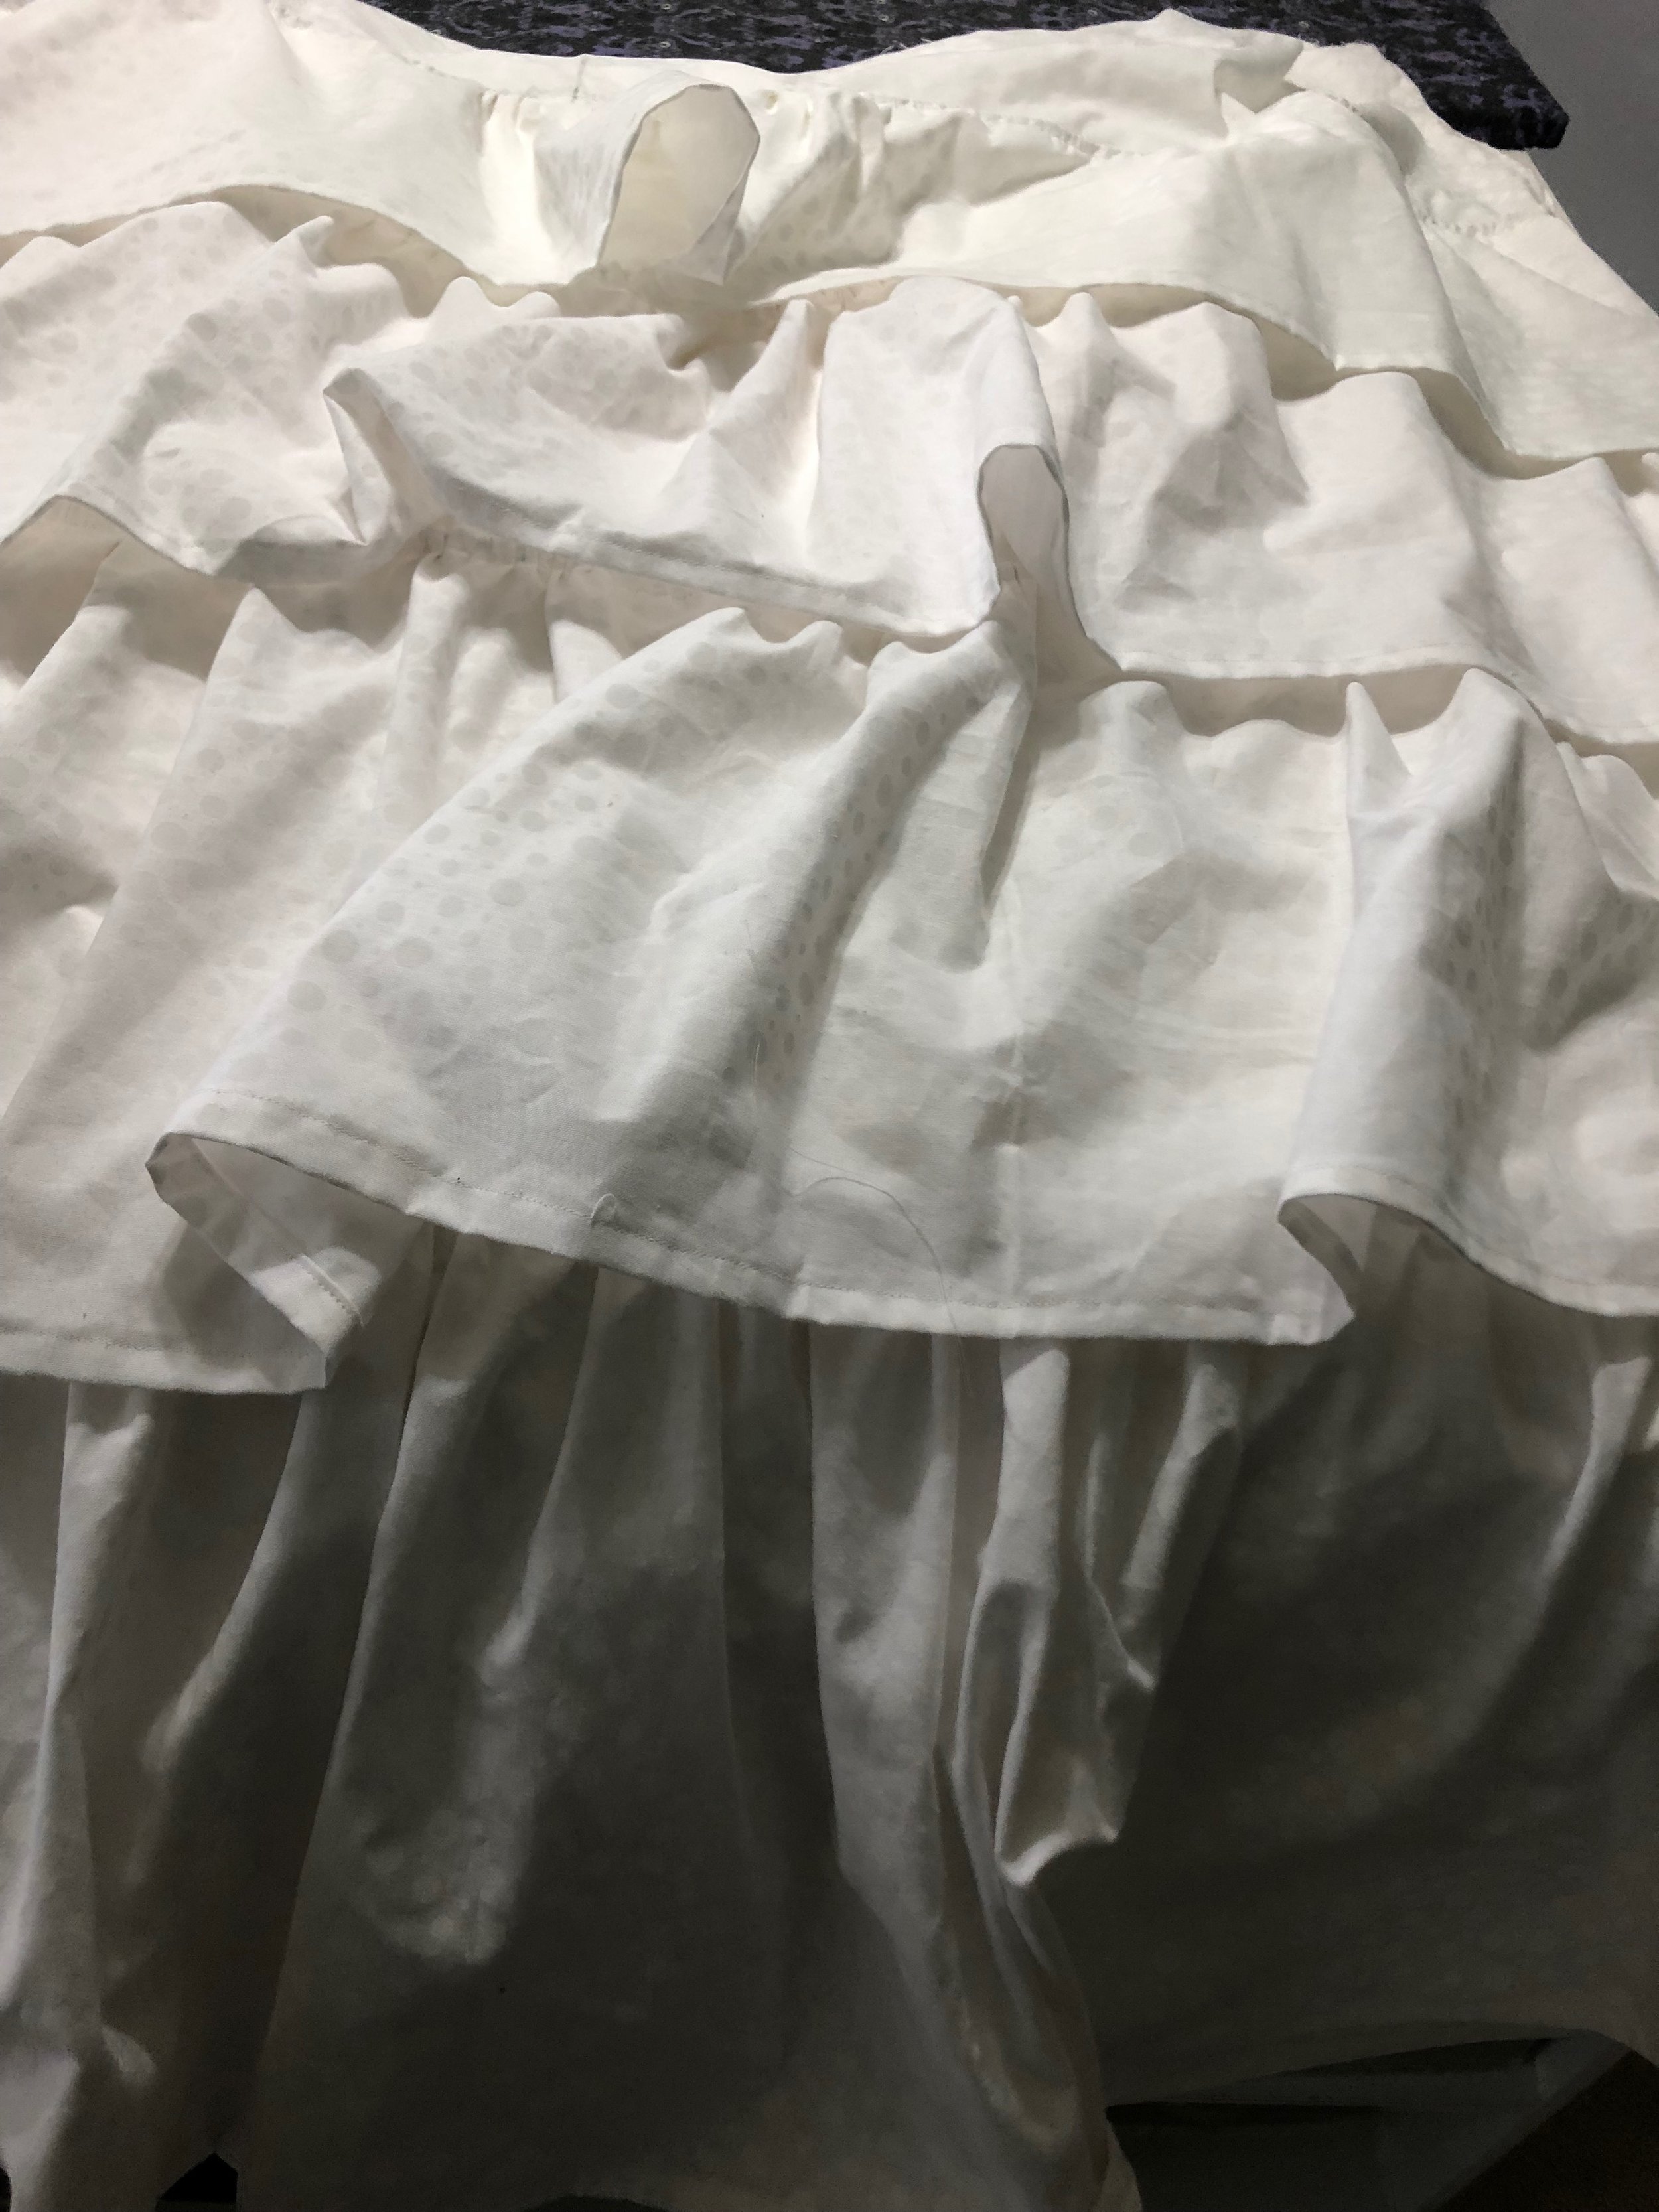
Welcome back to my blog, this is part 2 of my 1850’s ensemble where I will talk about using Truly Victorian patterns to make the flounced skirt and the Bertha Ballgown Bodice.
Part one can be found here and covers the walking cage crinoline.
The flounced skirt took about 11 yards of quilters cotton and 25 yards of this cording.
I started by cutting out the pattern, all the pieces and then I labeled everything. I also cut everything on the salvage so I would’t have to do with French seams for every single panel (there was a lot of panels).
Once all the panels were cut, marked, and sewing together I sewed up the hem of the base skirt on a 1” rolled hem, then all the flounces got a 1/2” rolled hem. Now it was time to encase the cording.
This technique of gathering is pretty new to me but I wanted to try it out anyway. It was so time consuming and probably not the best way to gather down all of these strips but hey I gave it a solid effort.
The trick to do this was to gather everything to the center front and then spread the gathers and pin it from there. This method of gathering and the prep work that had to go into it was the reason this took longer to make than the hoop.
Once the first one was attached I moved onto the next one, working from the bottom up.
Once I made it to the top, it was time at add cartridge pleats. I have never done cartridge pleats before and I found the pattern to be lacking in instruction for them, I tried twice to apply them and both times it made the waist over 7” too small so that it would not fit into my waistband. So I gave up and evenly pleated everything down and stitched it in the waistband. I felt like an epic failure at first but now that I look at it I think it looks really pretty and I am desperate to give cartridge pleating another try some day.
Moving on to the bodice, I am very aware that I chose a ballgown bodice to go with a “day wear” look but I’m standing behind my decision because I feel like the dress itself looks beautiful and I am proud of how quickly I finished it.
So for the bodice I used another Truly Victorian pattern and it happened to be one I have used before. I used the spotted cotton as the fashion fabric and I used white cotton for lining and interlining.
I started by basting the cotton to the fashion cotton.
Then I stitched the darts and bodice sections together at 1/2” seam allowance, I did this so I could skip the addition of adding boning channels and made channels out of my seams.
Once the lining and the fashion pieces were sewn up, I applied the boning and moved onto the sleeves.
The instructions for the sleeves are very straight forward and easy to understand but essentially there were was a lining and a sleeve and the sleeve pieces gathered down to the lining to create the shape needed for the sleeves.
Moving on to the bertha, I made the very simple bertha over the pleated one because I was trying super hard to go with a simple design. I did add one trim to the bertha to make it pop and I machine stitched that on so it took no time at all.
The final step was to sew the bertha on and attach the lining to the bodice, right sides together and stitching around all the edges and flipping it out through the sleeve. I used grommets to close up the back.
Here’s the finished bodice, the entire outfit took me 26 hours to make.


