Dragon Costume for my dog Eva

Those of you that follow me on Instagram are pretty familiar with Eva, my 2 year old pit bull mix but for those that have never seen her before she is my sewing assistant/entertainment during long sewing sessions.

62572586_10156327807574849_6753967859736510464_o.jpg

This project was inspired by the fact that during the winter Eva get’s rather cold due to her short hair and it’s difficult finding cute sweaters and costumes for her because of her size so I thought it would be fun to make her a vest that also doubles as a Dragon costume.

The fabric for this project was given to me by Shannon Fabrics specifically the cuddle fabric and trust me it’s extremely soft.

For the mock up I used $1 fleece I got at my local fabric warehouse, it’s not soft but it was a good thickness for the mock-up and that’s what I needed.

I also used Super Structure Foam

4” wide Velcro

For the eye’s I bought this embroidery file off of Etsy.

So let’s get started, I drafted a pattern using a vest we purchased for Eva but ended up being too small. I used the vest as a base for the pattern added 2 inches on each side to fit her better, and followed all the placement on the vest for the velcro pieces. I made a mock-up with all that information and 1” velcro I had left over from Sith and Jedi robes and it fit.

IMG_6835.jpg

She seemed pretty happy in it so I was ready to move onto the real fabric.

IMG_6836.jpg

For my real fabric I still needed to add 5/8” seam allowance for sewing lining into the vest. So I chose to use one color cuddle fabric for the top and another for the lining. Another alternative for the lining is lining fabric or satin but I just loved the way the cuddle fabric looked so I used it.

Once my fabric was cut, I pinned the Velcro in the places I marked on my pattern.

IMG_6895.jpg

I also pinned the collar pieces together and stitched everything down.

IMG_6896.jpg

Once velcro was attached I was able to sew the pieces to the lining.

IMG_6897.jpg

Before flipping the piece I clipped the curves so the piece would lay flat around the arms.

IMG_6899.jpg

The collar pieces were stitched, right sides together, then flipped.

IMG_6900.jpg

Then the collar was stitched onto the top vest piece before lining was added.

IMG_6901.jpg

The lining was then pinned and stitched leaving an opening at the top right piece.

IMG_6902.jpg

The piece was flipped and the bottom piece was sewn to the top at the top right corner.

IMG_6904.jpg

Time to try it on, in the future I will make the velcro pieces a bit smaller but other than that, it looks super snuggly.

IMG_6906.jpg

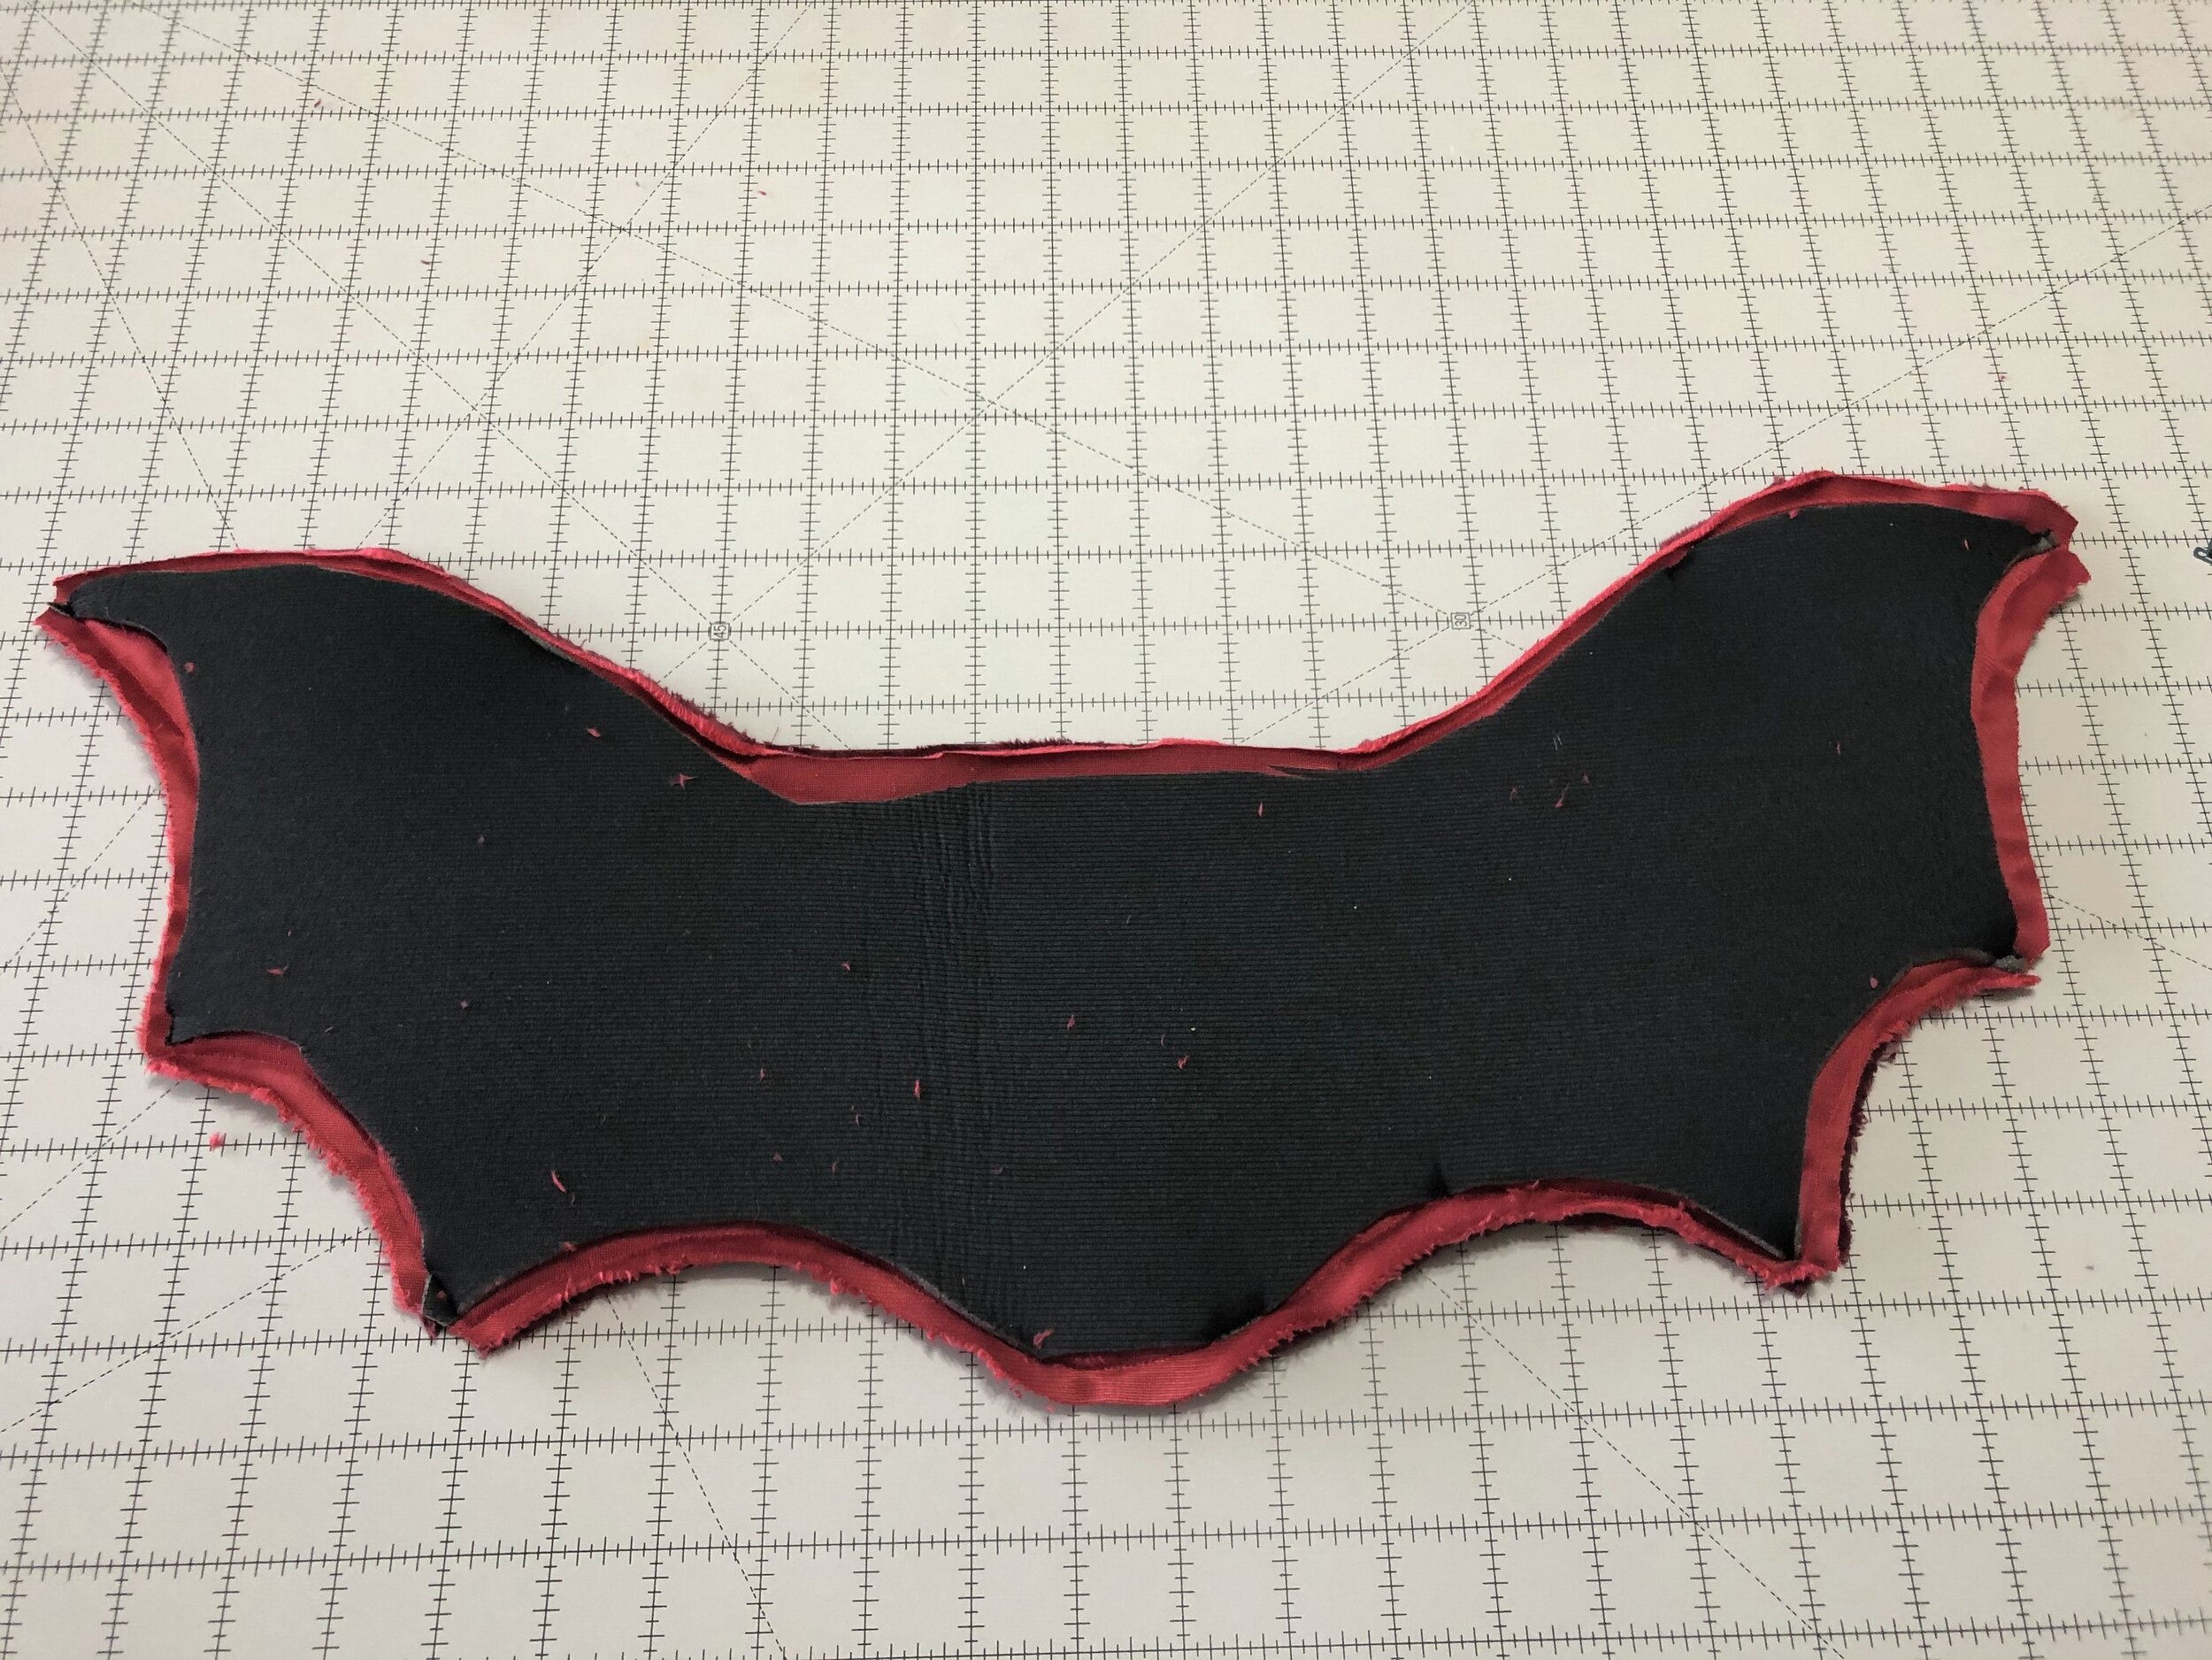
Now onto the wings, I modeled these after wings on my Toothless stuffed animal, but a bit larger and more detailed.

I knew I wanted them to be about 24” long and 10”-12” wide so I started with pattern paper in that size and just sketched until it looked like I wanted it to.

IMG_6908.jpg

I pinned the paper to Super Structure Foam so I could sew the “bone” structure into it.

IMG_6909.jpg

Then I cut the wings out twice on fabric with 5/8” seam allowance.

IMG_6910.jpg

Then I adhered the top fabric to the foam, stitched the two fabric pieces together, clipped the corners and edges.

IMG_6911.jpg
IMG_6912.jpg

I slip stitched the opening closed and then quilted the “bone” pieces on to the wings.

IMG_6913.jpg

Finally, I stitched two large snaps to the underside and the opposite side onto the vest.

IMG_6915.jpg

Moving onto the hood, I used the same hood concept that I have for my Kigurumi’s for the hood of this costume. To half pieces with a 4” by 26” strip around the front. I cut these out on both red fabrics.

IMG_6916.jpg

While my embroidery machine was stitching the eyes out on the top strip, I was making the ears, and teeth pieces inspired by Toothless. I have never done embroidery on cuddle fabric before and it’s thicker than I’m used to so I made a few mistakes and it took a total of 5 attempts for both eyes and the final eyes are still not very perfect but I kind of love them.

IMG_6917.jpg
IMG_6918.jpg

Once the pieces were together, I stitched the lining to the top fabric, flipped them and folded under the neck seam to top stitch it closed. I hand stitched snaps onto the inside and the collar and then called the costume done.

IMG_6921.jpg
IMG_6920.jpg
IMG_6923.jpg

If you would like to support my blog, please check out my patreon!

It helps funds my projects and get's you early access to all future projects plus exclusive content.

~~~~~Sewing FAQ~~~~~~

Sewing Machine

Embroidery Machine

Oliso Smart Iron (affiliate link)

Making an 1850's Flounced Skirt and Bertha Bodice

Welcome back to my blog, this is part 2 of my 1850’s ensemble where I will talk about using Truly Victorian patterns to make the flounced skirt and the Bertha Ballgown Bodice.

Part one can be found here and covers the walking cage crinoline.

The flounced skirt took about 11 yards of quilters cotton and 25 yards of this cording.

IMG_4107.JPG

I started by cutting out the pattern, all the pieces and then I labeled everything. I also cut everything on the salvage so I would’t have to do with French seams for every single panel (there was a lot of panels).

IMG_4110.JPG

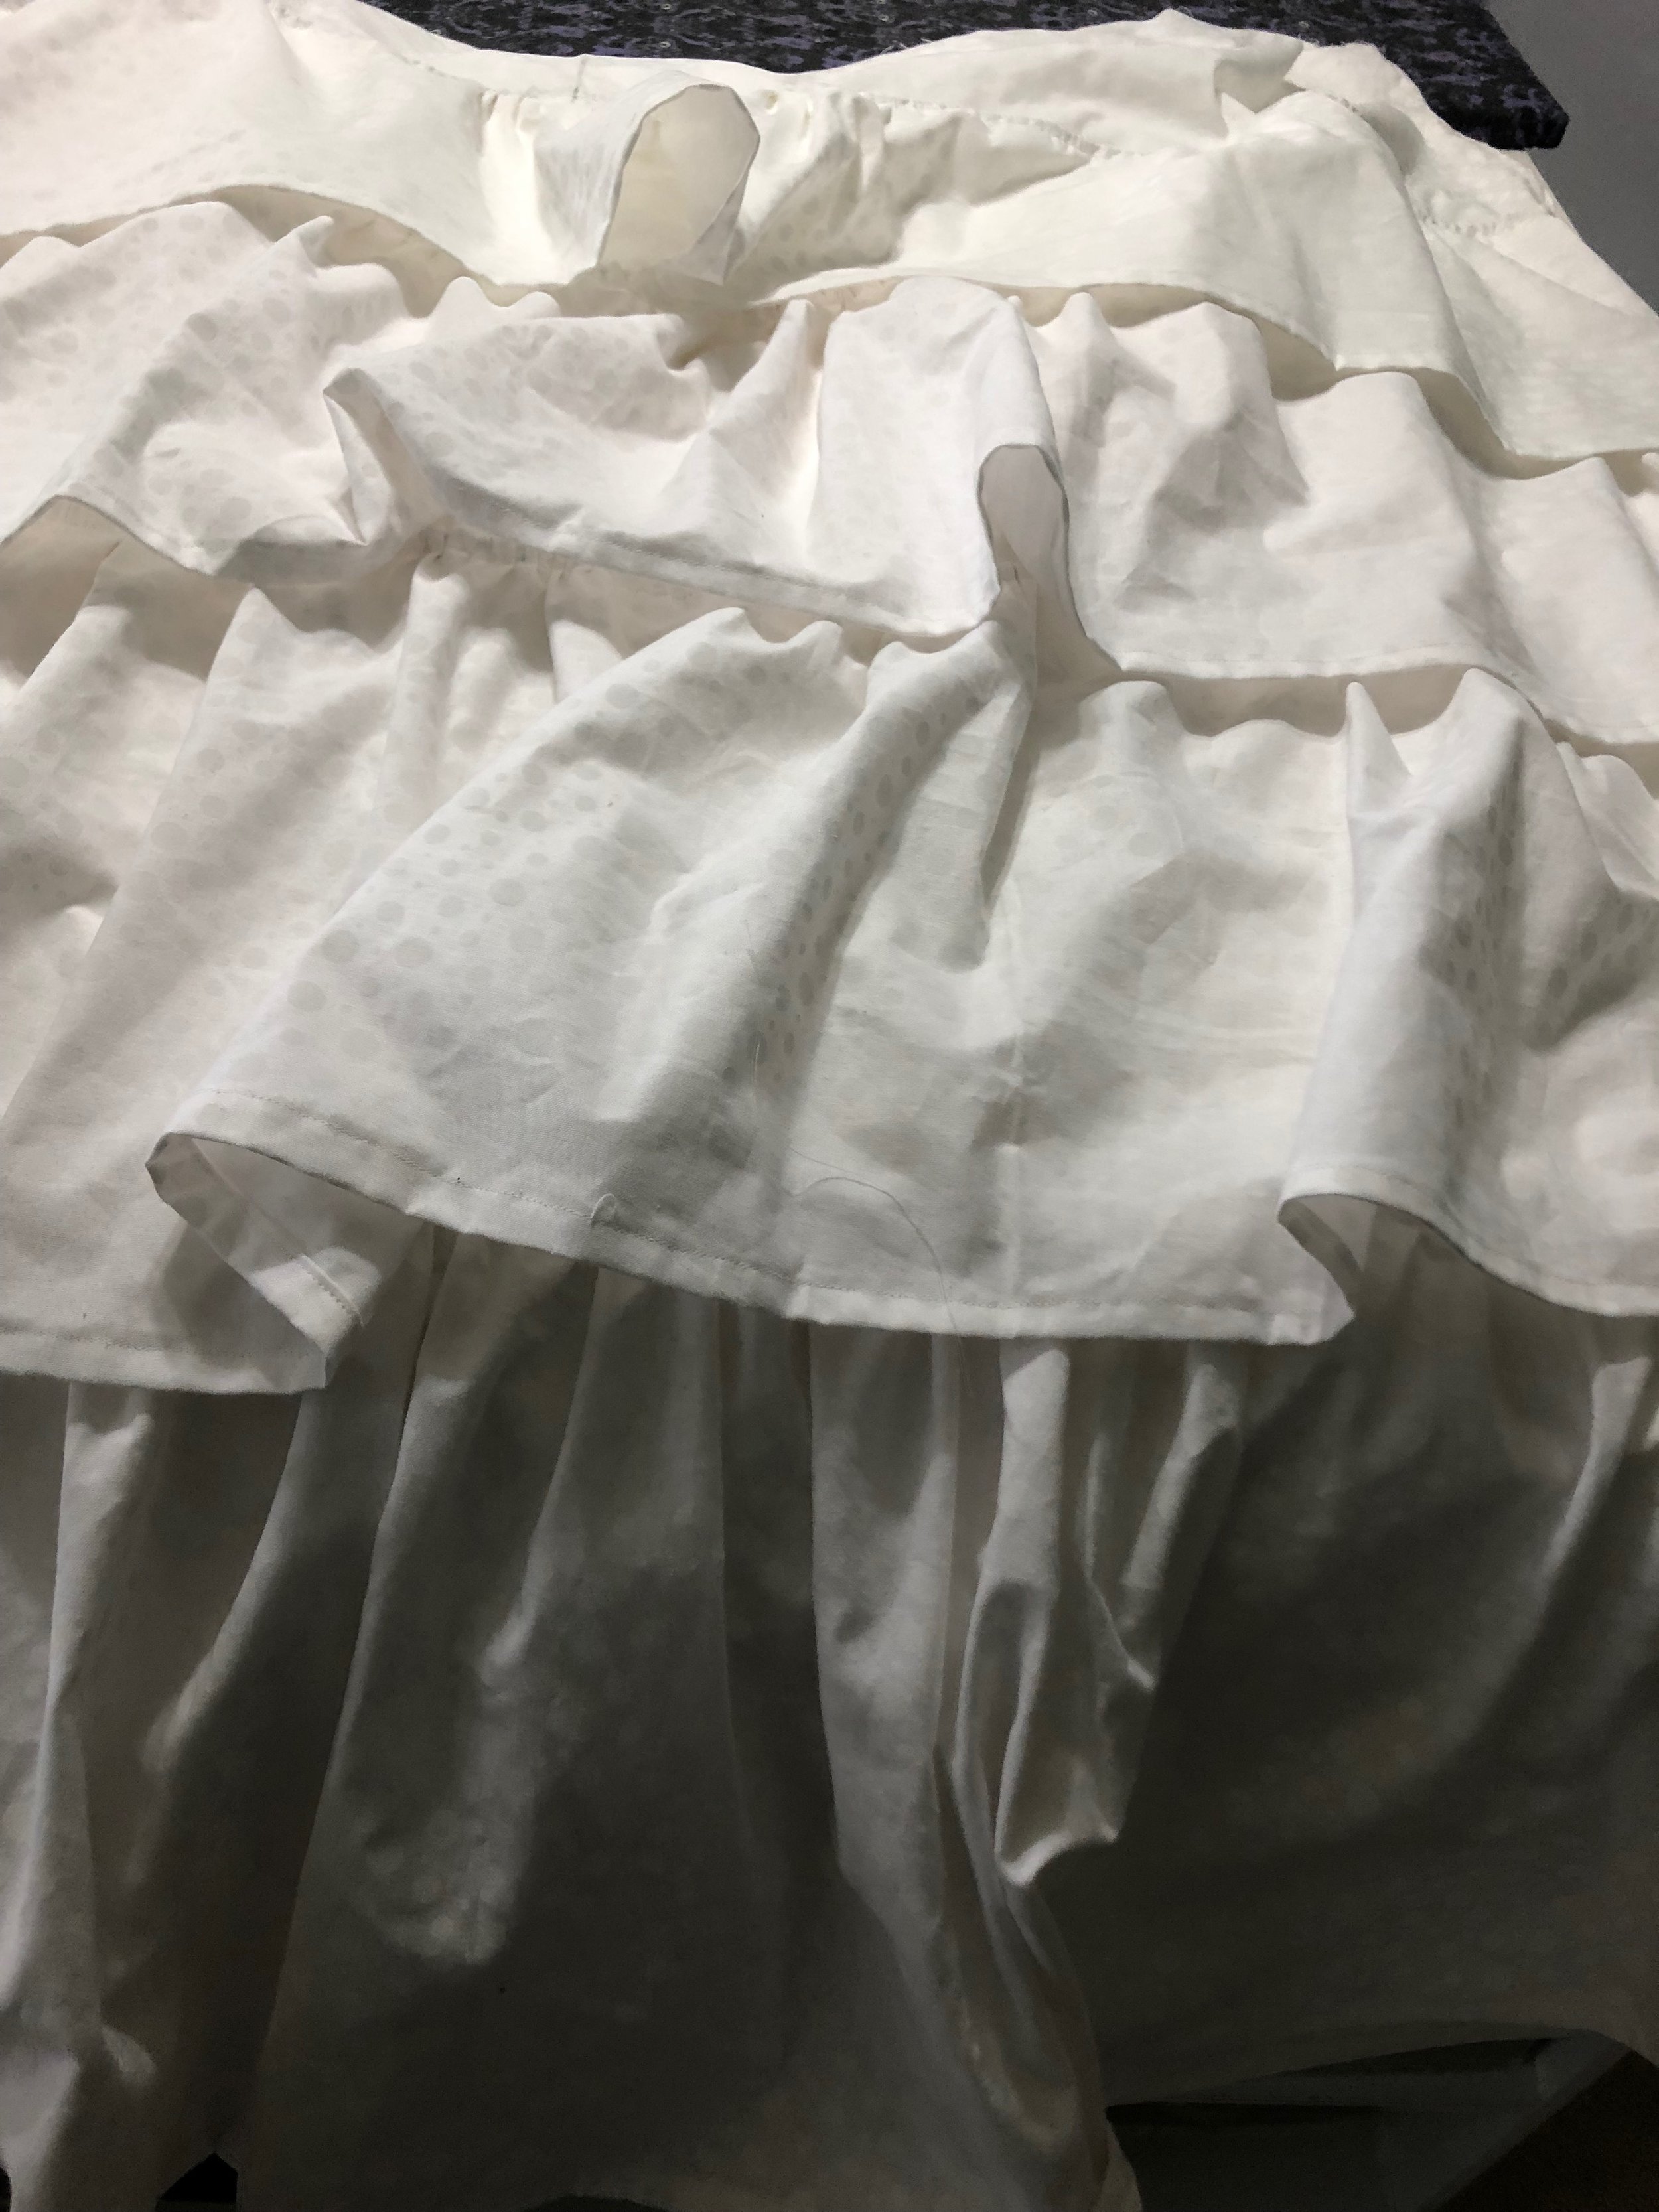
Once all the panels were cut, marked, and sewing together I sewed up the hem of the base skirt on a 1” rolled hem, then all the flounces got a 1/2” rolled hem. Now it was time to encase the cording.

This technique of gathering is pretty new to me but I wanted to try it out anyway. It was so time consuming and probably not the best way to gather down all of these strips but hey I gave it a solid effort.

The trick to do this was to gather everything to the center front and then spread the gathers and pin it from there. This method of gathering and the prep work that had to go into it was the reason this took longer to make than the hoop.

IMG_4116.JPG

Once the first one was attached I moved onto the next one, working from the bottom up.

IMG_4118.JPG

Once I made it to the top, it was time at add cartridge pleats. I have never done cartridge pleats before and I found the pattern to be lacking in instruction for them, I tried twice to apply them and both times it made the waist over 7” too small so that it would not fit into my waistband. So I gave up and evenly pleated everything down and stitched it in the waistband. I felt like an epic failure at first but now that I look at it I think it looks really pretty and I am desperate to give cartridge pleating another try some day.

IMG_4119 (2).JPG

Moving on to the bodice, I am very aware that I chose a ballgown bodice to go with a “day wear” look but I’m standing behind my decision because I feel like the dress itself looks beautiful and I am proud of how quickly I finished it.

So for the bodice I used another Truly Victorian pattern and it happened to be one I have used before. I used the spotted cotton as the fashion fabric and I used white cotton for lining and interlining.

IMG_4145.JPG

I started by basting the cotton to the fashion cotton.

Then I stitched the darts and bodice sections together at 1/2” seam allowance, I did this so I could skip the addition of adding boning channels and made channels out of my seams.

IMG_4149.JPG

Once the lining and the fashion pieces were sewn up, I applied the boning and moved onto the sleeves.

The instructions for the sleeves are very straight forward and easy to understand but essentially there were was a lining and a sleeve and the sleeve pieces gathered down to the lining to create the shape needed for the sleeves.

IMG_4150.JPG

Moving on to the bertha, I made the very simple bertha over the pleated one because I was trying super hard to go with a simple design. I did add one trim to the bertha to make it pop and I machine stitched that on so it took no time at all.

IMG_4151.jpg

The final step was to sew the bertha on and attach the lining to the bodice, right sides together and stitching around all the edges and flipping it out through the sleeve. I used grommets to close up the back.

Here’s the finished bodice, the entire outfit took me 26 hours to make.

IMG_4153.JPG

Making Historically Accurate Megara part 1

Welcome to a new blog on making Historically Accurate Megara from Hercules. I made this costume in three weeks leading up to Momocon so I take a lot of short cuts and don’t exactly do things historically accurate but this design has been on my list for over a year now so what better time to make it then now.

To start off, I used silk instead of linen because I had never used silk shantung before and I really wanted to, I know now that it doesn’t give the drape that I need from the image but the color of the fabric was still stunning so I stand by my choice.

I purchased three yards of silk shantung from mood, three yards of silk habotai and three yards of silk shantung from Silk Baron. I used embroidery thread from Robison Anton in 24k Gold, as well as sewing thread from Intressa for sewing the garments.

The embroidery design was already programmed in my Husqvana embroidery machine in the exact size I wanted it so I chose to go the easy but inaccurate route vs digging for something more appropriate.

This blog is going to cover the shirt and skirt, while the next blog will cover the accessories and wig styling.

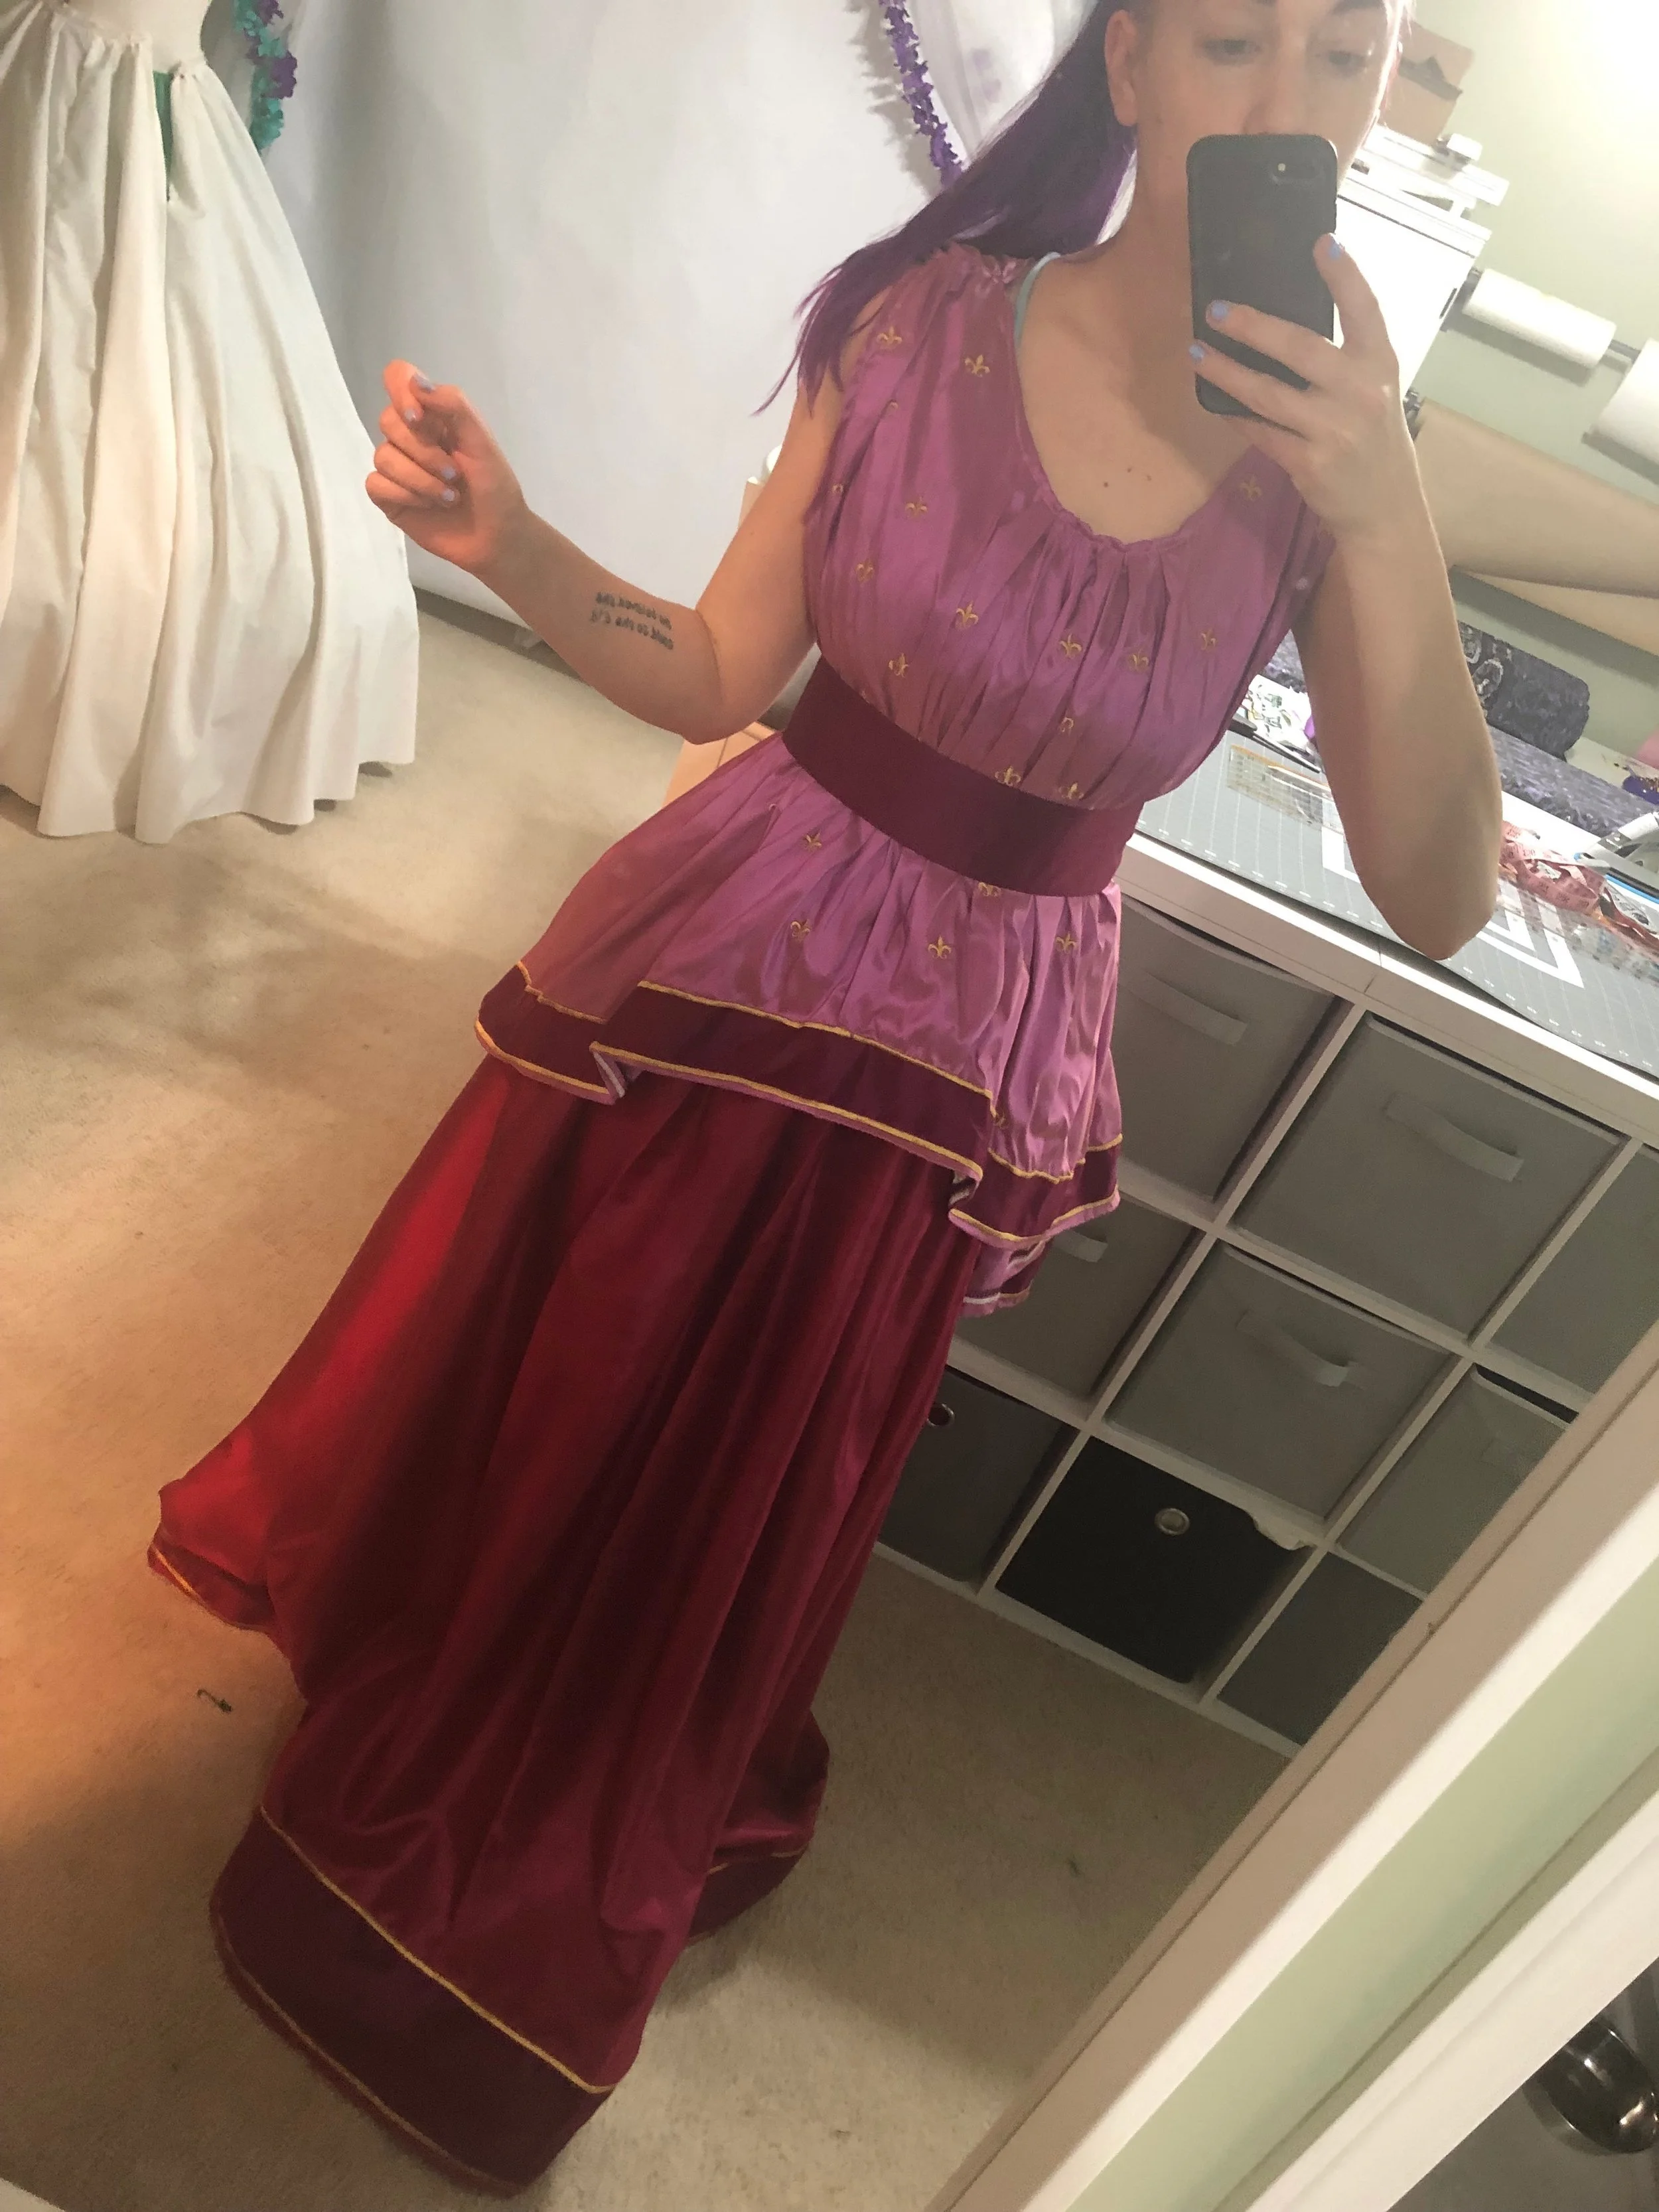
To start out I draped the chiton over my dress form by gathering the sleeves and neckline by hand, I did this on stream so naturally I forgot to take photo’s of it. There’s only two a bodice front and back to this piece so it goes together rather simply.

Once I had the shapes I wanted I cut out my fabric and serged all the edges to minimize the fraying.

Now I went in with my embroidery machine and stitched out the design, over and over and over again.

IMG_3540.JPG

I’m aware this is not a historically accurate choice but this is the choice I made so after 6 hours of placing, pressing go, stitching, and starting all over again I finally had this design all over my costume.

So now it was time to gather down the sleeves and neckline and then sew the pieces together.

IMG_3656.JPG
IMG_3657.JPG

Next I made a strip of fabric out of the Mulberry silk shantung the length of the hem by 3 inches. I folded over the edges and baste the strip down.

IMG_3654.JPG

Then using my embroidery machine I satin stitched the edges. This greatly worked against the drape but still looks good. If I were to redo this, I would not fold the edges inside and I would not do such a wide satin stitch.

IMG_3659.JPG

Then I made a belt out of the Mulberry silk shantung, I cut a piece of it 5” by 30” added interfacing to it and then sewed snaps on the back.

IMG_3658.JPG
IMG_3661.JPG

Now it’s time to make the skirt, this part was really easy and basically mimics what I did for my Jafar skirt. So I took my 3 yards of habotai and created the 5” strip at the bottom just like I did on the hem of the shirt.

IMG_3668.JPG

Then, creating a french seam I stitched the two edges together in the back leaving a 6 inch gap from the top. I gathered down the 110” to 28” made a waistband, and attached the skirt to the waistband.

IMG_3671.JPG

That’s the skirt, it took longer to stitch out the embroidery than it did to sew both the top and bottom of this costume. I would say about 15 hours have been put in so far.

IMG_3669.JPG

The next blog will cover the accessories and wig styling.

For those that want to help support my creations you can always join my Patreon or donate to my Ko-fi.

Alice in Wonderland: A 24-Hour Challenge

“We’re all mad here.”

Or at least that’s what I keep telling myself to justify the 24-Hour madness that was our Alice in Wonderland build!

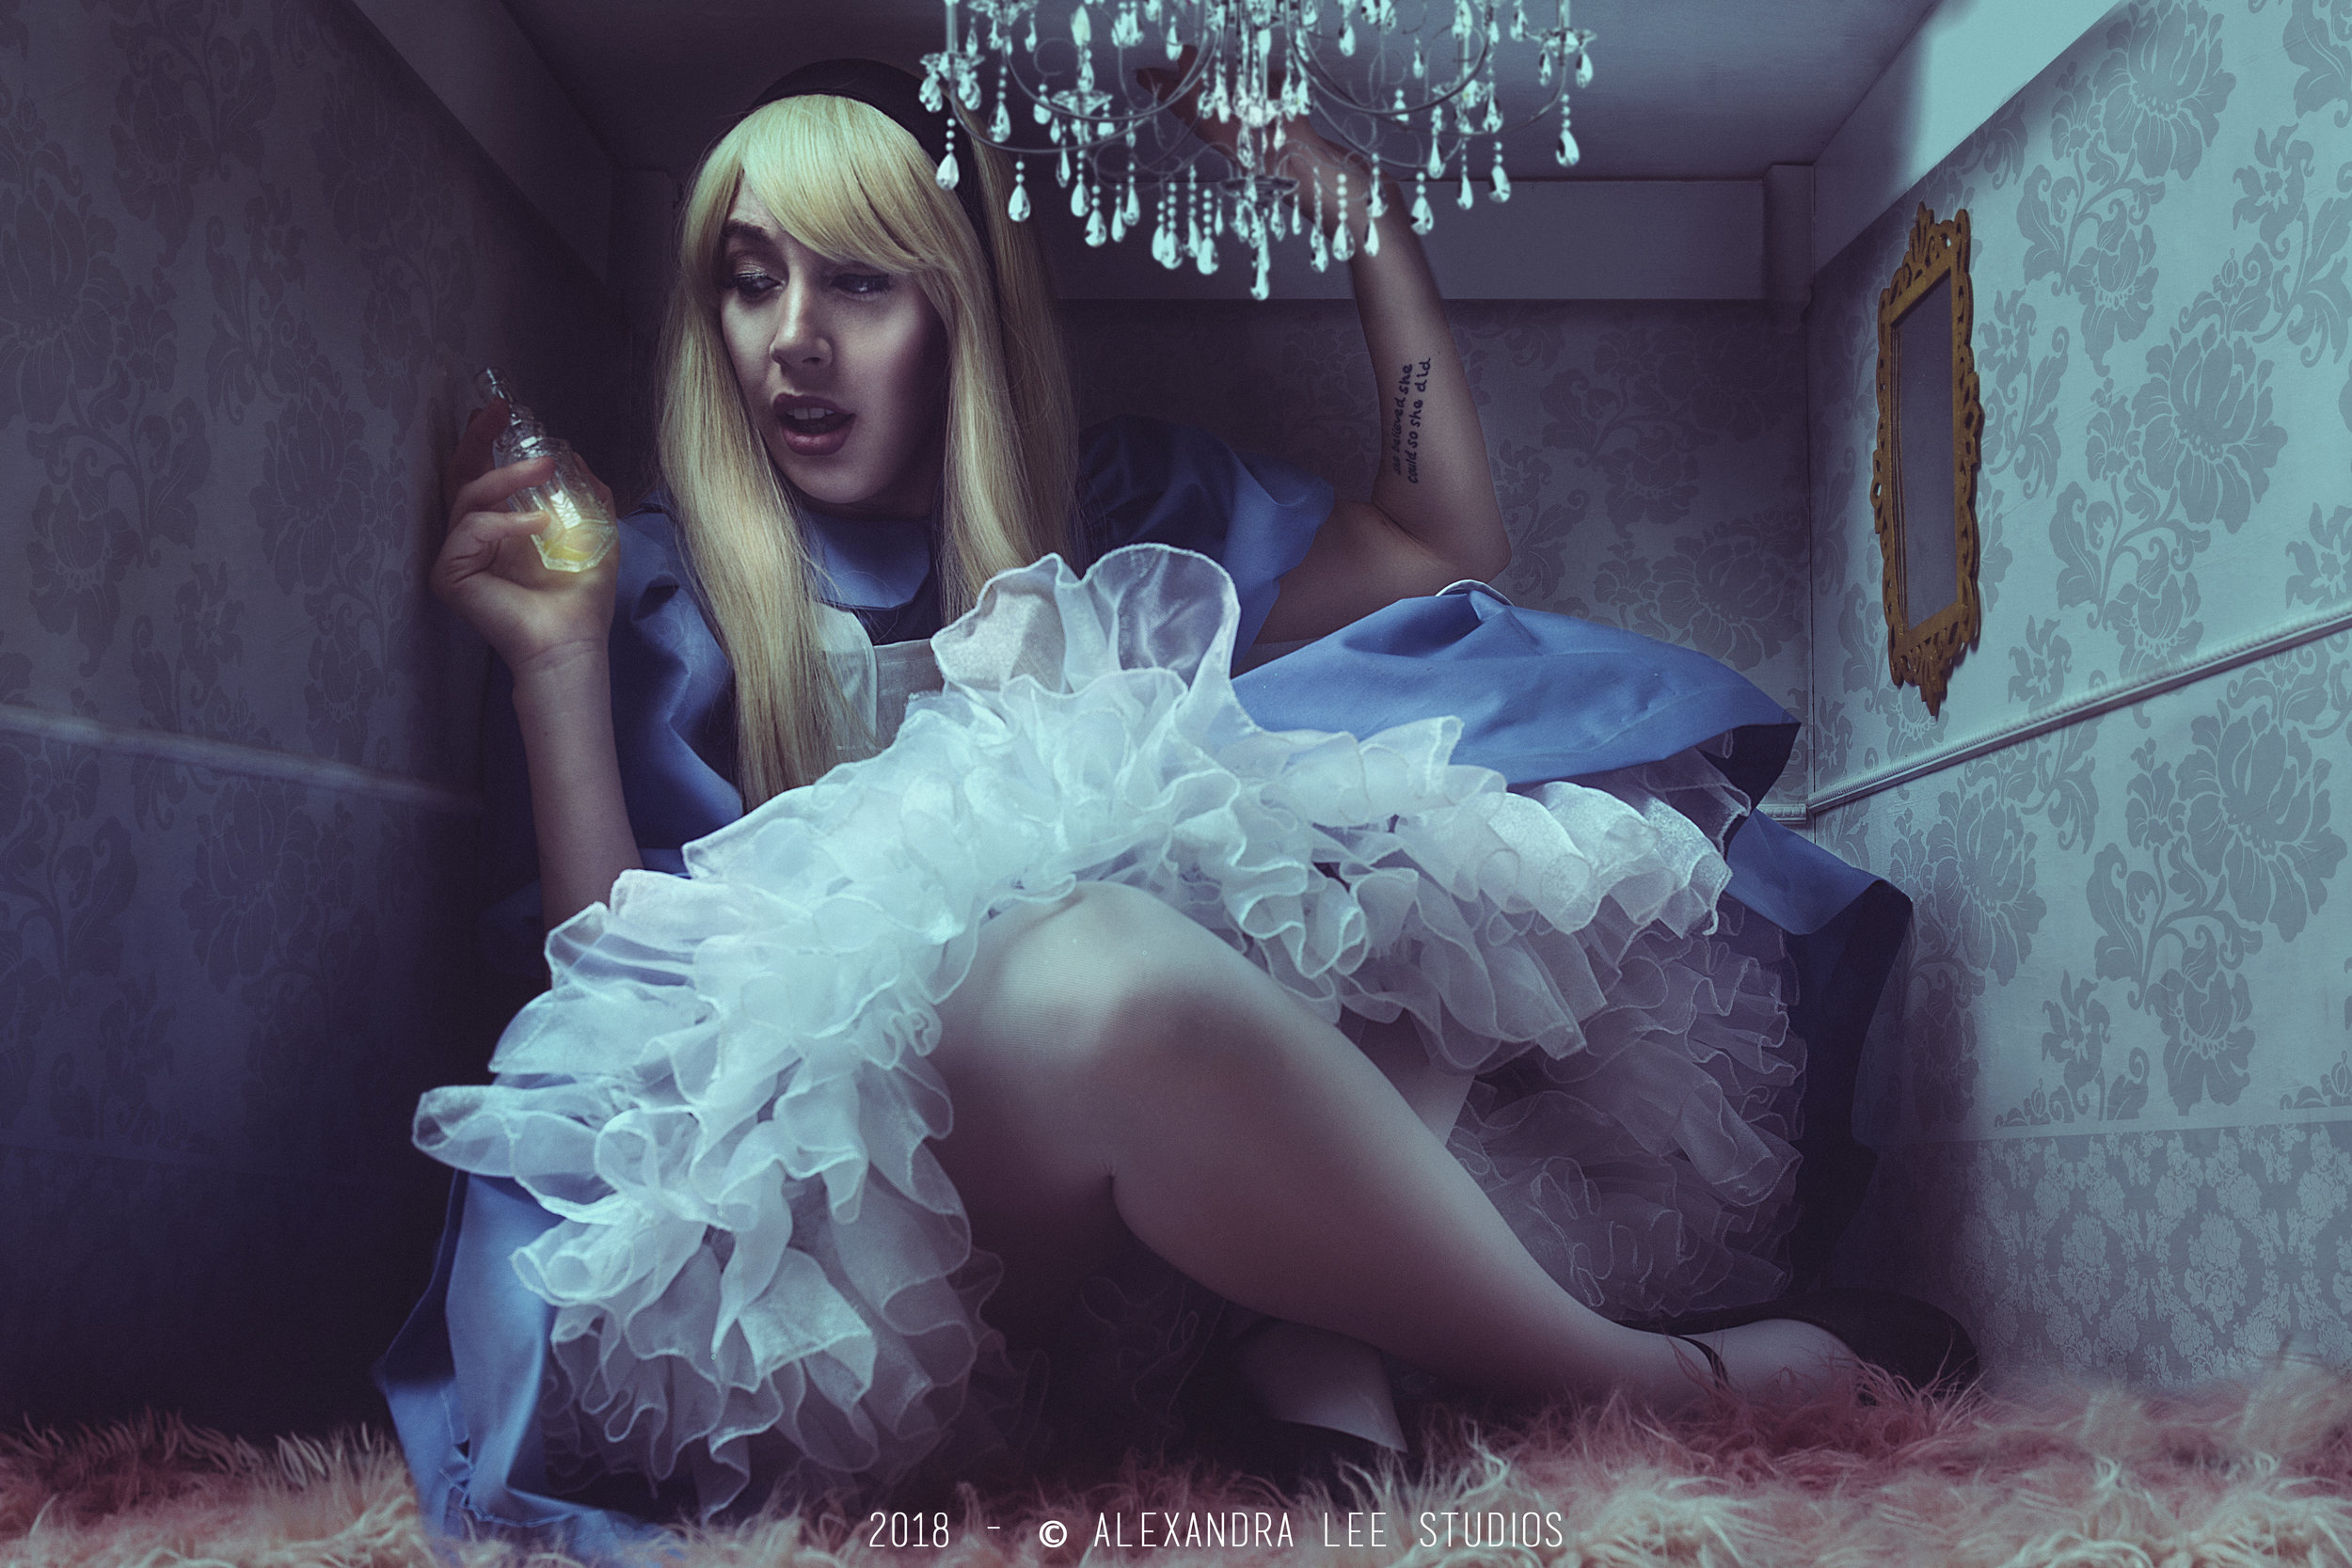
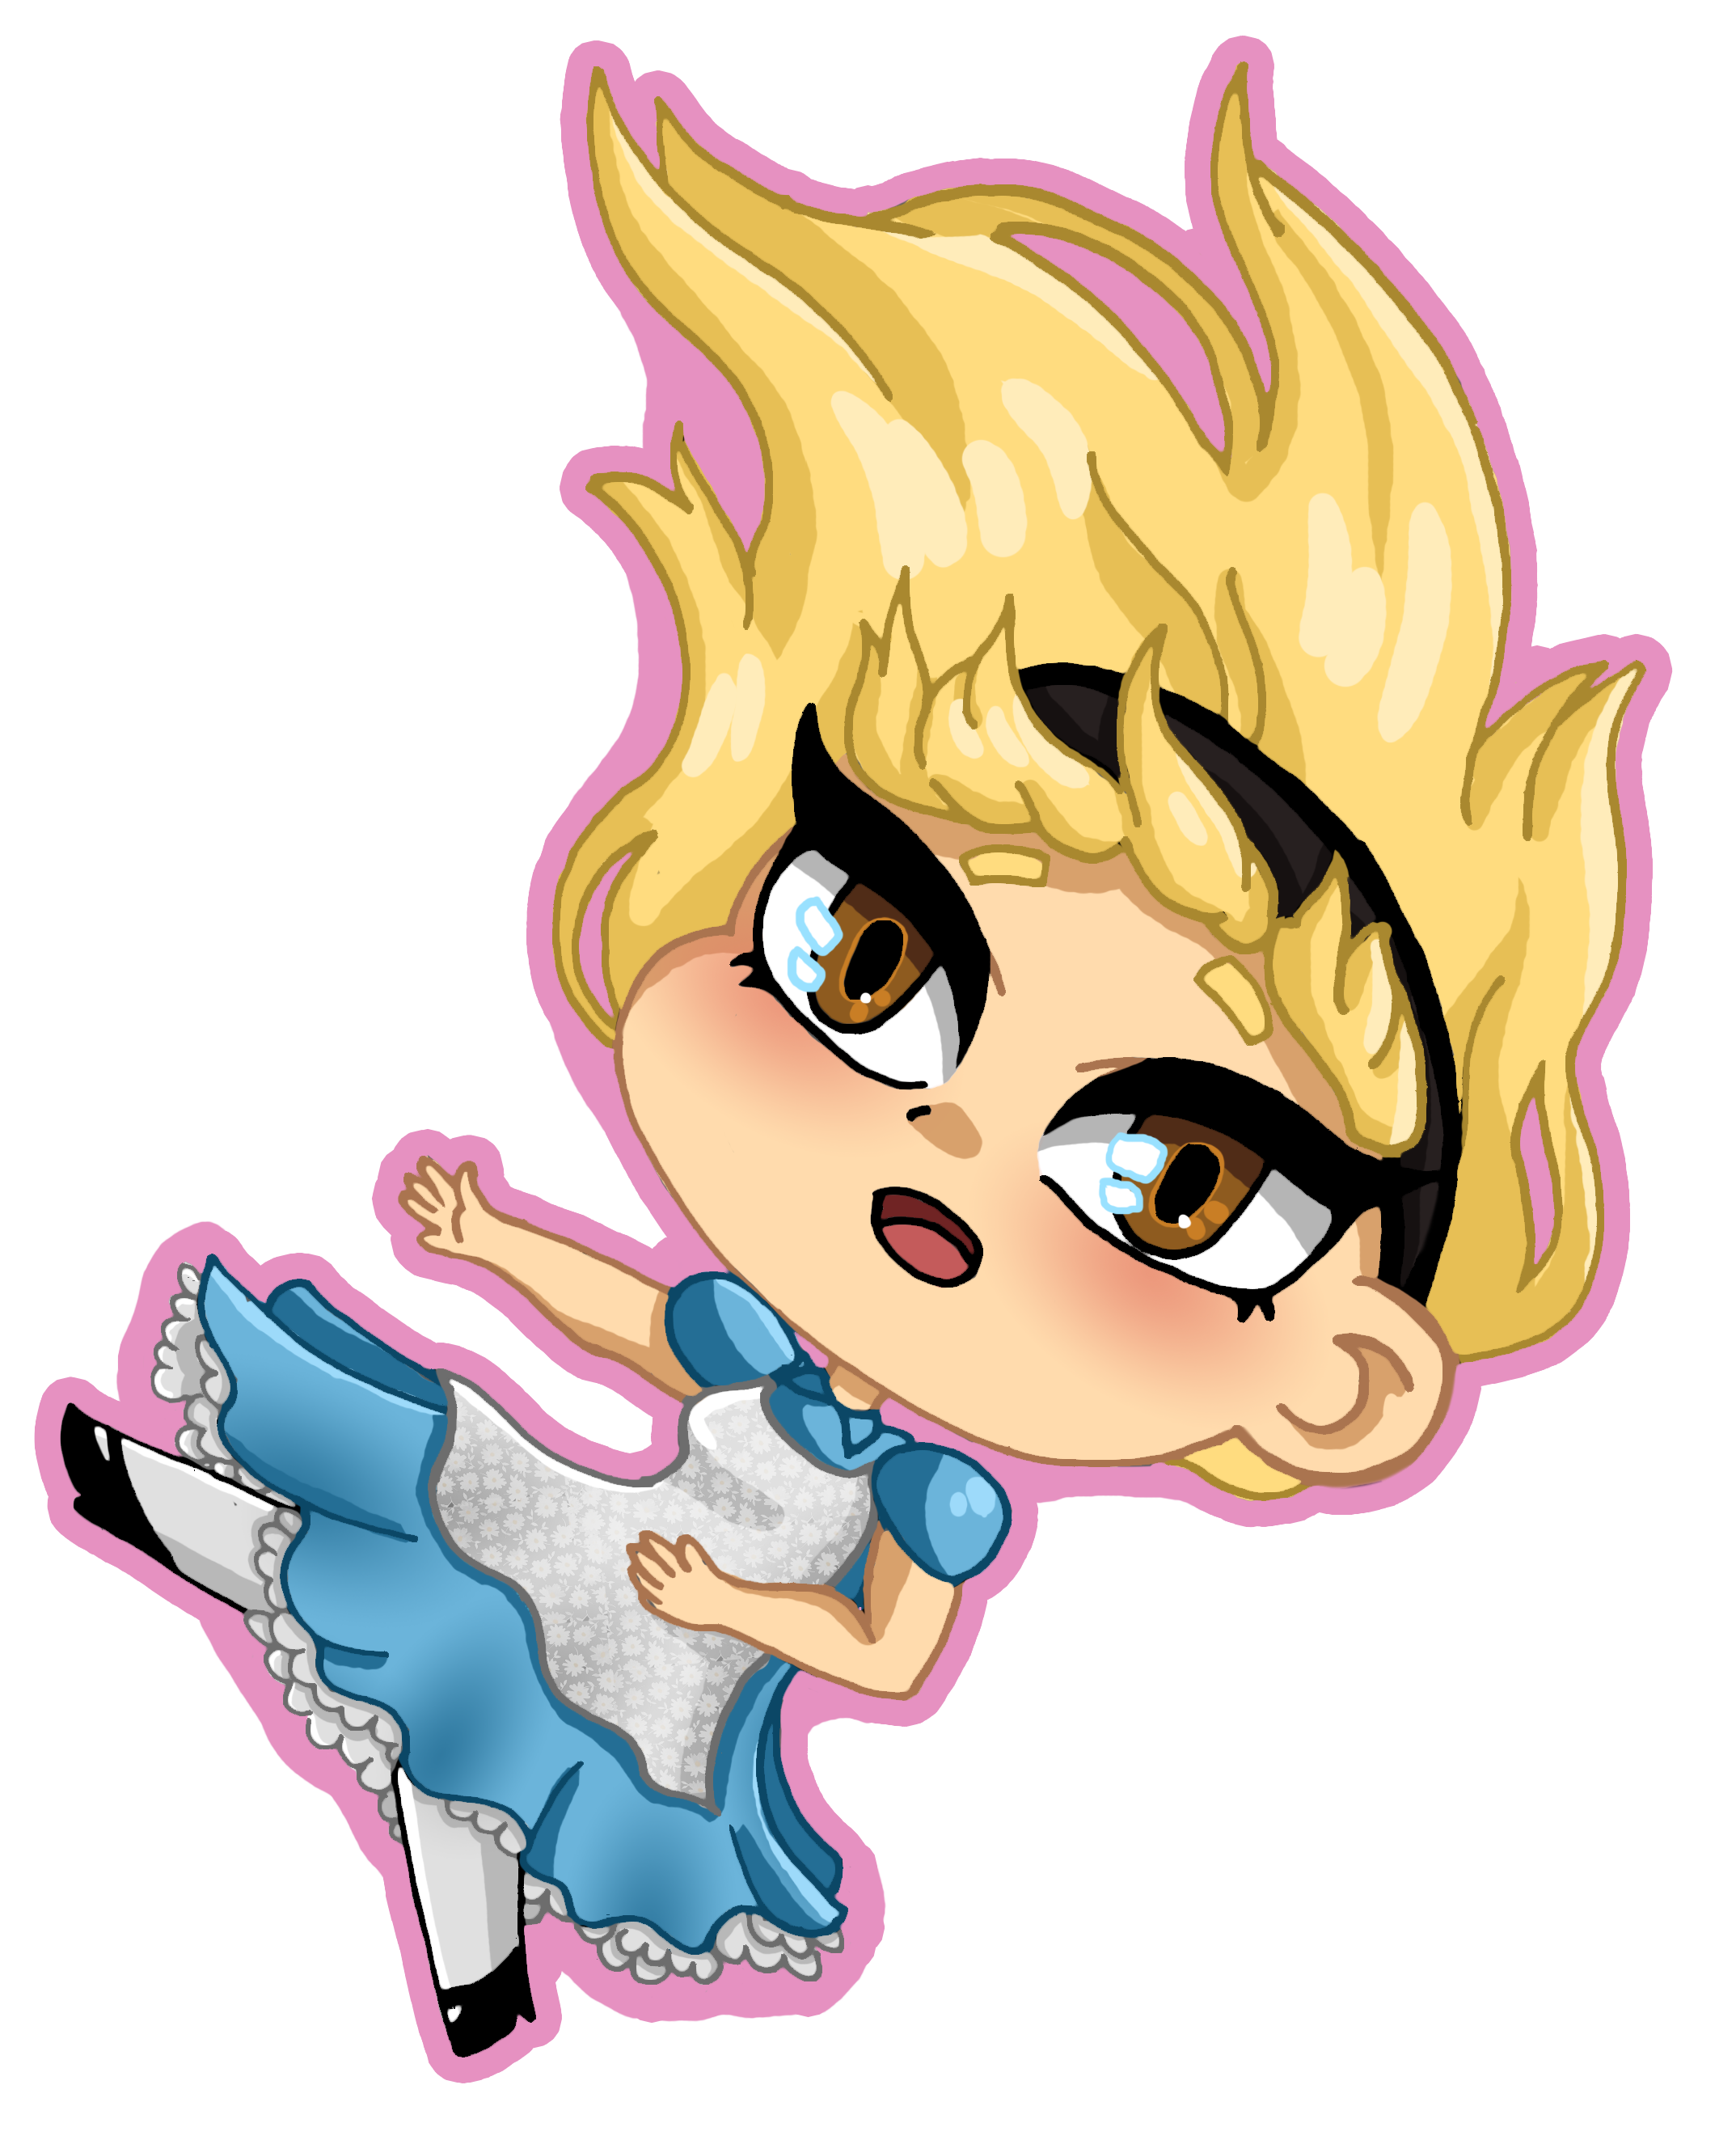
The goal was to create the dress, the chibi, the set, do the photoshoot and edit the photo from the shoot in 24 hours live on Twitch.

We slayed that goal and completed it in 19 Hours ending with this beautiful image by Alexandra Lee Studios.

4571EE.jpg

I didn’t take as many photo’s during the process as I normally do and I cut many corners but let’s just dive right into making this costume.

To start I made a calf length petticoat that I covered in a video here. It was a four layer, three tier petticoat made out of a combination of tulle and organza.

IMG_2621.JPG

The first thing I made was the headband. I made it out of black cotton, interfacing and black elastic. I used this blog and pattern on my Cricut Maker to cut the fabric and interfacing. I personally don’t like hard head bands because they give me a head ache but this one was soft and didn’t annoy me at all.

Also, since I had so many questions during the stream here is the link to the wig.

IMG_2636.JPG

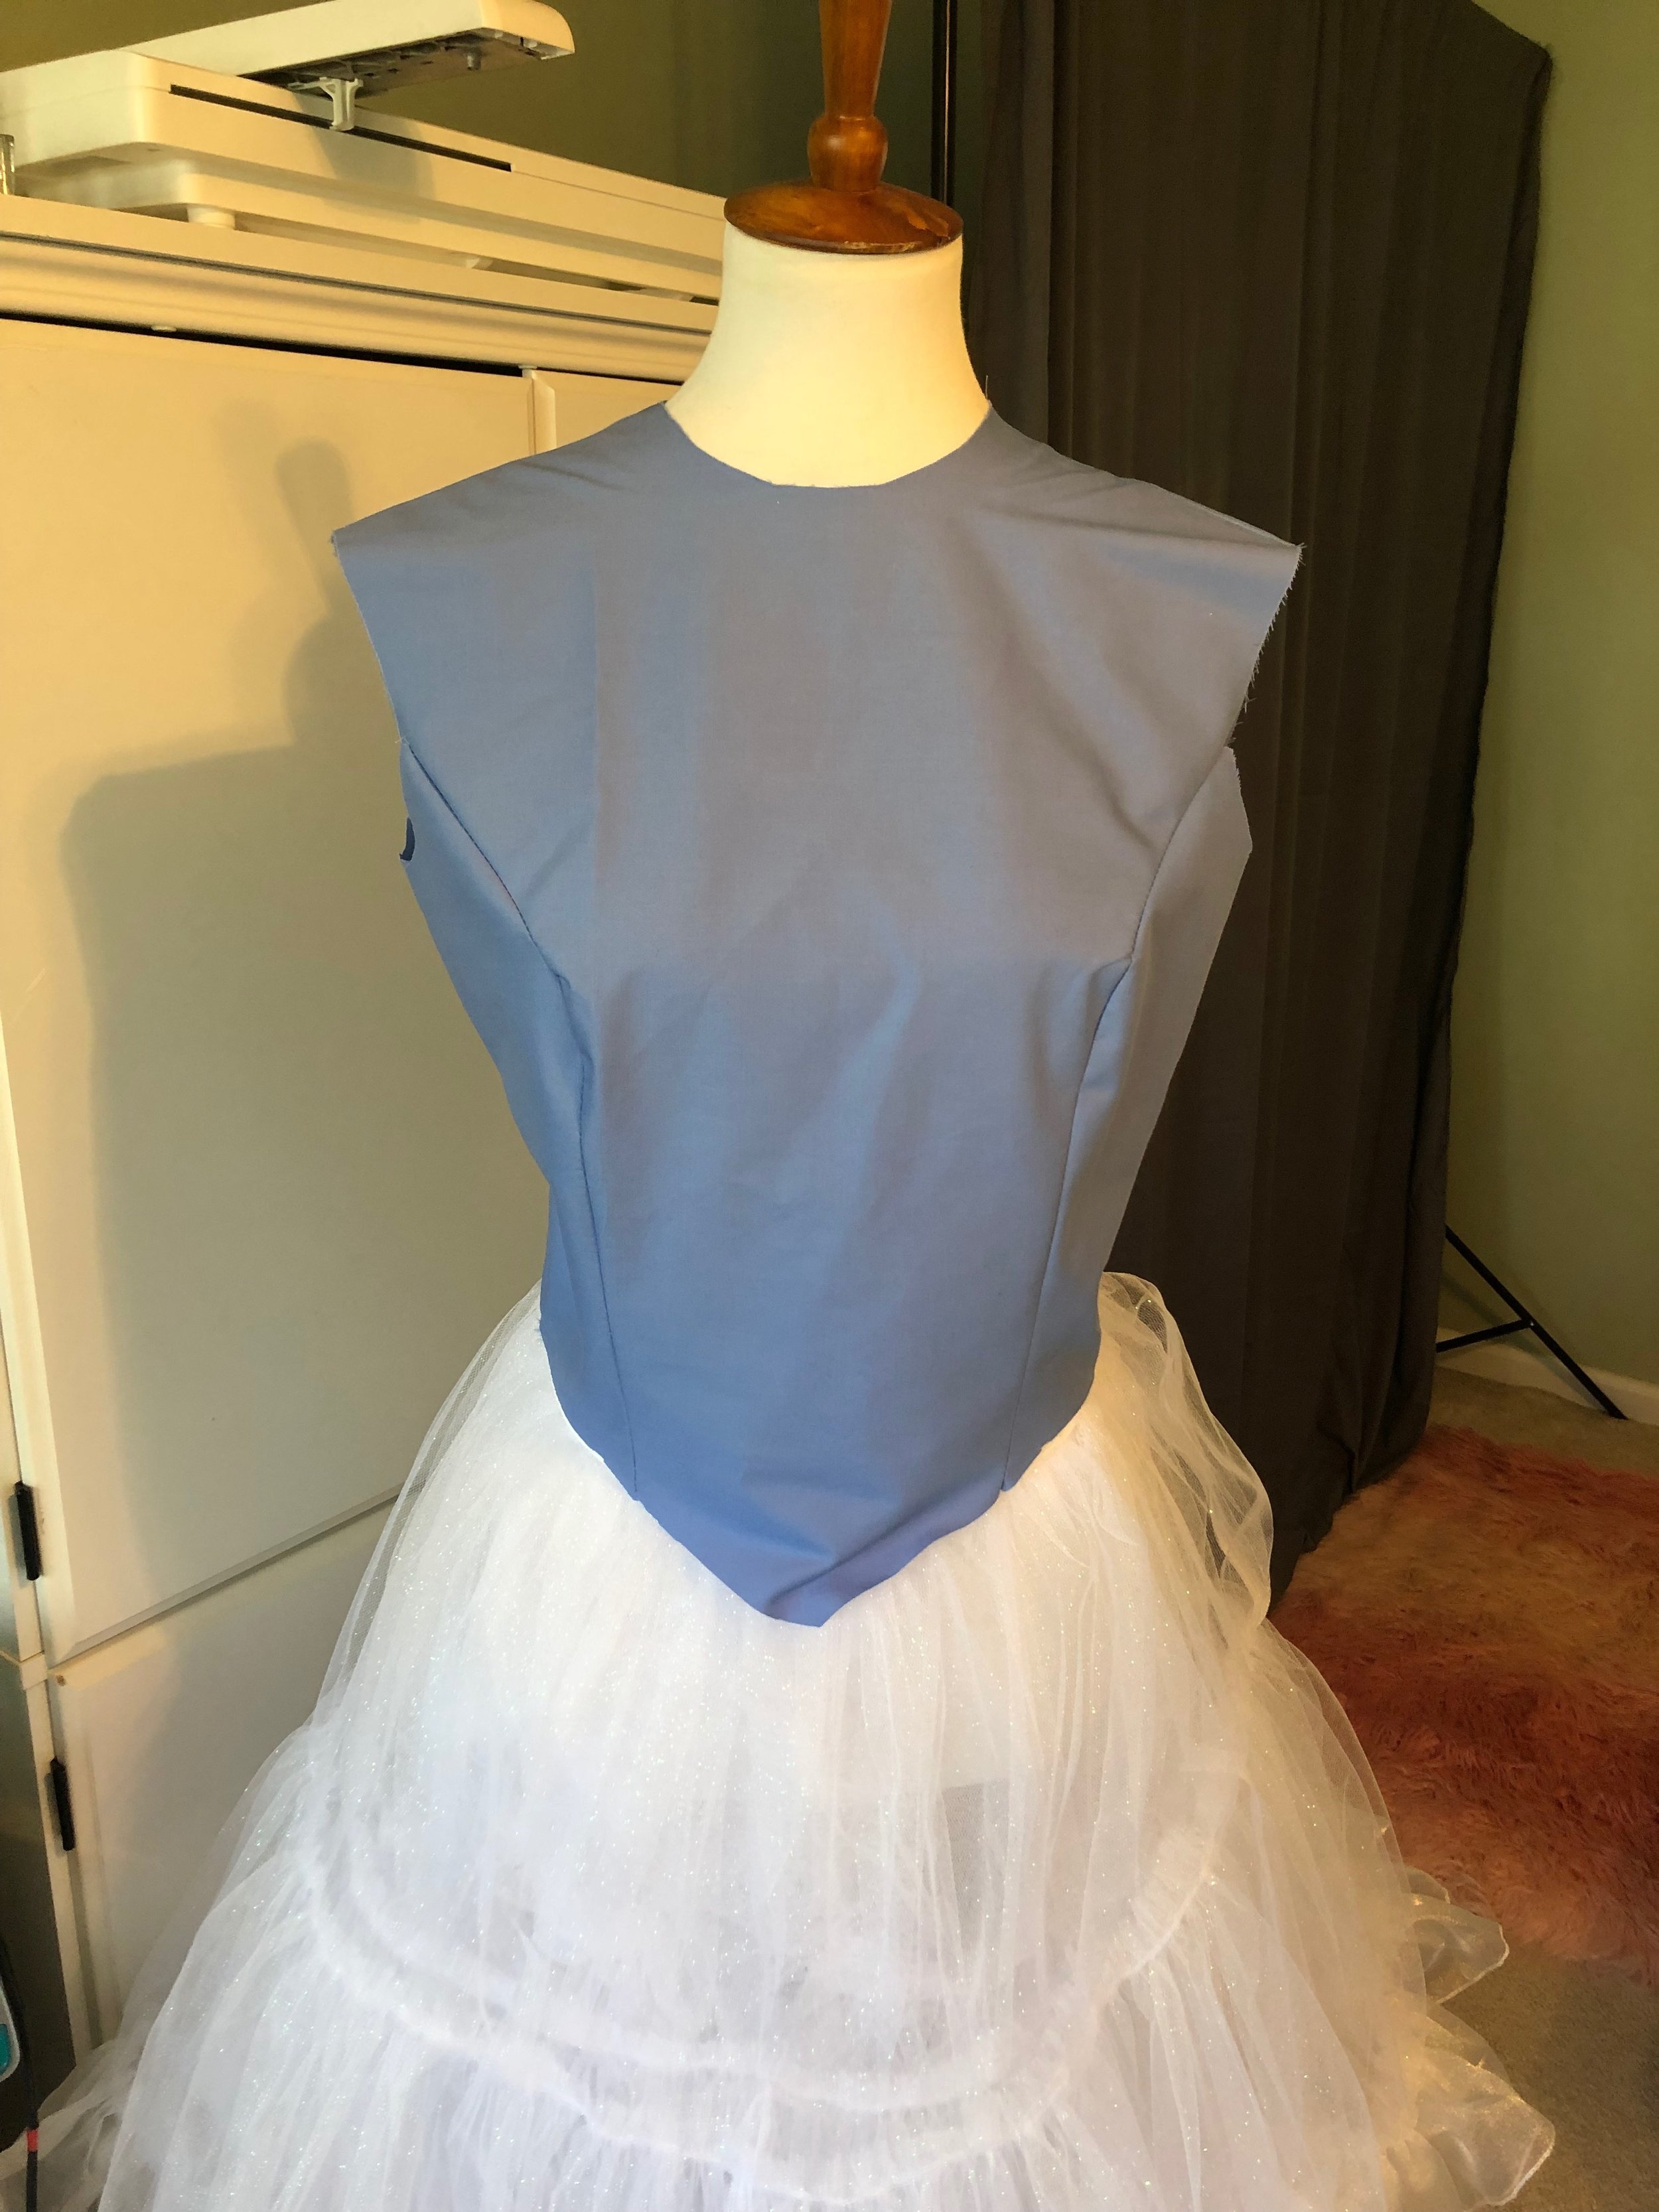
Now it’s time for the dress. I did this in basically two parts, the bodice with sleeves and collar which I used the pattern pictured below and a circle skirt.

simplicity-princess-peach-pattern-8476-envelope-front.jpg

Specifically I used the bodice and sleeves exactly like the pattern suggests and I modified the collar to look more like Alice’s but I also made a split collar so it was two separate pieces.

I made the bodice exactly like the pattern with the intention of over locking the seams but I ran out of white thread for my over lock machine and the black thread was noticeable through the fabric so I had to whip up a lining as well.

IMG_2639.JPG

I made the lining exactly like the bodice and then set it aside to add the sleeves.

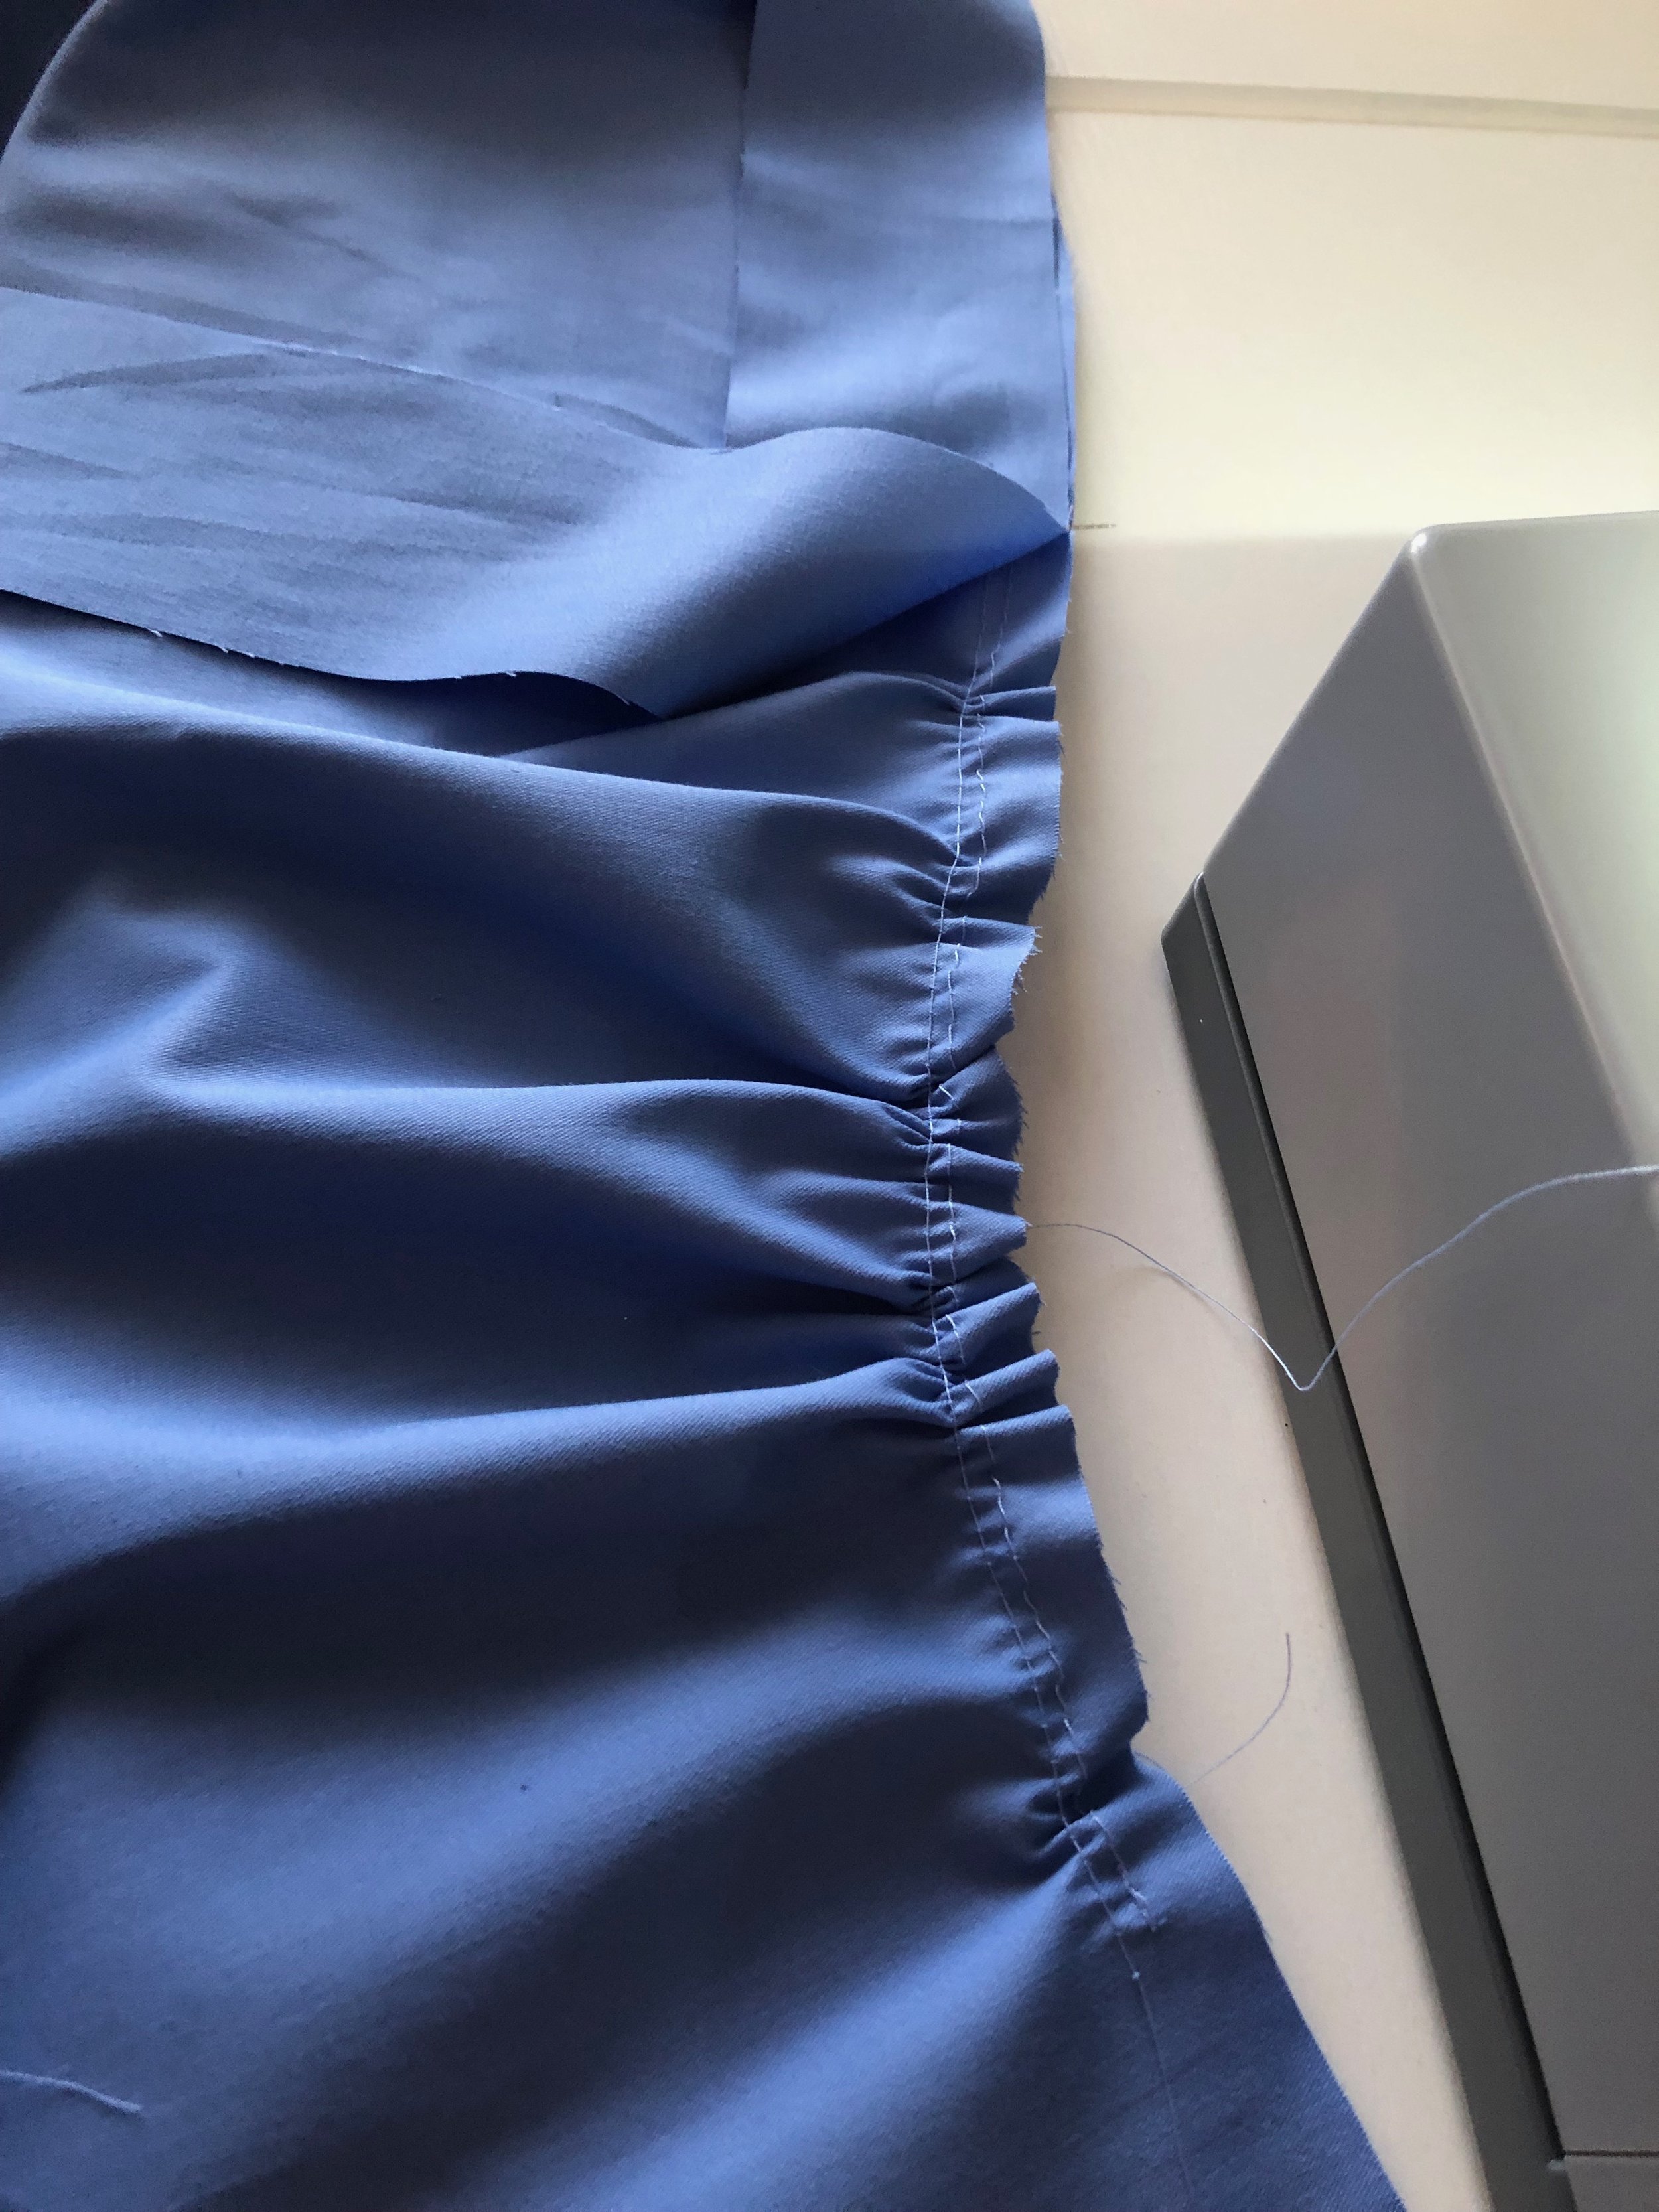
This required gathering the top and bottom of the sleeve and adding 5/8 inch elastic at the bottom of the sleeve to keep it fitted on my arm.

IMG_2640.JPG
IMG_2641.JPG

Next I made the collar. I used the inner curve of the “B” pattern collar to create the inner curve of my collar and then I just eye balled the outer edge of it and I thought it worked. Once the pattern piece was made I cut it out 4 times on my fabric and twice on my interfacing (my collar was two separate pieces). I attached it to the bodice and then I was ready to add my circle skirt.

IMG_2645.JPG

Next, I added my circle skirt. I made this using my waist measurement and the length from my waist to the end of my petticoat plus 2.5 inches. I had to cut mine in two pieces halves and I really wanted to add pockets but it just didn’t happen since I thought we were running out of time.

I cut my fabric all the way to the salvage so I didn’t have to worry about the skirt being clean on the inside. For the hem, I marked 1/2 inch and 2 inches from the bottom of the skirt, then I ironed it and hand stitched it down. I probably should have used the bling hem stitch on my new sewing machine but I was on hour 13 and getting tired so I just hand stitched it.

IMG_2649.JPG

From here I stitched the lining in at the neck and back through the zipper, flipped and pressed. From there I hand stitched the arms and bodice where the skirt attaches. Then I applied the zipper. It was supposed to be an invisible zipper but again we were close to 11pm and I still needed to make the apron so I said YOLO.

This is also where I stopped taking photos. So instead of going super into detail about the apron, I will just state the it was draped over the dress out of Quilters Cotton from Joann fabrics. I essentially made two trapezoids that I connected with a 4” by 60” strip of fabric with two 4” by 45” strips that tie at the top.

Now it was time to get into makeup and costume. Alex had spent this time making the chibi and the set as well as drawing all the amazing art for the White Board Wars.

AliceChibi.png

Here’s a few BTS photo’s:

IMG_2673.jpg
IMG_2668.JPG
IMG_2657.JPG

Finally, here’s the clip from when Alex did the before and after.

That’s a wrap on the 24 Hour Challenge.

The next blog will be a series on Stellagosa, I’m not sure if it will be a 3,4 or 5 part series for the costume but see ya in 2 weeks for the first blog on her which will be about sewing the sleeves, necklace, and bodice for her focusing on the detail stitches and what I did using my new Husqvana Viking Topaz 50 Sewing and Embroidery machine.

As always, if you live my content and want to support it further you can do so on ko-fi, patreon, or join me on Twitch Tues, Wed, and Thurs at 12pm EST.