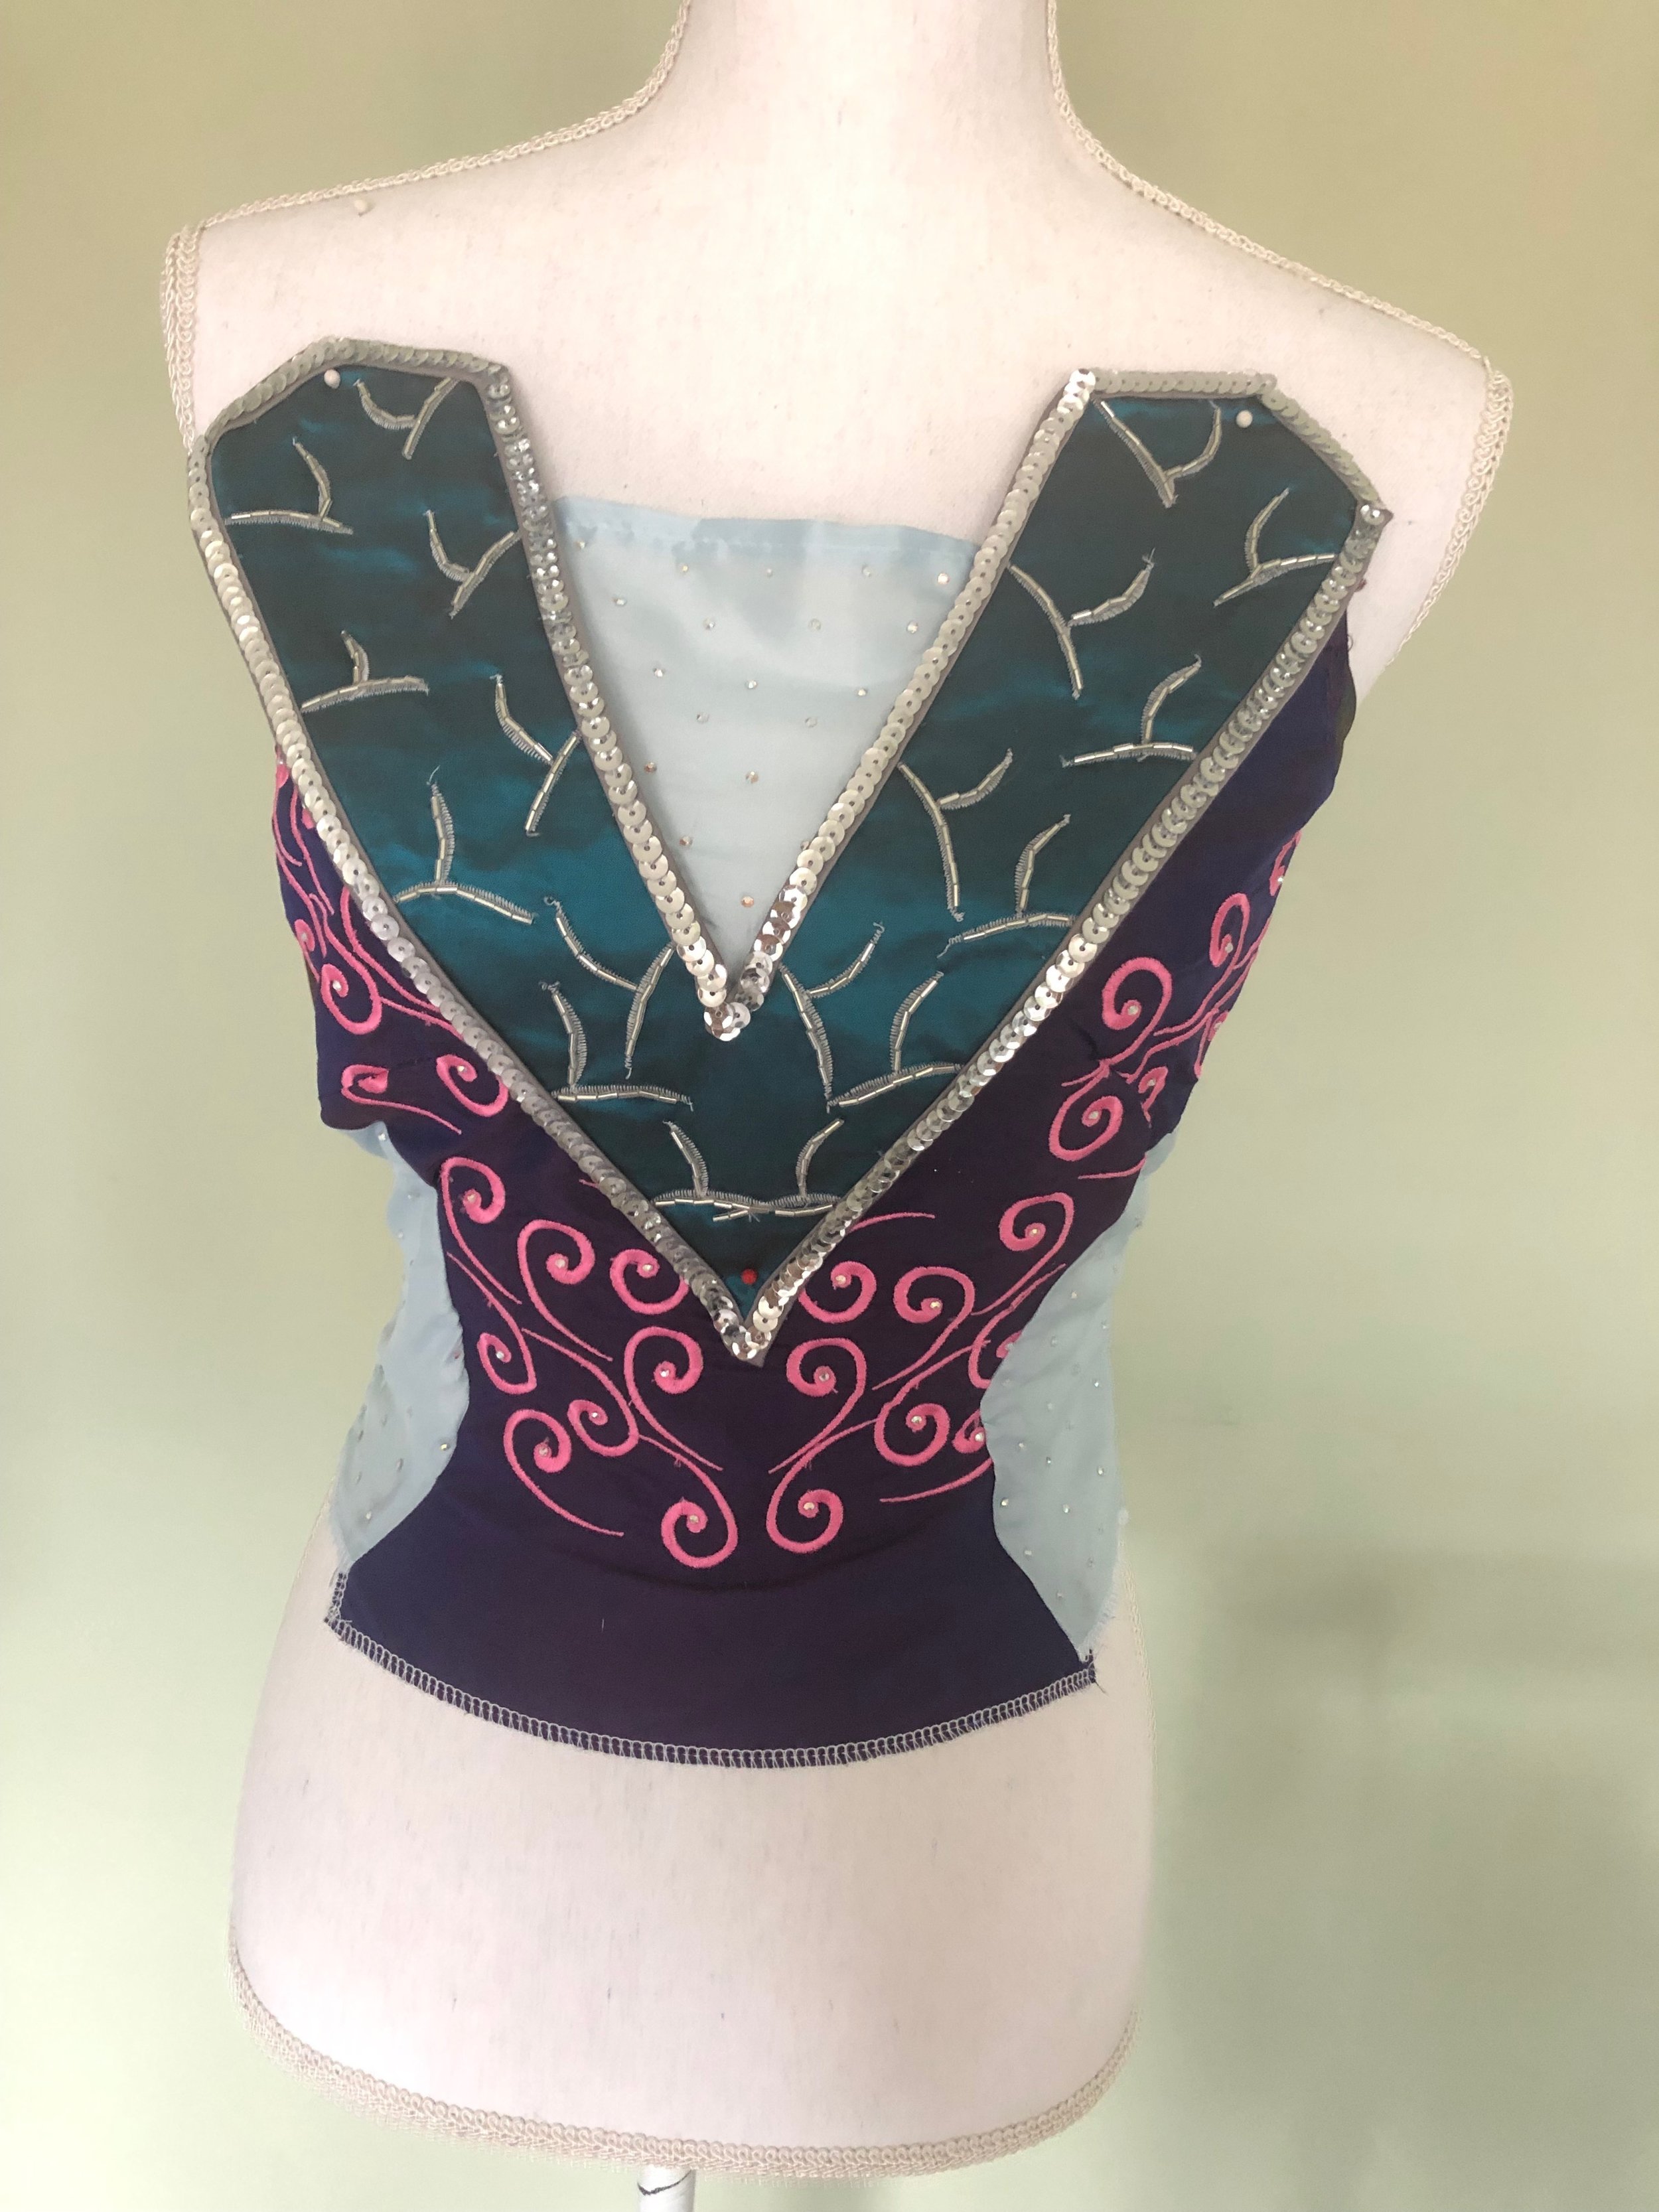
New Costume time! This one is a little different than I am used to, it is not historical, Disney or spooky but it does have a bit of sewing and it is very beautiful.
This blog will cover how I made the sleeves, necklace and bodice for Project Ebon Blade Stellagosa artwork by Zach Fischer This entry will be covering just the sewing parts but I will do an entire entry on all the sculpting and thermoplastic parts. My intention is to make this costume light up but it might not get done for C2E2 (now less than 3 weeks away) so if I get it done for Dragoncon there will be an entire blog or video on that at a later date.
There will be either 2 or 3 more parts to this blog which I will link at the end as I complete them. But lets jump in.
I started the entire process with the sleeves, I made a duct tape and clear wrap sleeve around my arm (like people do with their duct tape dress forms) and cut it open where I wanted my seam. I don’t have photo’s of this process but I transferred that onto fabric.
From there I refined my sleeve design and then began to draw the separate panels onto the sleeve. I found it very hard to draw and erase on the fabric so I quickly switched to pattern paper and accepted that this was my design.
Once I had moved to the paper I was also able to start drawing on the stitching design I was going to attempt.
Now that I basically had the plan for the design it was time to do a test of it. I made an entire sleeve design test before working on the official sleeves because I wanted to make sure the design read as the design from the image as well as I wanted to get good at doing it on my machine.
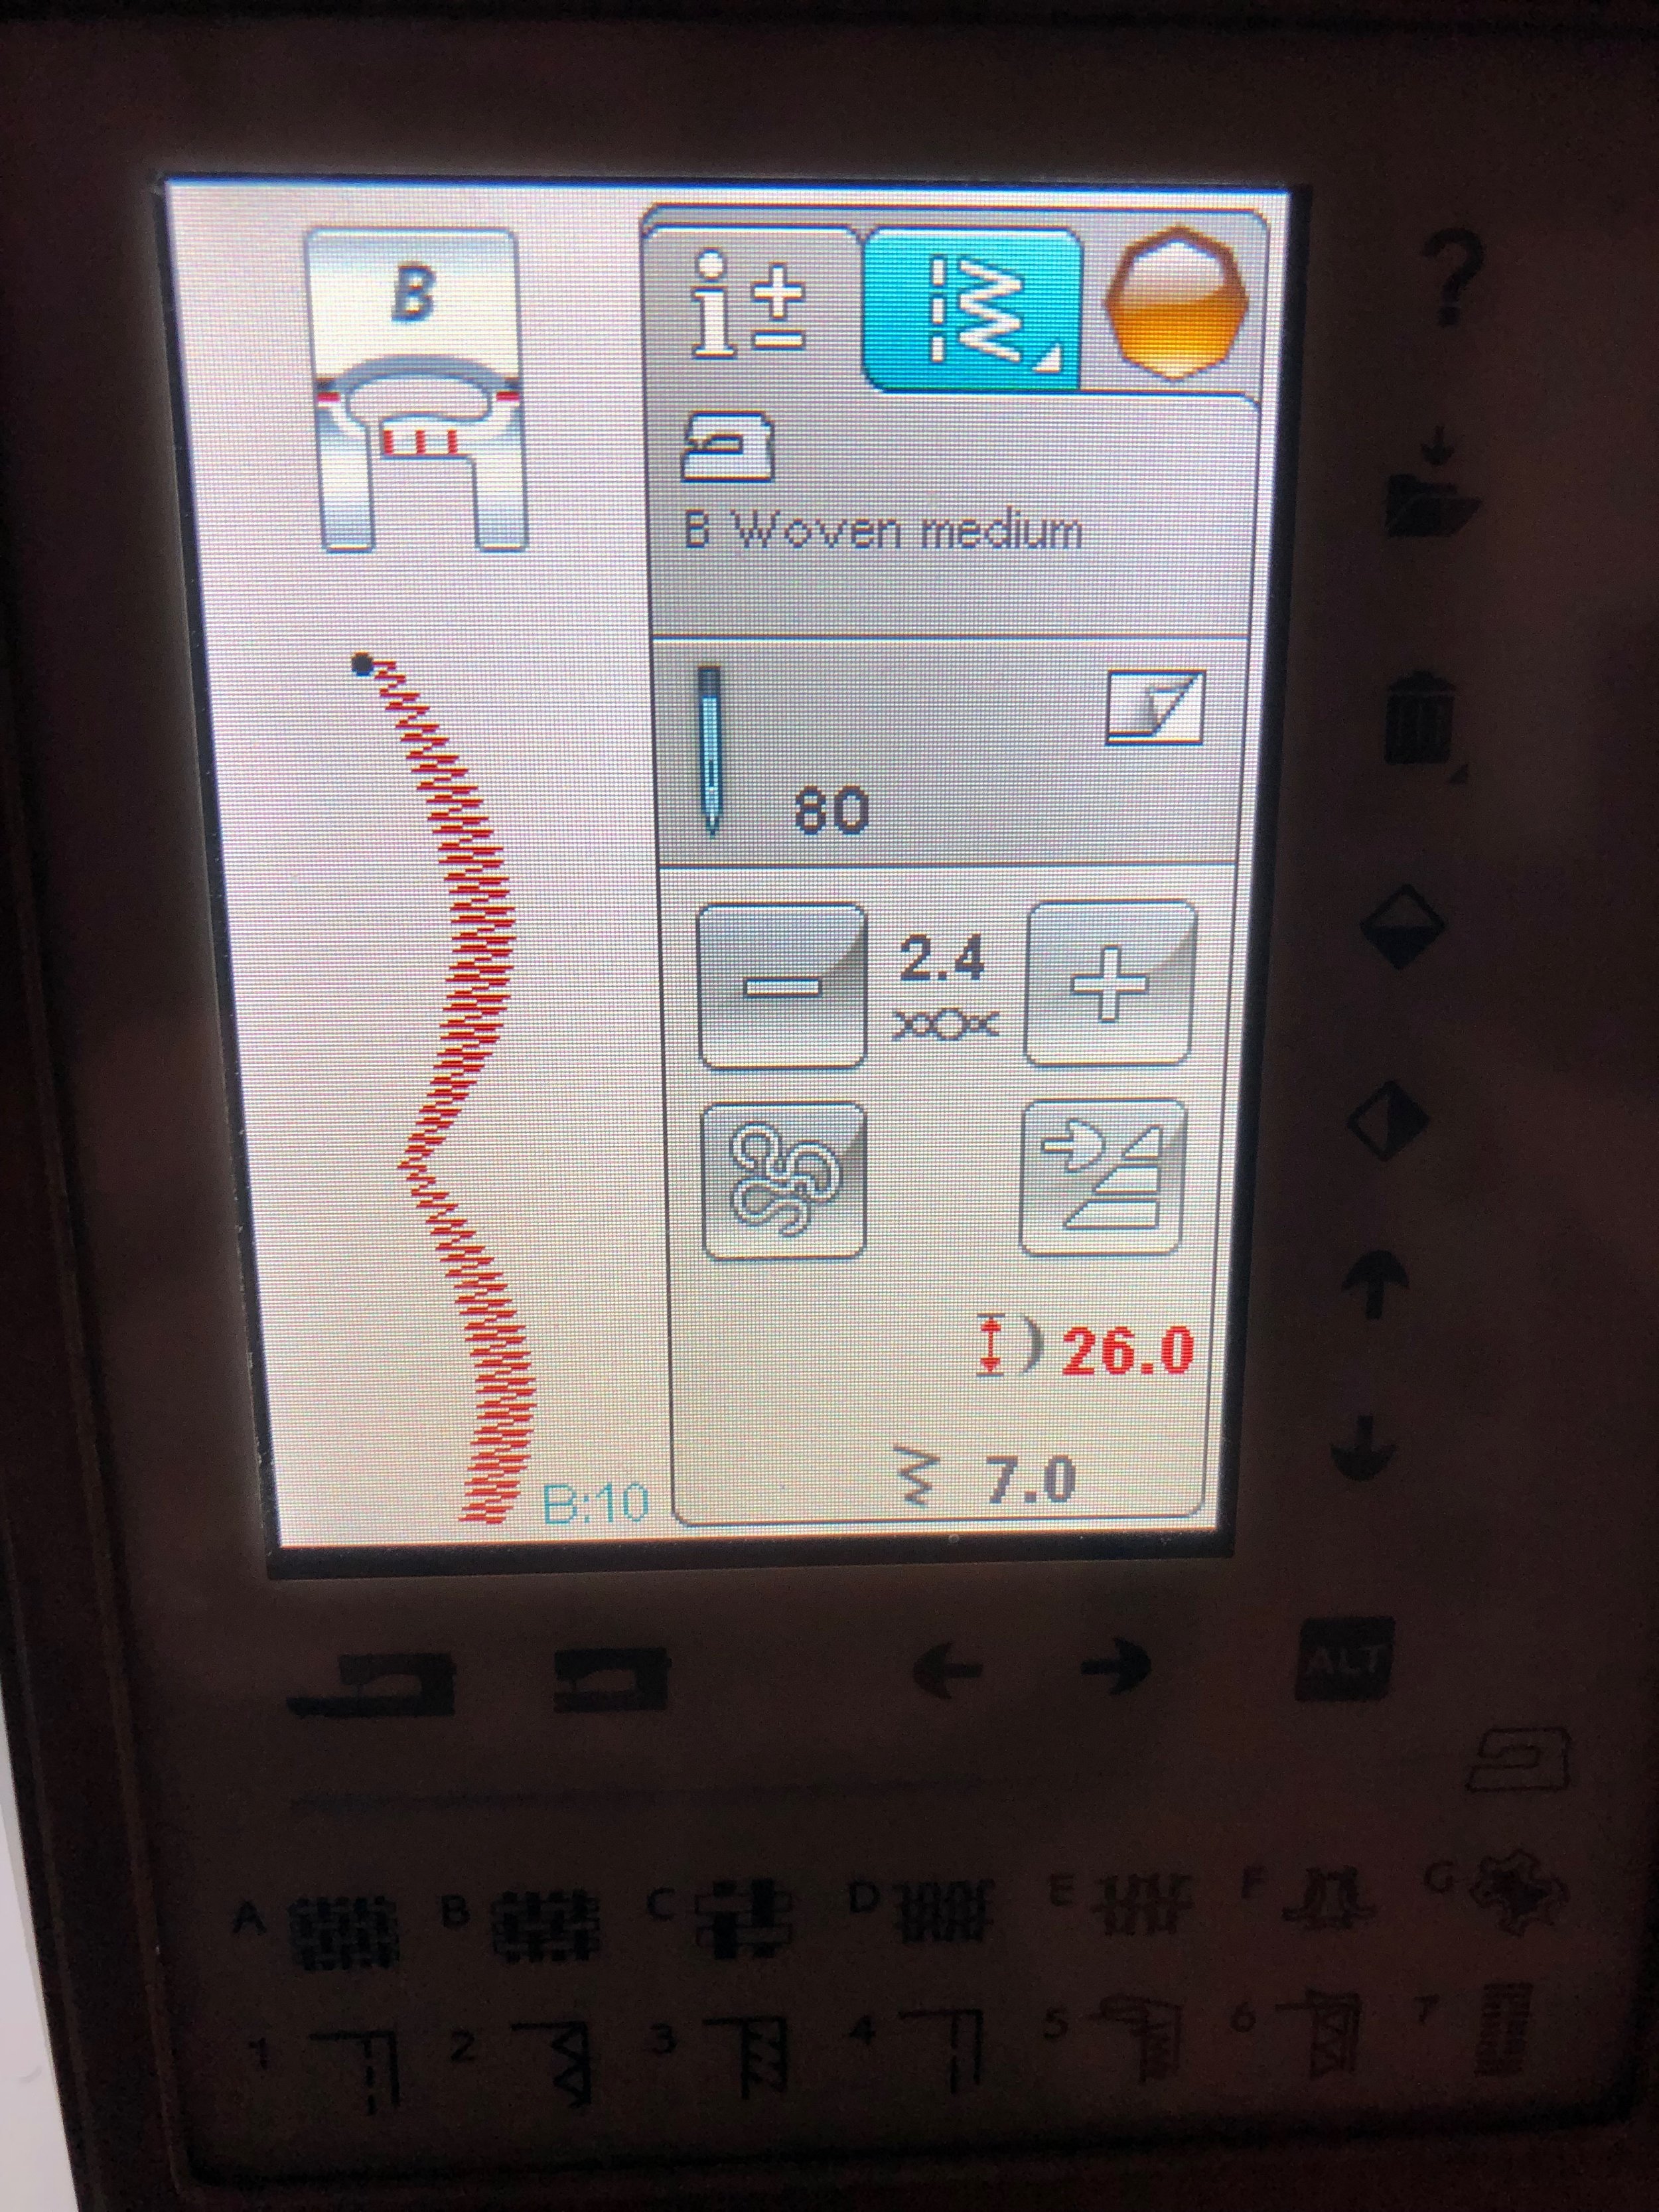
So to create the curved design I used two design stitches in my Embroider/Sewing Machine. I have a Husqvarna Viking Topaz 50 and I am still very new at using it.
Using Rayon Embroidery Thread from Robison Anton in Saturn Gray I used the curved stitch at a 26mm length and a 42mm length to create the design, I stitched it out on the slowest speed and stopped after one curve was stitched. I use this same design, stitch length and method on both the necklace and the bodice.
Then I used a satin stitch (which is pre loaded in my machine) to attached the grey cotton but also to attach the silk taffeta to the silk habotai.
As you can see there was some spacing issues and a lot of control issues with both the design and the satin stitch so it was actually really beneficial to make the practice sleeve.
At this point I repeated the entire process but for the real sleeves. Then I cut out the habotai and satin stitched the taffeta piece onto the habotai.
From there I over locked all the edges, applied rhinestones to give it the sparkly look and at this time I had no intention of adding further embellishments. So I stitched the seams together, folded in the top seam, added elastic to help hold it on my arm, folded the bottom seam and that was that.
But later on I decided I did want to apply embellishments so here they are. Note the diamond cut out at the tip of the sleeve is for gem placement once I have made those.
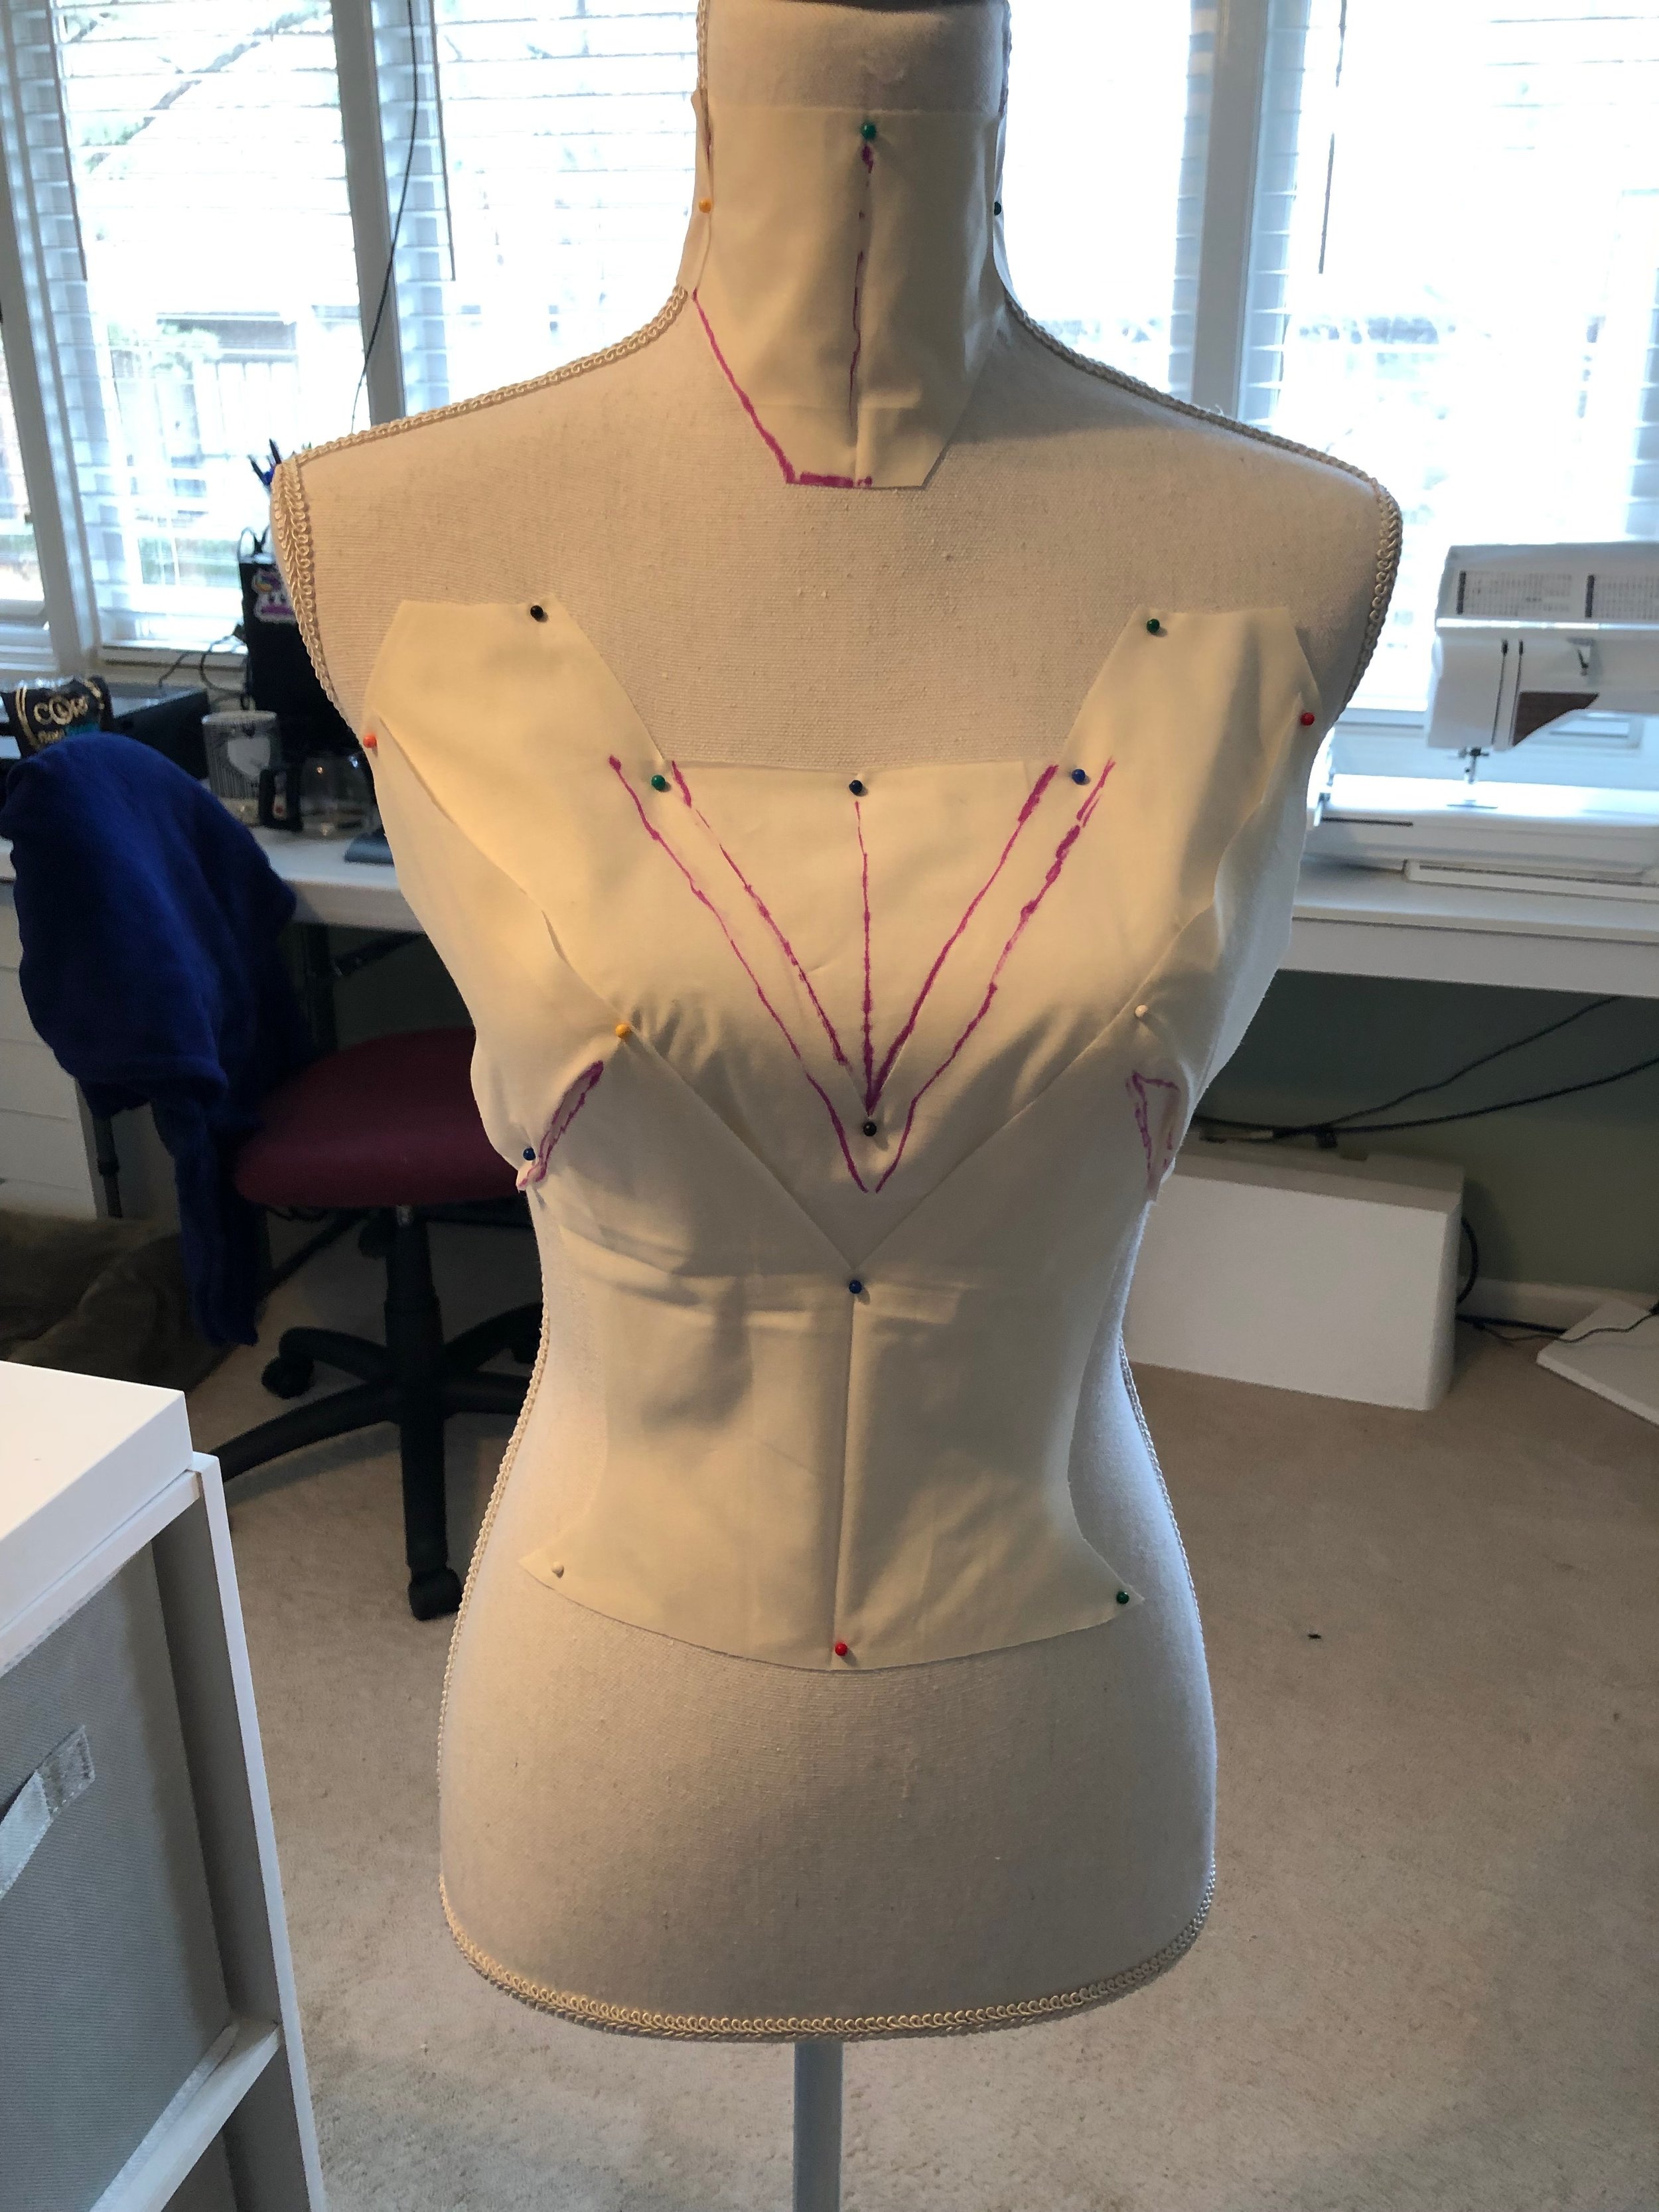
Next up is the necklace. I did some basic drafting of the necklace and the bodice on my dress form. I didn’t take a ton of photos of the draping or necklace making process but it was fairly easy.
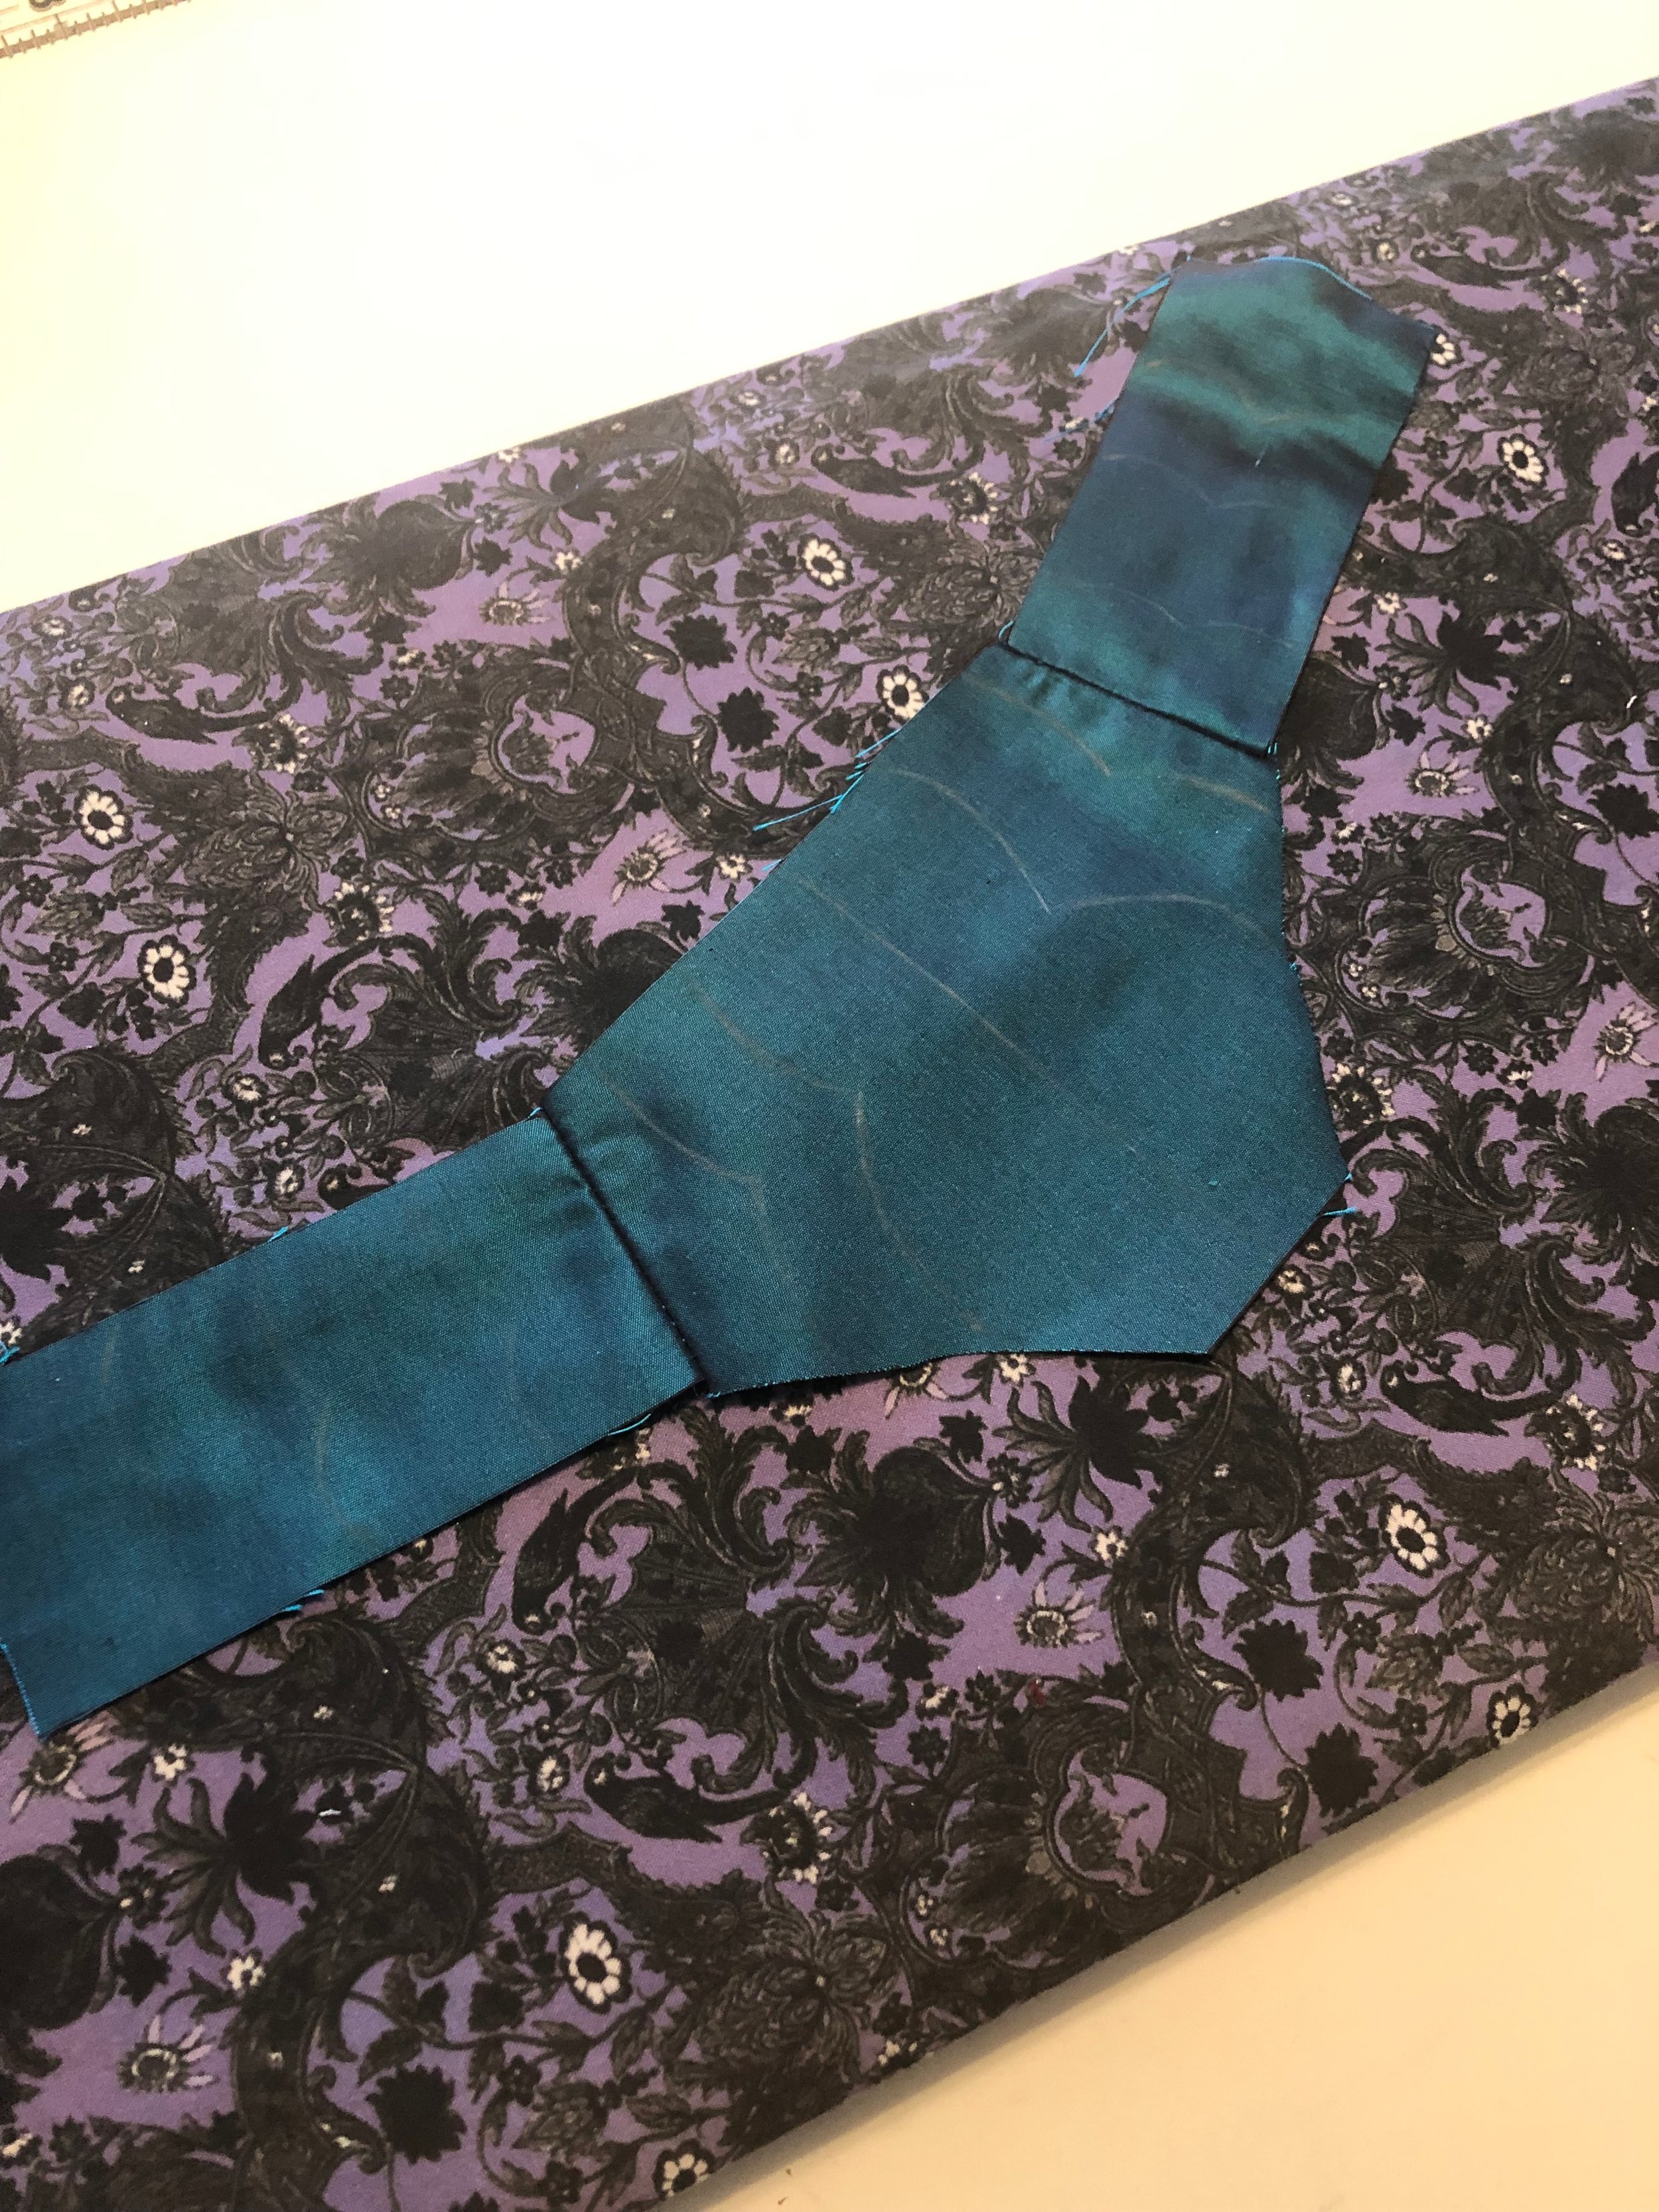
So from my pattern above, I cut that out on taffeta and cotton as well as made some bias tape out of the cotton. I drew the design onto the fabric with fabric colored pencil. Then I did the curved design stitch over it.
Then I cleaned it all up with bias, added hooks in the back and that was that. Later on I added beads and sequins to the necklace as well.
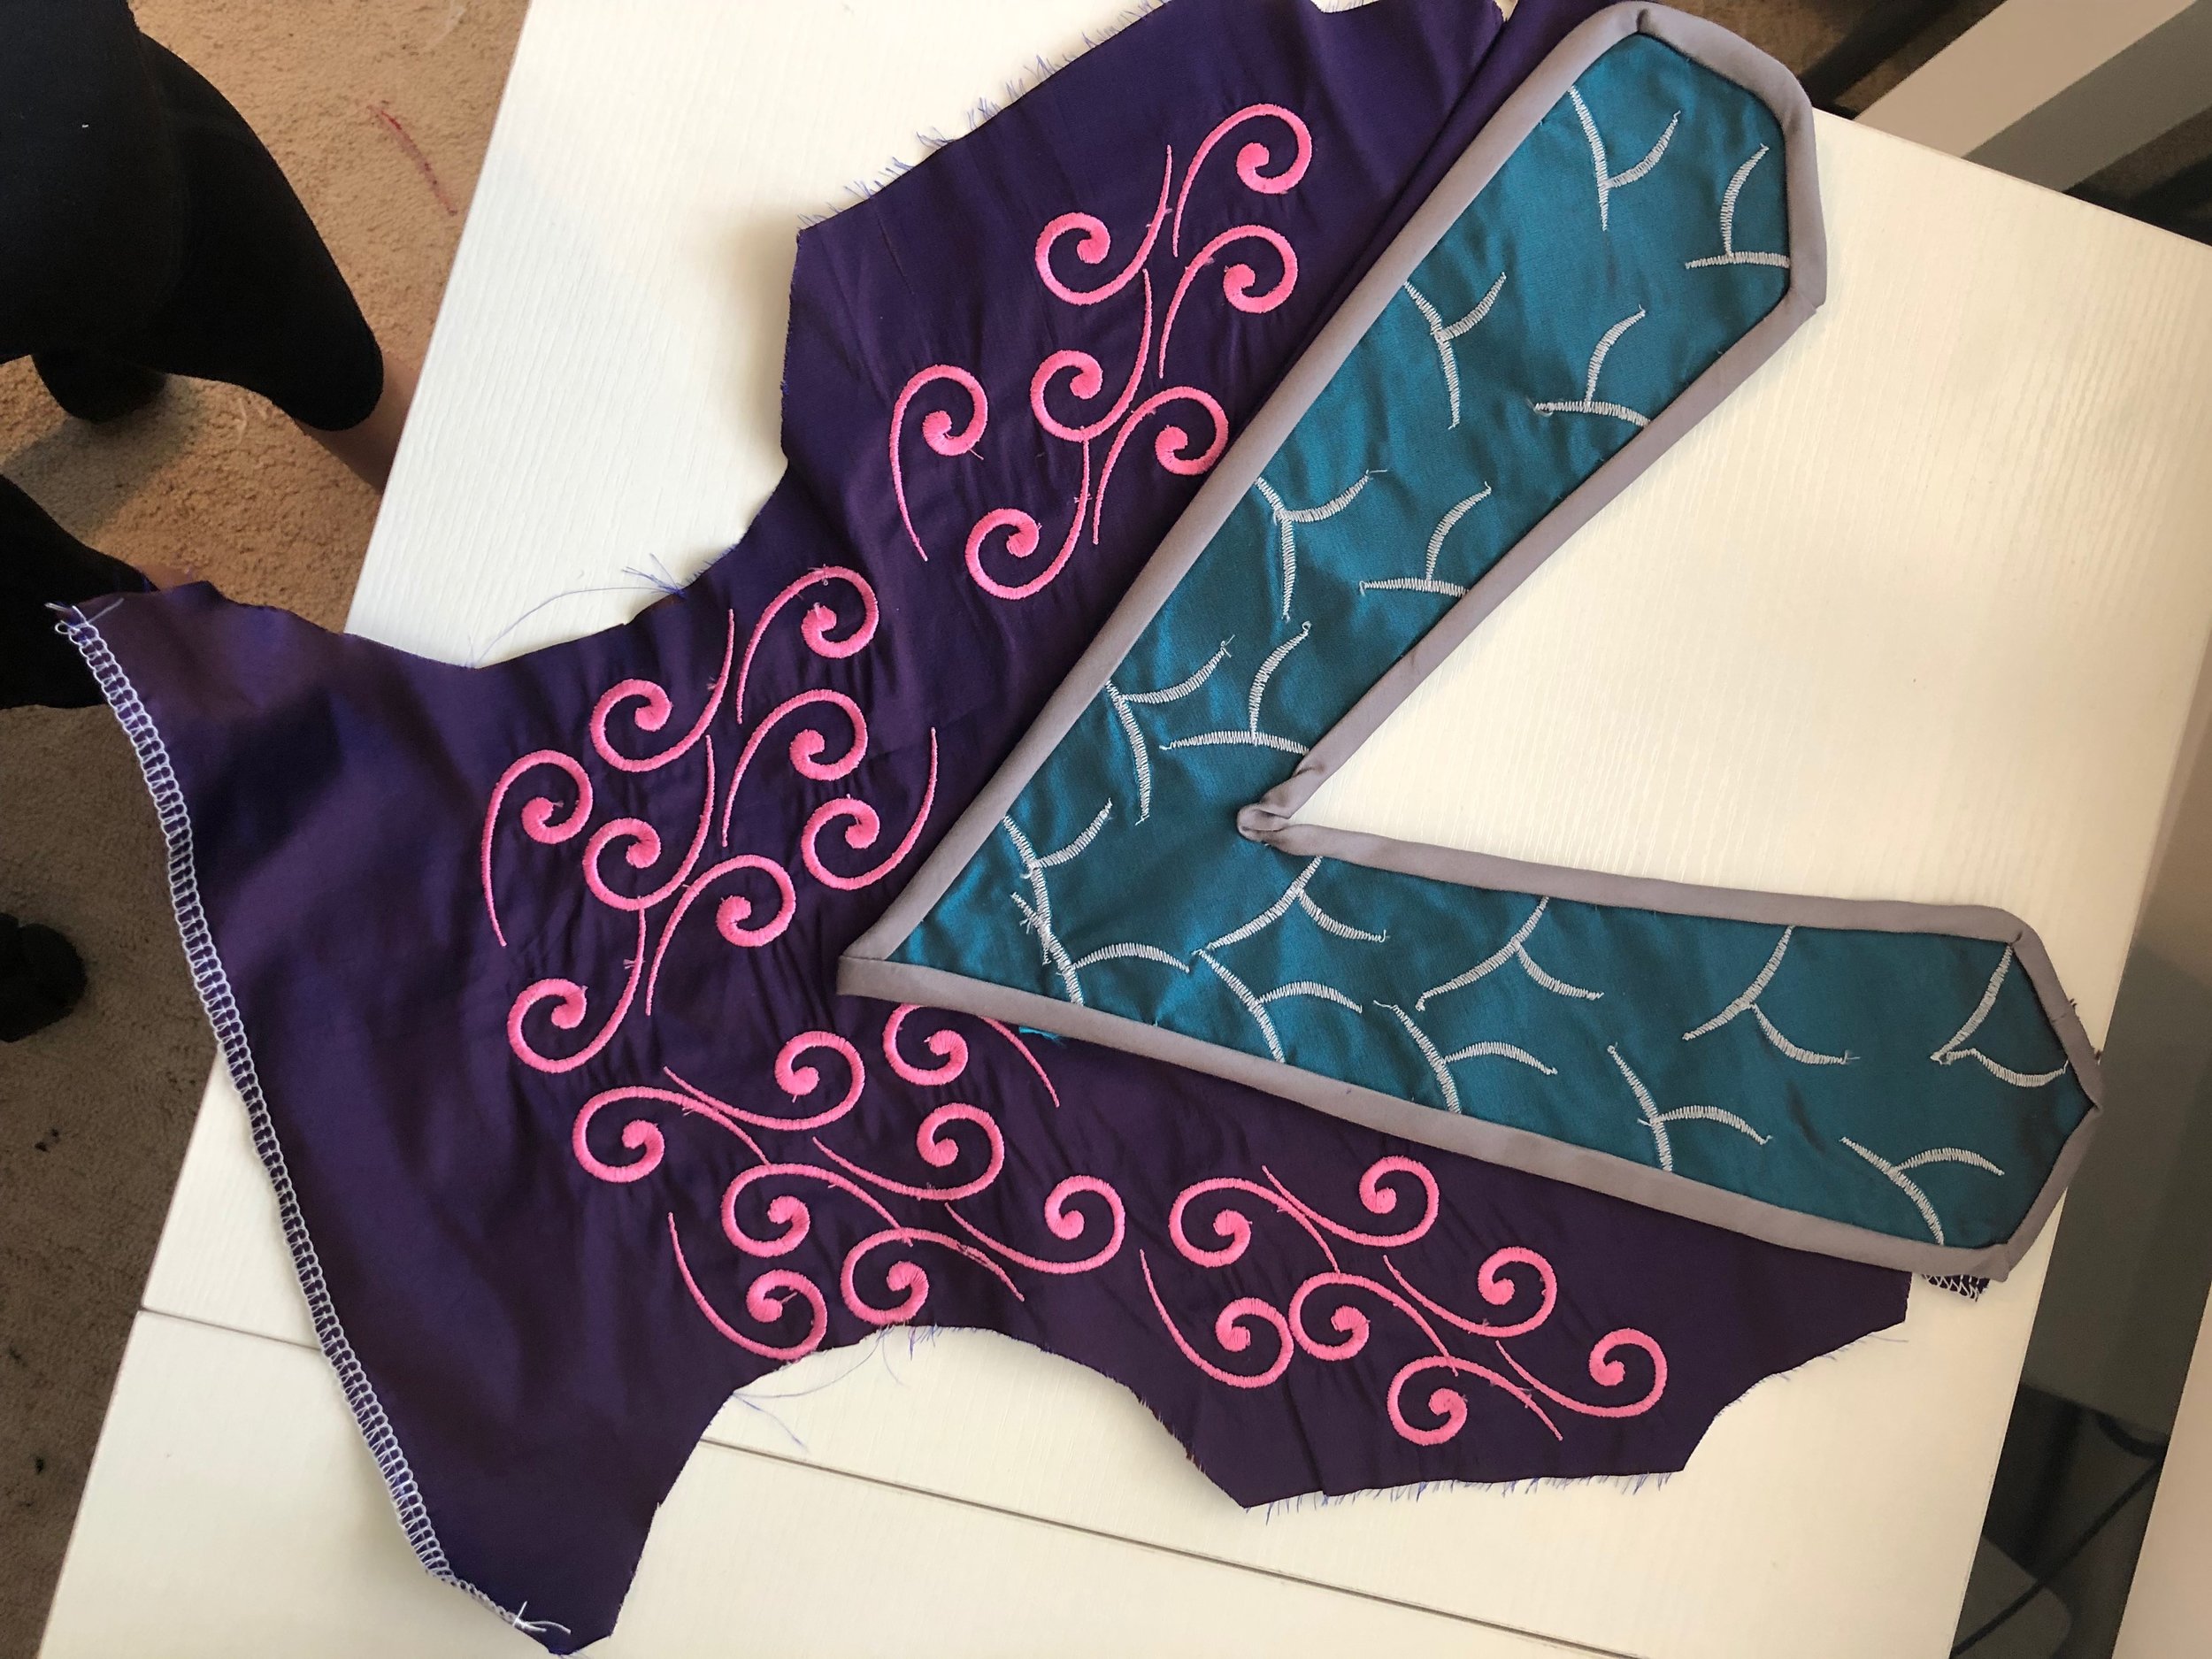
Finally the bodice, which was kind of all over the place but I will try to make sense of it all. So I started with the piece that had the curved design on it. I cut that out on taffeta and cotton, made binding for it and I also left the stabilizer on the taffeta when I stitched the cotton on to help give it structure. This bodice has no boning and very little interfacing due to the nature of the see through habotai that is true to the drawing.
I had some issues with the bias in the “V” part of the piece, I have since figured out how to do it right but since at this point I already knew I was going to spend several hours adding embellishments I just let it stay this way.
Now it was time to work on the purple shantung and I couldn’t find any embroidery designs in my machine that looked like the image so I kind of did my own thing with it. This is probably my least favorite part of the costume and probably my least favorite thing I have made in a really long time but I chose a swirl design and just repeated it in a fashion that “made sense”. However, I am not very good at my embroidery machine yet and I was incredibly impatient so the design does not line up very well and it really looks horrible in my opinion.
But I moved forward and just did what I could to make everything else look better to make up for my mistakes.
I serged all the seams I could since I opted out of lining the bodice because of the see through nature of the art. I really wanted to recreate that but also while staying in my comfort zone. I made sure that the top piece lined up before finishing the garment, I didn’t want to add embellishments to it while being attached to the rest of the piece.
I interfaced and “lined” the top taffeta piece and the side taffeta piece for structure and also since I plan to add grommets when the skirts are finished and attached. In the middle of making this piece I decided it would be better as a dress then a top and bottom.
Finally it was time to embellish and I couldn’t do that without my assistant Eva to sniff and make sure I was using the good beads.
Once embellishments were done I hand stitched the design piece onto the bodice.
Overall, despite some bad embroidery line up, some bad sewing and lack of boning I think this piece looks pretty good. There will be straps added from the bodice to the necklace, I will most likely talk about those in one of my last blogs about this costume.
The next blog will be about the skirt portions of this costume. It will include the dragon scale underskirt as well as the skirts that get attached to this bodice.
Thank you all for reading, I release blogs every 1st and 3rd Friday of the month and you can catch video content on my Youtube on the 2nd Friday of the month.
If you would like your name in my current project then you can become a Patron for $1 a month you get early access to blogs, WIP and costume tests!


