White Christmas has always been a classic in my family and making the Red Dresses was an idea presented to me last winter with very little time to do it, so I put it off for a year and it finally happened. In today’s blog I will go over the foundation garments, or garment for this dress and hopefully shed some light on the scary petticoat.
The hardest part of petticoat making in my opinion, is the math. If your math is wrong the entire thing will be a nightmare so make sure that when you’re measuring and “mathing” that you are double, maybe triple checking everything.

The math that I started off with was my waist (27 inches) and the length from my waist to my ankle (35 inches). From here I made a decision on how many layers (five) and tiers (2 and a ruffle) that I wanted. Both layers and tiers will affect the amount of “floof” you get from your petticoat. The more layers and tiers the more floof. I broke mine up into 2 tiers and a ruffle. I decided I wanted my tiers to be 14 inches for the first and 16 inches for the second with a 5 inch ruffle.
At this point I added in 1/2 inch seam allowances, 2 1/2 inches at the top for an elastic band (later I made a waistband instead and fed elastic through it) and then the 1 inch at the bottom for the rolled hem.

So now I have figured out how wide each tier is, it was time to figure out how long each tier will be. This was pretty simple for me since I have made a petticoat just like this before but all I did was multiply my waist by 2.5 to get a total of 67.5 inches for my top tier. Then I took that 67.5 and multiplied that by 2.5 to get 168 inches for my second tier, and finally I took 168” and multiplied it by 2.5 to get 420” for my ruffle.
In the past I have replaced 2.5 with 3 and it has yielded some pretty “floofy” petticoats but for this project I was really happy I went with 2.5 as my multiplier.
This is where the math gets tricky, so I started with measuring the width of my fabric, 54 inches. Then I divided the tier length by my fabric width and rounded to the neared quarter (67.5 divided by 54 equals 1.25). This is how many strips I needed per layer, so now I multiplied that by five layers and got 6.25 strips at 17” for tier one. I did this for each tier and as you can see I actually calculated it for four layers too because I wasn’t sure how much “floof” I wanted yet. I also considered wearing this petticoat over a hoop skirt but I’m very glad I decided against that.
Now it was time to cut the fabric. I used crystal organza from Leilani Wholesale but tulle works really well for petticoats too. For measuring out the strips of fabric, I highly recommend having a large cutting space and using a rotary tool. I had neither of those things and my lines were very off which caused difficulties especially when I was working on the rolled hems for the ruffles.

I decided to keep my layers and tiers super organized since I knew that I would be working on this over 3-4 days on stream so I labeled all of them like so.

Once everything was cut out I pinned the strips together and went to town. My original math did not include seam allowance and it actually turned out fine. Due to the nature of gathering/ruffling there’s a little bit of wiggle room when it comes to making the tiers match up but if its something that concerns you then I would recommend just adding 1” per strip just to make sure.

Before getting to into ruffling I went in and rolled the hem of each ruffle, pinned and sewed it on my machine with a straight stitch. I tried doing this with my serger but the rolled hem has major issues working on lightweight fabrics like organza. It’s probably because I have not had it serviced in the three years I have owned it…it’s at the top of my list for 2019.

Alright, now I am ready for ruffling. I did this with my wonderful ruffle foot but I could have also gathered this on my sewing machine and serger without the foot.

Next I started sewing the tiers together. I don’t have any photos of this but I started at the top tier and straight stitched the right sides of the gathered top tier strip together. Repeat for tier two and the ruffle tier. Then with the right sides together I pinned the top of tier two to the bottom of tier one, straight stitched it then ran it through my serger. Repeat for the ruffle tier and the bottom of the second tier. The I pinned it to my dress form at the waist to start watching my floof grow.
Layer one!

Two.

Three.
This is where Eva decided it was worthy of her naps.

Four.

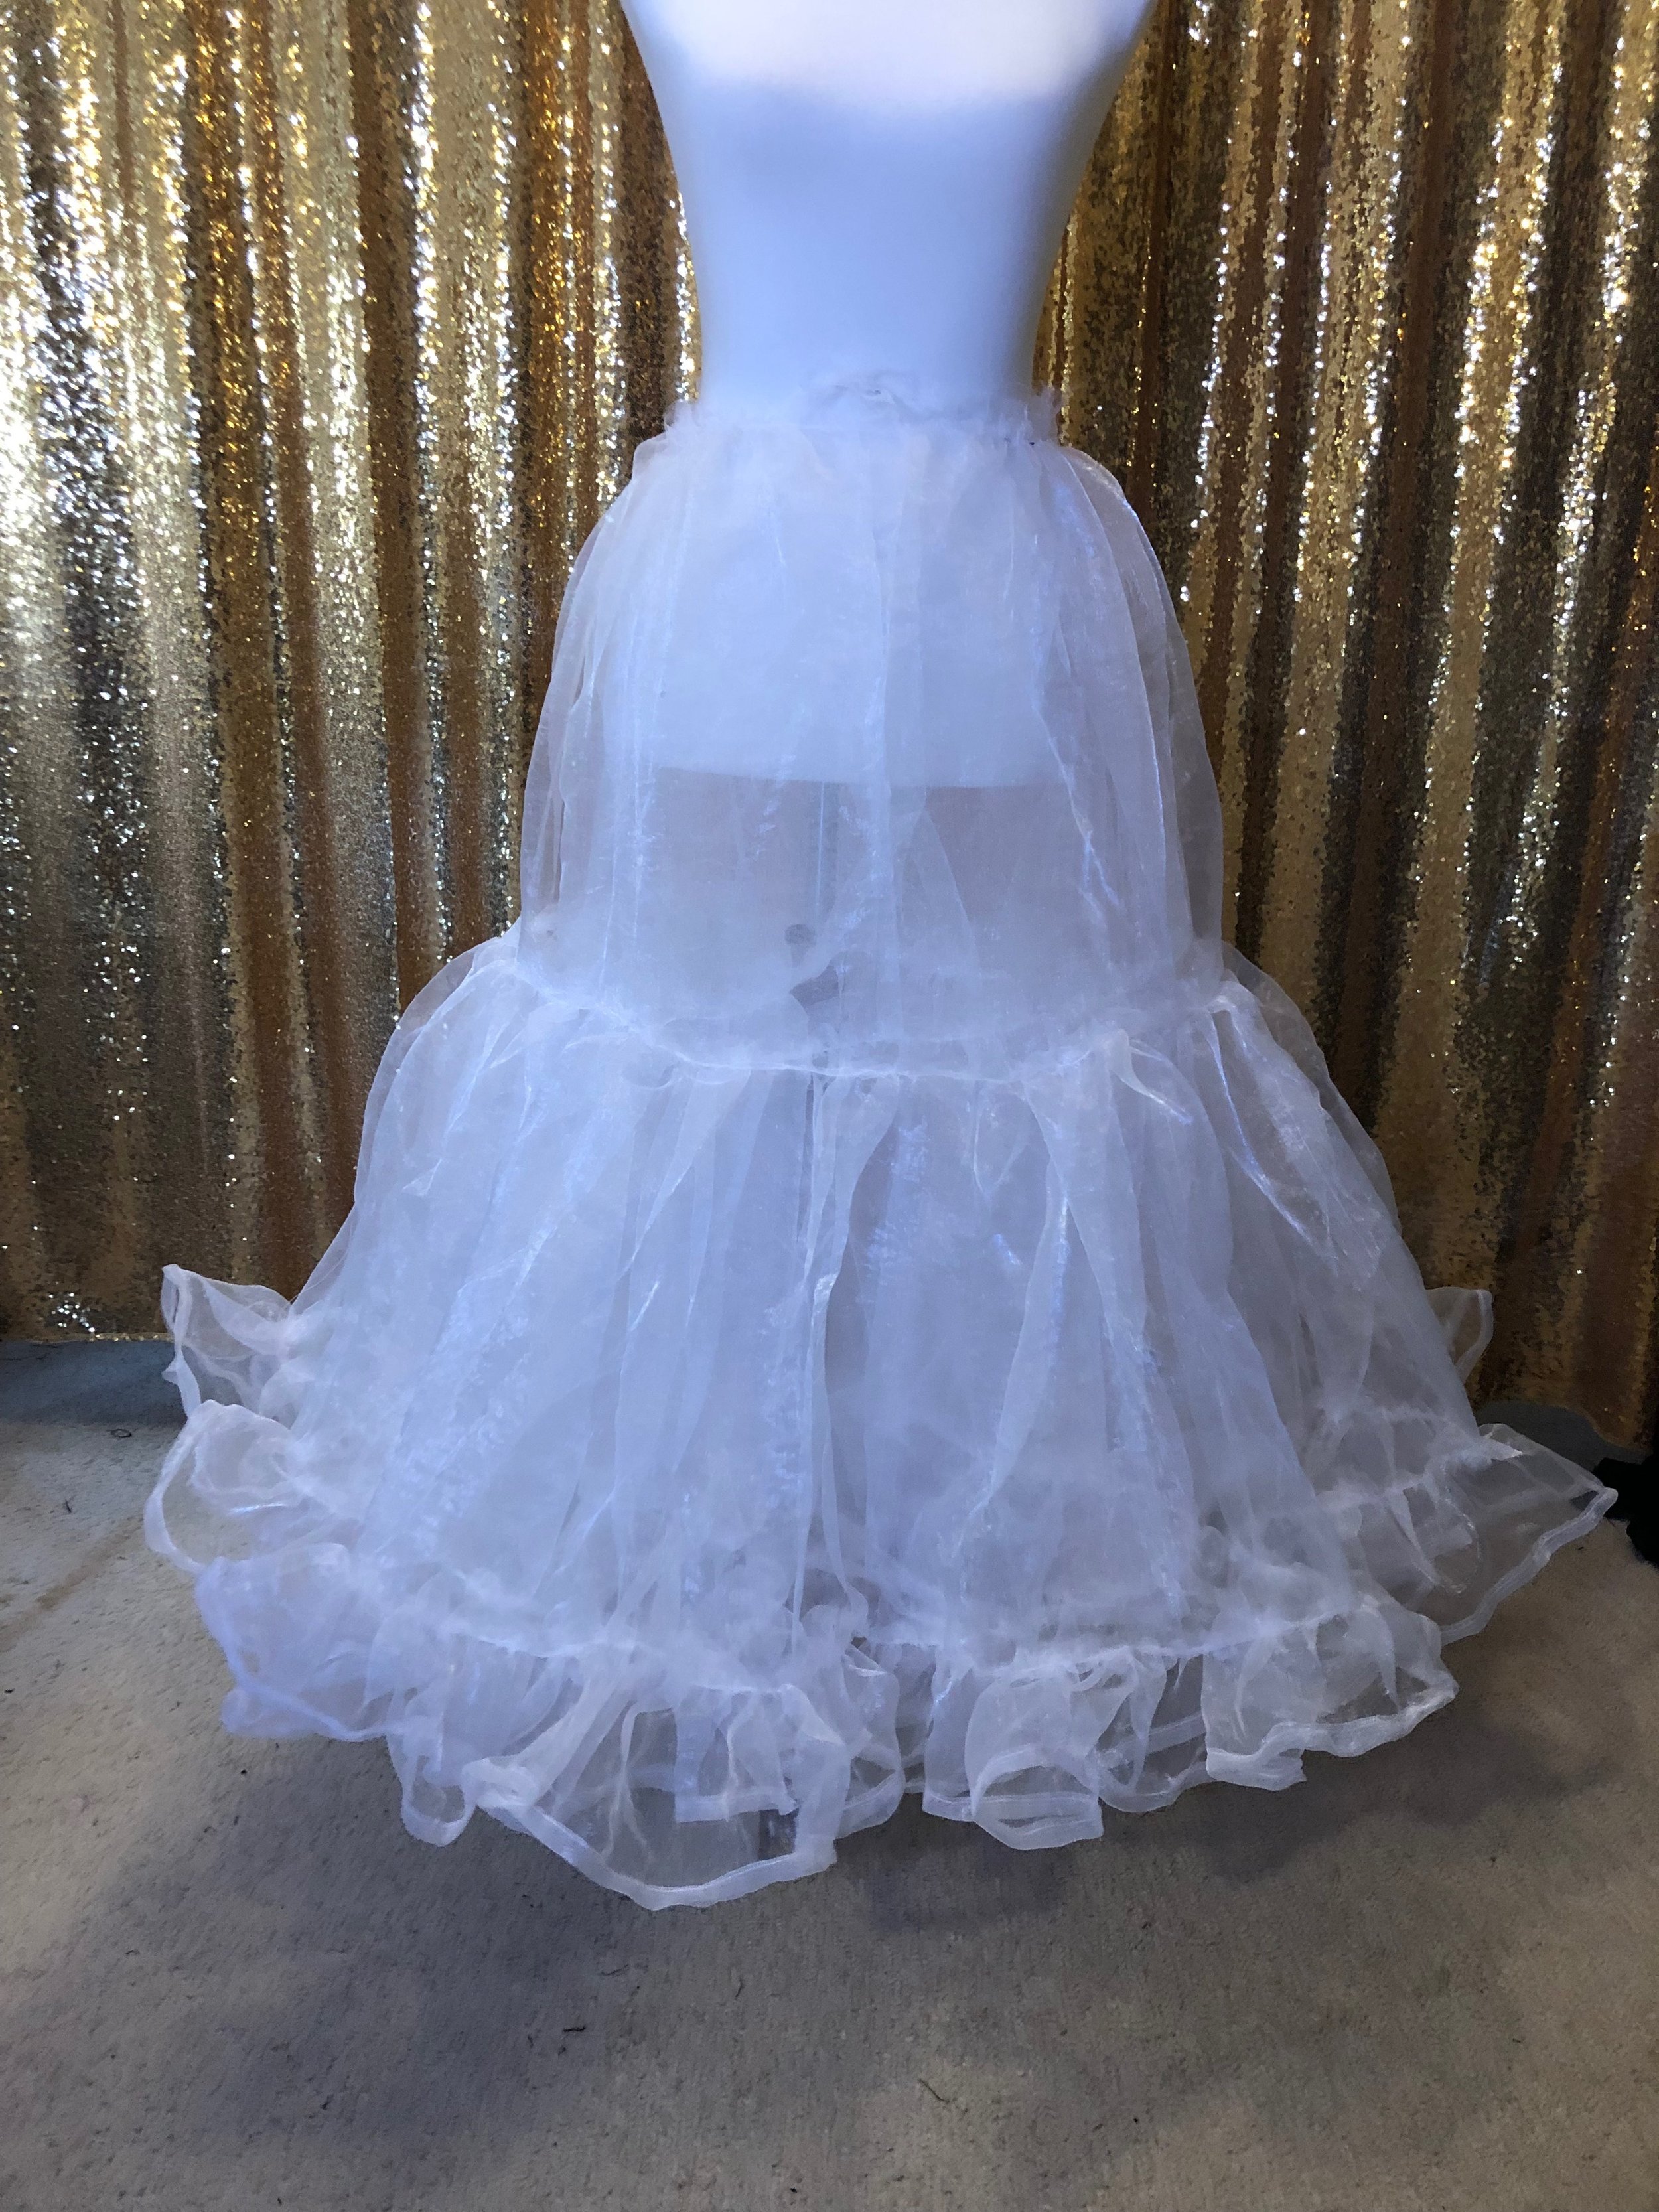
The final layer of floof.

Unfortunately this is where I stopped taking photos but I will try to be as descriptive as possible while I talk about the waistband I made. So, I initially had planned to add elastic into the top of the skirt but creating an encasing with all five layers was just a nightmare. Instead I cut a piece of 28” by 5” quilters cotton from my stash in white and then another piece of the same size in interfacing. Fused the interfacing to the cotton, ironed 1/2 inch on each end and 3/4” on the top and bottom, then ironed it in half. I stitched that sucker onto the layers after seam ripping an 8” gap on all five layers in the back seam. I left the waistband edges opened and fed elastic through them, stitched the elastic together and now I have a petticoat that could fit 27” to 32” inch waist.
There you have it! How I made my petticoat for my White Christmas Red Dress. The next part of this series will cover the circle skirt and cape-let. The third part in the series will cover the full length dress.
I’ll be posting blogs every first and third Friday of the month so stay tuned.