Capelet Sew Along for St Jude

Join me on Friday December 6th at 12pm ET to kick off our Holiday St Jude Fundraising with a Sew Along!

Fabric sponsored by Shannon Fabrics

WHAT: We will be making a fully lined cuddle capelet with sherpa binding.

IMG_6289.jpg

MATERIALS:

2 yards of fashion fabric: Sparkle Cuddle Glitter

2 yards of lining fabric Silky Satin Solid

1 yard of Sherpa Fur

Closure of your choice

Thread

Scissors

Sewing Machine

Iron

Tape Measure

We will be drafting our own pattern for this but if you want you can purchase one.

WHERE: Twitch.tv/CaseyReneeCosplay

The Video of the Stream will be exported to YouTube and linked in this blog once it is complete.

GOALS and GIVEAWAYS:

IMG_6292.jpg

For the month of December our goal is to raise $1000 for St Jude.

Shannon Fabrics has also gifted us with a baby blanket kit and a baby blanket to giveaway and once I finish my capelet I will be giving it away on stream as well.

Every donation of $5 or more enters you into our giveaways.

Here’s the entire December Stream Schedule:

St Jude Stream Schedule.png

Making an 1850's cage crinoline/hoop skirt

Quick Edit: For those interested in video content on making a Cage Crinoline here is my video on making it:

Welcome to a new blog, this time I will be talking about my 1850’s hoop skirt or also known as a caged crinoline. I don’t talk very much about my fiance on here but I am making us 1850’s ensembles for Homebrew Con at the end of June. We are speakers and we are doing a skit/panel on the history of the Imperial Stout otherwise known as the Russian Imperial Stout, although it’s origins come from England but I digress.

We will be hosting our panel as time travelers and acting as though we spent some time in the 1850’s to learn about the origin on the Imperial Stout, in our panel we will be serving home brewed Imperial Stout and we will be dressed as the working class would in the 1850’s. I’ll be in a cotton dress with a hoop and he will be in knicker bockers and a grey cotton shirt.

When I was documenting this process I initially was planning to make a step by step photo documentation to help people use the pattern. I was super successful until I got to the hooping wire and then I just stopped documenting all together because of the space the piece took up in my studio and going between the cutting table, ground and sewing machine began to get difficult. So I will start this blog off with the step by step documentation I did at the beginning and then once I get to the hooping wire section I will talk about the issues I overcame and how I over came them but there wont be any photos of that segment.

To start out I used Truly Victorian 142 for this piece. On their website they actually link you to where you can buy all the materials for these and that makes it super helpful when constructing your first one. I purchased hooping wire in bulk for multiple projects, as well as hoop casing and I used scrap cotton for the bag and cincher. I am desperately trying to go through my scrap fabric so I will be talking about fabric scraps quite a bit in the summer months.

IMG_4044.JPG

So let’s just jump right into the instructions for this and how to get started on this piece. If you plan to wear this over a corset consider making it the size in which your waist is cinched in the corset. I went with the size D for a 26” waist because I plan to wear this in and out of corset and when it came down to it, the 26” waist fits me cinched down to 24” so it’ll work for several sizes.

The first two steps are obviously to cut the pattern pieces out and then cut the fabric out. I choose to cut all my pattern pieces to the largest size and then mark my size on the fabric. This way I can use the pattern again for clients. Also, these patterns range from $13 to $21 and it’s kind of a waste of money to buy them again for clients since the pattern paper these come on are very durable and could easily be used over and over again. So let’s save some trees friends.

IMG_4046.JPG

From here on out, all of the quote sections are the instructions and then after the quotes if necessary I will add commentary and share the photo of doing the step.

“Step 1: Cut out 3 of bag on fold, and 4 of each cincher piece.”

I also took this time to cut out the twill tape.

“Step 2: Mark the stitching lines for the bone channels on the bag as shown on pattern pieces, onto the correct side of the fabric.”

I took this time to just mark everything.

IMG_4047.JPG

“Step 3: Make the bag.”

“Step 3a: Sew all the Bag sections together along side edges, making one long piece. Do not sew into a circle yet. Make sure the marks for the stitching lines are on the correct side of fabric.”

I actually had all the markings for the bag on the “wrong” side of the fabric since I was sewing white fabric I could see the lines through the fabric and that was really helpful for me.

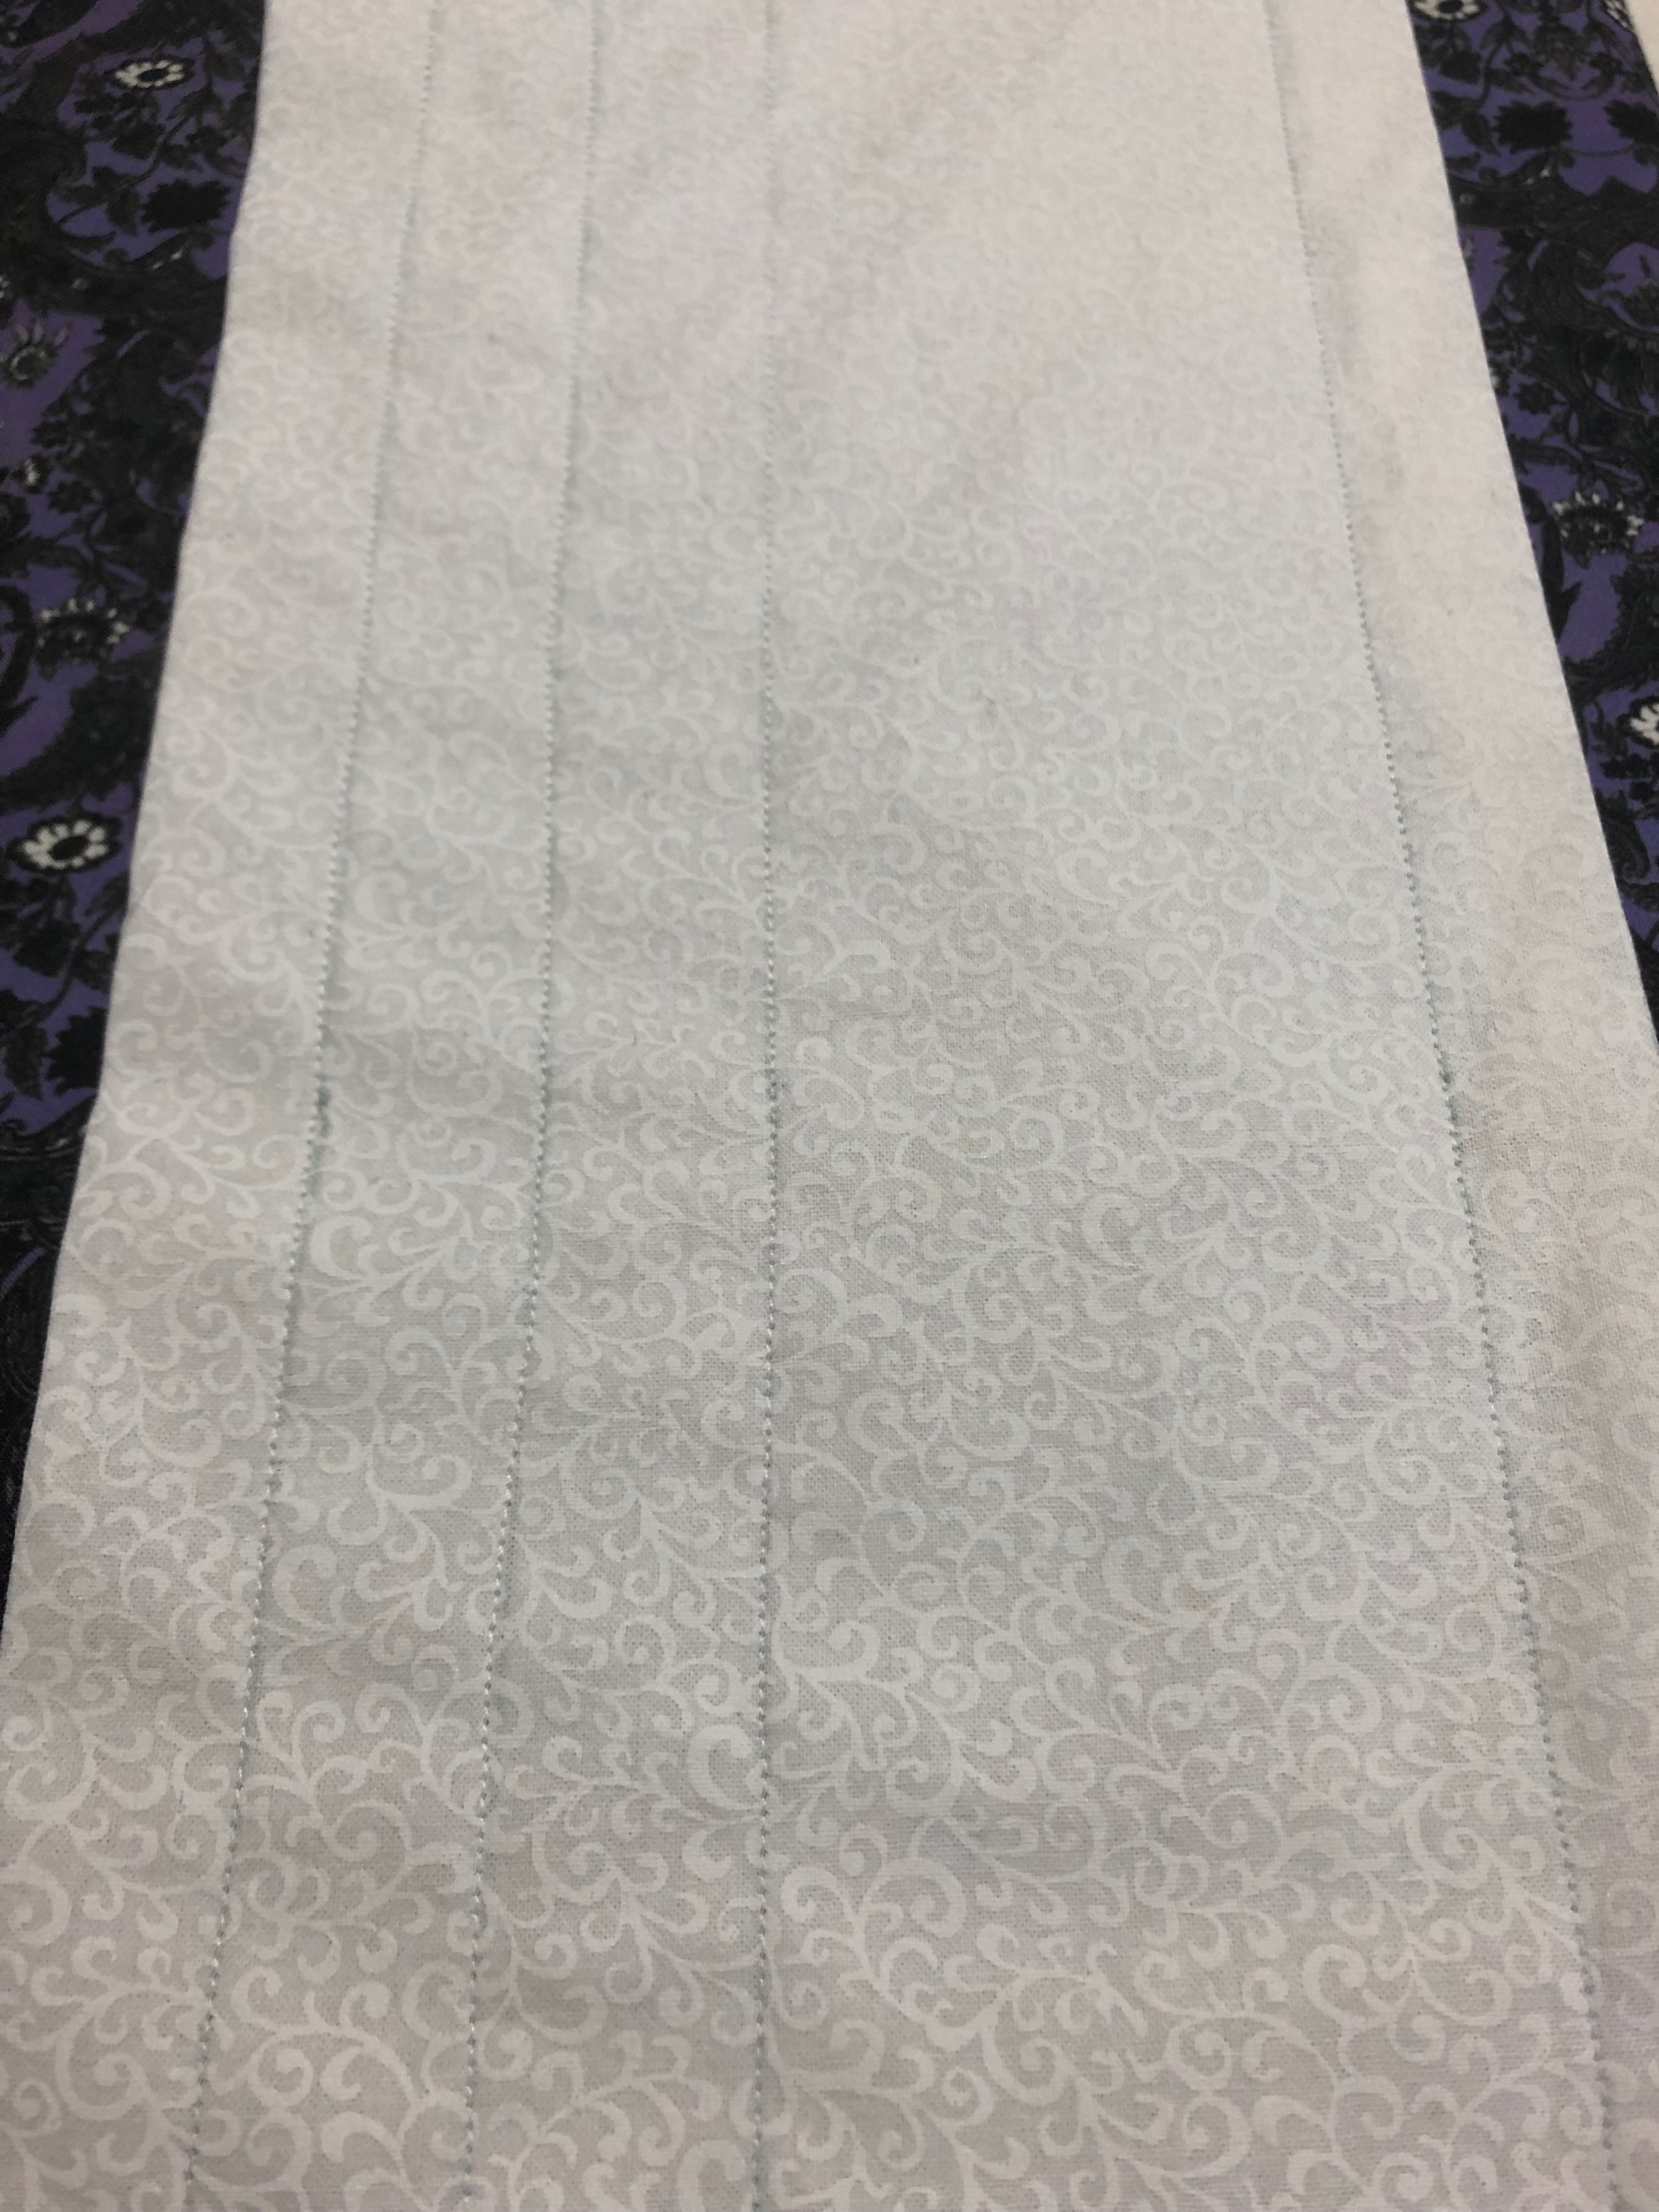
“Step 3b: Press seam allowances to one side and zig-zag over allowance to keep it flat. This will help the bones slide into the bag channels easier.”

This step is a game changer for me, I have never been instructed to do this before and I am so glad I learned this because it’s something that I personally will use in the future.

IMG_4048.JPG

“Step 3c: Fold the bag sections in half, right sides together, so the fold becomes the bottom edge, and the raw edges the top.”

I also pressed it, I know that’s obnoxious because it gets flipped but I wanted to press it, so I did.

IMG_4050.JPG

“Step 3d: Sew along the top edge, leaving 6” on each end unsewn.”

“Step 3e: Turn the bag right right side out and press.”

I know I always say this but pressing is just so important, so do it, or else.

IMG_4051.JPG

“Step 3f: Match the ends of the bag, right sides together and seam the ends together. Press. Flip seam to inside of bag. This seam will be the center front of the bag.”

This part get’s a bit tricky to press the inside of the seam but I used my pressing ham and had no issues getting the entire seam pressed open.

IMG_4052.JPG

“Step 3g: Stitch along each boning channel line, as marked. Make sure to leave an 8” gap in the stitching at the center front to be able to insert the hoop wire.”

I actually left the entire 6” gap on each side. I remember with the elliptical hoop inserting the wire was really hard because the gap didn’t feel wide enough so I just did it this was and it worked really well for me.

IMG_4053.JPG

Before moving onto the next step I took the liberty to adding a pretty little lace trim to the bottom of the bag. This is by all means not historically accurate but I loved the trim so I added it and again I needed to get rid of stuff in my stash and what better way to do so.

IMG_4054.JPG

“Step 3h: Starting at center back and working towards the front on either side place a mark 1/2” from center, and then each additional mark as shown in the chart. This will mark the placement of where the ribbons will attach to the bag.”

So apparently I took less photo’s than I remembered but after marking the bag and the twill tape placement I actually stitched it down.

“Step 4: Ribbon/tapes”

Instead of going over all the instructions in this section I’m just going to say that I followed the markings and stitched the ribbon on in the manor I thought they went and after reading this section it just confirmed my placement and the steps I took to add these.

So moving onto “Step 5: Make the waist cincher.”

Before getting too much into it, the images given with the pattern were rather confusing and contradicted the instructions so I used the instructions for this part and ignored the drawings that came with it because the didn’t help at all.
“Step 5a: Sew the center backs together along the center back seam, correct sides together, making 2 sets: one for the outside and one for the lining. Clip and press.”

I should also not that I stitched these all on 1/2” seam allowances and that I did not clip any of these and it turned out fine. I did in fact press everything though, because you should. I’ll also note that the fabric I used for the cincher is a different printed white calico than the one I used for the bag but considering they were undergarments I wasn’t too concerned with the fabric not matching.

“Step 5b: Sew side backs to center backs, correct sides together. Clip and press seams.”

This is where their diagrams don’t line up, side backs go to center back and side front goes to center front.

IMG_4056.jpg

“Step 5c: Sew side Fronts to Side backs, correct sides together. Clip and press.”

IMG_4057.jpg

“Step 5d: Sew fronts to side fronts, correct sides together. Clip and press.”

At this point I also pressed everything another time to make sure those seams were flat.

IMG_4058.jpg

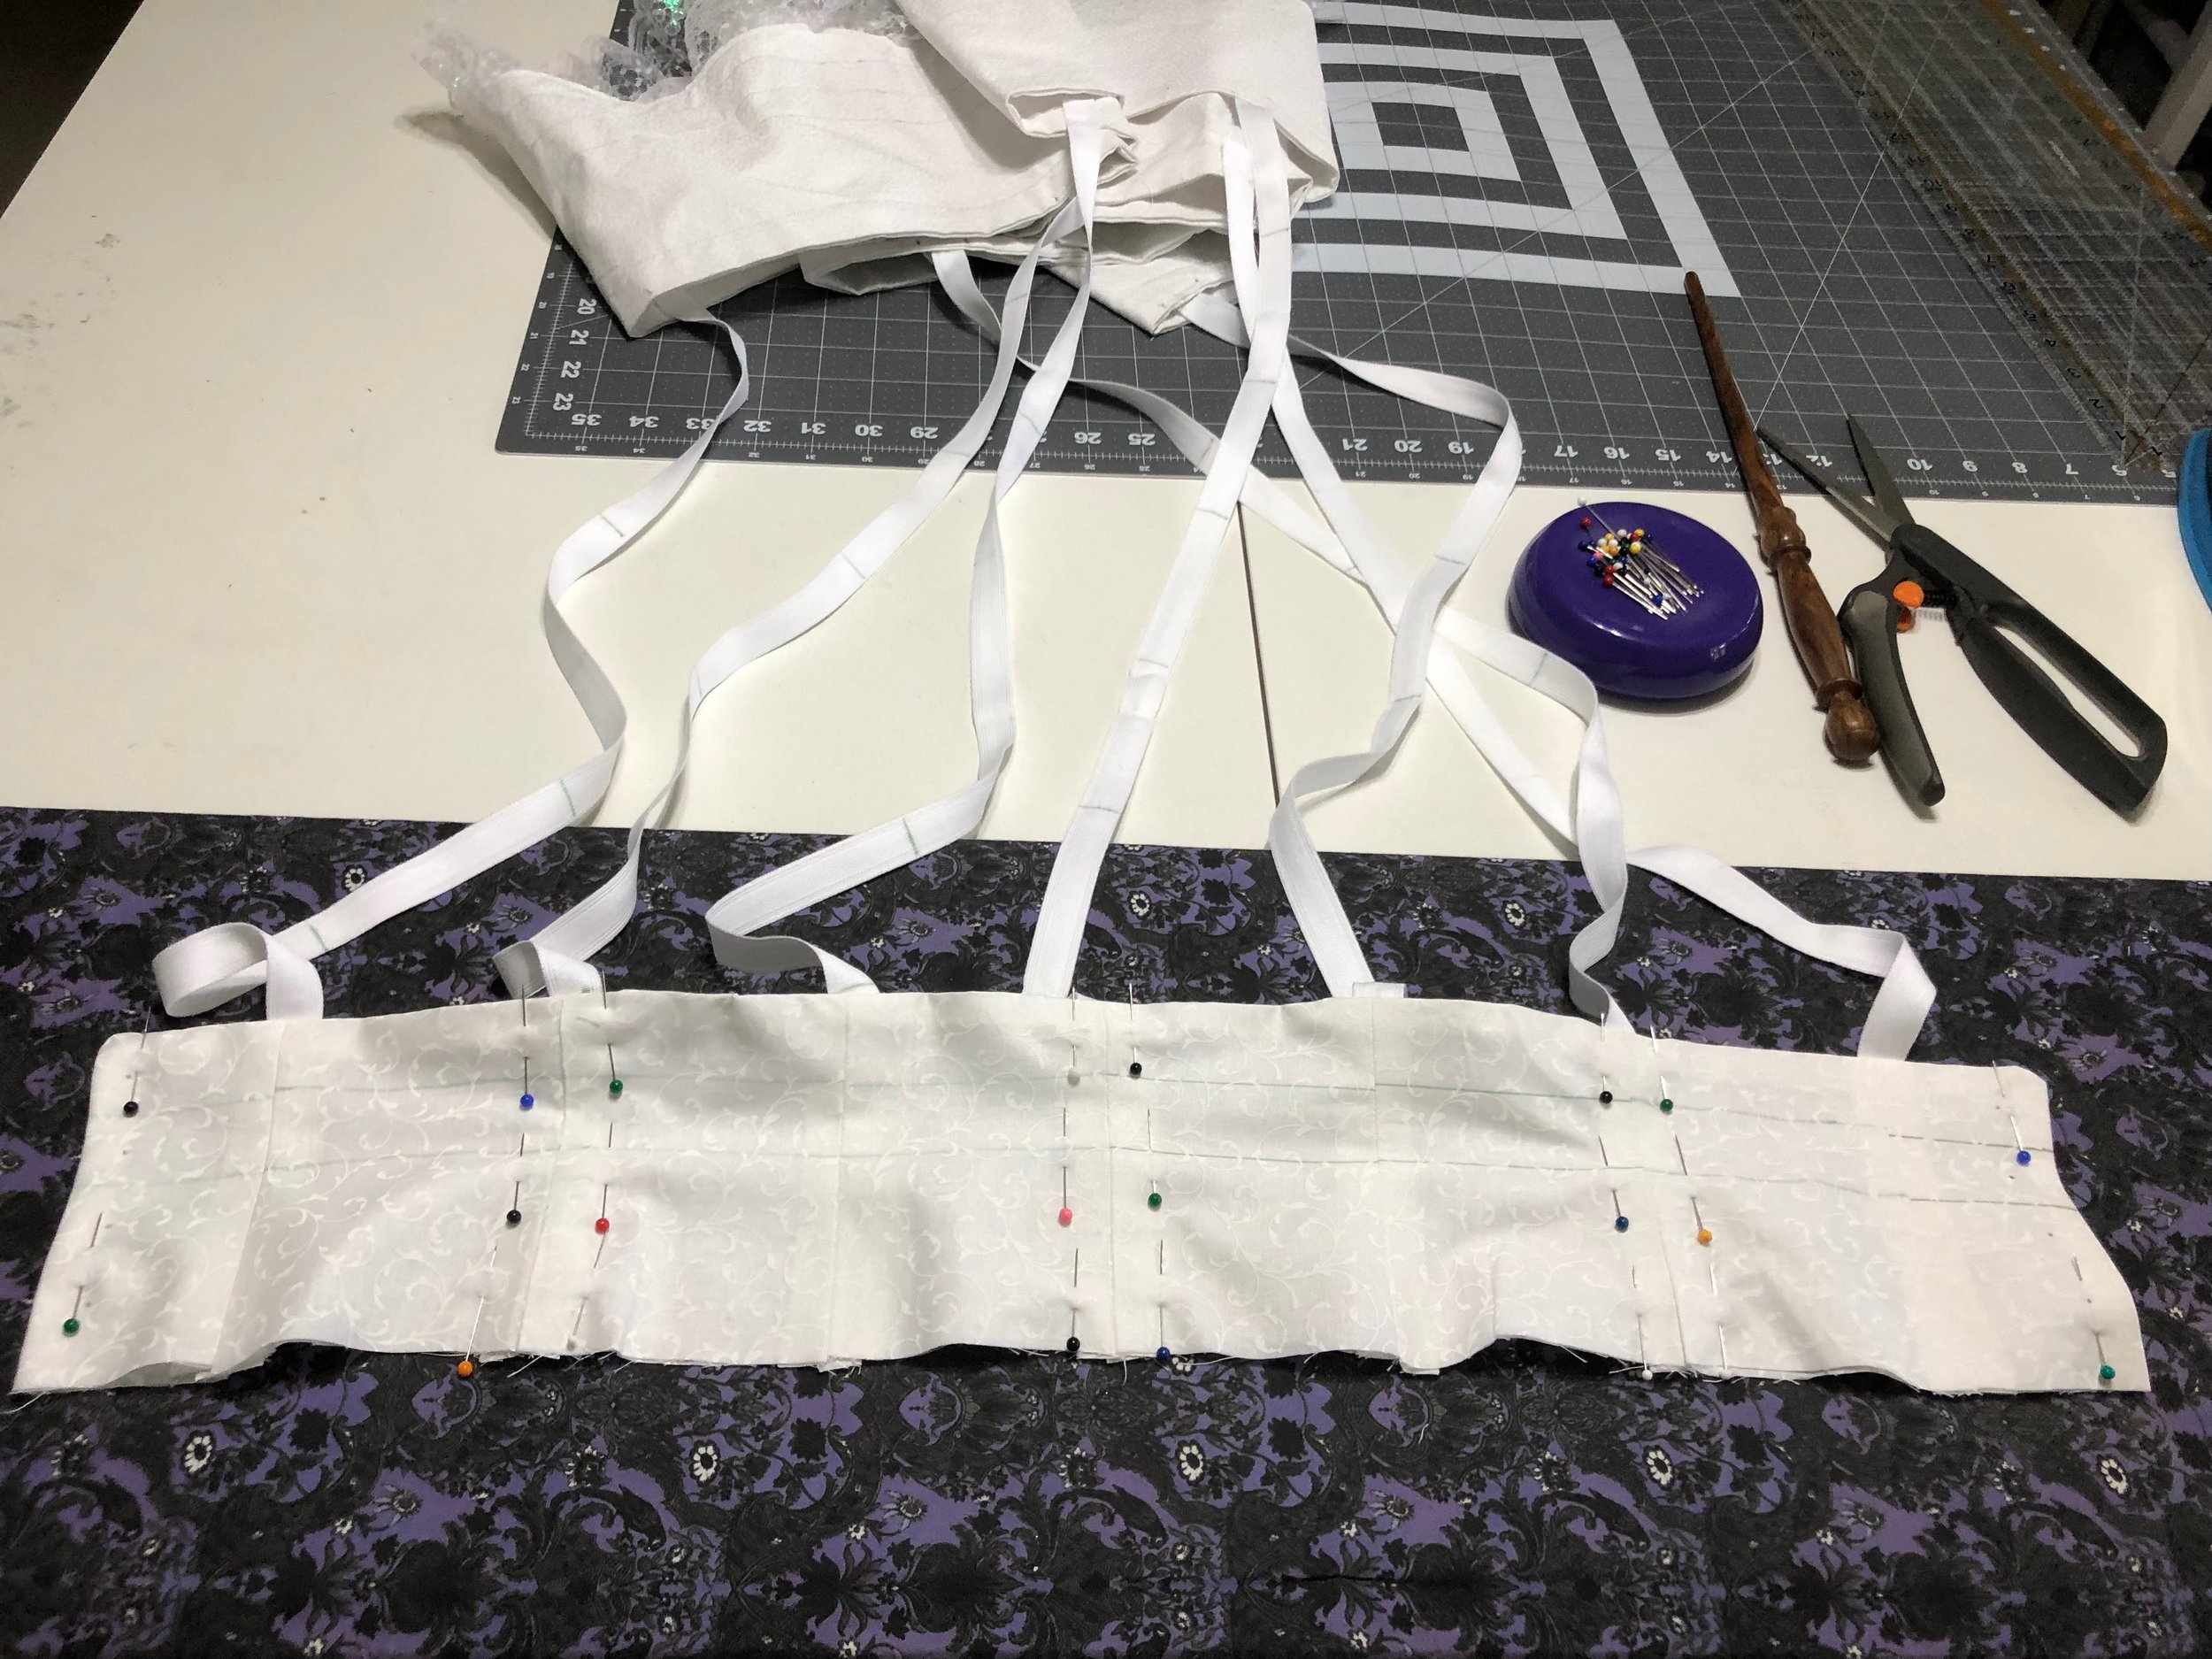
“Step 5e: Match the two sets together, outside layer and lining layer, with correct sides together. Place the top ends of the support tapes in-between the two layers, matching the top end of the ribbon to the edge of the fabric. The Center back tape should be centered on the center back seam. The side back tape should be centered on the back/side back seam. The side front tape should be centered on the side front/side back seam. The front tape should be centered on the front/side seam.”

The placement of each tape was pretty easy but I had major issues figuring out the placement of the tape in relation to the sandwich pieces. So hopefully this image will show you how I did it and help with that confusion.

IMG_4059.JPG

“Step 5f: Sew across the bottom edge of the cincher, and each center front end, with 1/2” seam allowance.”

Sewing this part actually attached the ribbon onto the cincher and once you fold it over and press it you will see how the bottom edge attaches the ribbon to it.

“Step 5g: Clip the corners, turn correct side out, and press. Sew five 3/8” wide boning channels into your cincher. One at the center back seam, one at each side seam, and at the front edge.”

For this step I honestly just stitched a 1/4” on each side of the seams and that created a large enough channel for the bones to be placed into.

IMG_4060.JPG

“Step 5h: Sew 2 rows of stitching from the top to the bottom at each seam line, and 3/8” in from the front edges.”

I combined this step with the previous one.

“Step 5i: insert bones into each of the channels from the top of the corselet, and baste the top of the cincher closed.”

IMG_4061.jpg

“Step 5j: Finish the top edge of the cincher with zigzag, binding or a trim to cover the raw edges.”

I used binding and then placed the grommets and this is the last photo I took of the progress.

IMG_4062.jpg

So the rest of the steps are on the hooping wire and adding the hoops. It was so difficult to photograph this section but the instructions are pretty straight forward. I will note that instead of having a 2” over lap on my wire I created a 5” overlap so they would stay secure better. In the past of making hoops I had issues with the overlap not being enough and them popping out.

Another adjustment I made was the bone casing, I added about 6 inches to the casing would actually meet. I also machine stitched each hoop casing on as I added the hoop instead of pinning it all and then sewing it. I used a zipper foot to sew it on and had no issues with sewing it alongside the metal boning.

Those were the only adjustments I made, I chose to use tape to bind the metal together and I just made sure to feed the taped pieces past the first tape so that the stitching would keep the wire from moving.

IMG_4064.JPG

I also tried Ariels underskirt on over the hoop and it seemed to fit nicely so I plan to use this hoop for future ballgowns as well as displaying pieces.

IMG_4069.JPG

If you found this blog helpful please consider supporting my work on Patreon or Ko-fi, both places help with material cost on costumes and allow me to continue to spend the time to write these blogs and make videos.

Making Historically Accurate Megara part 1

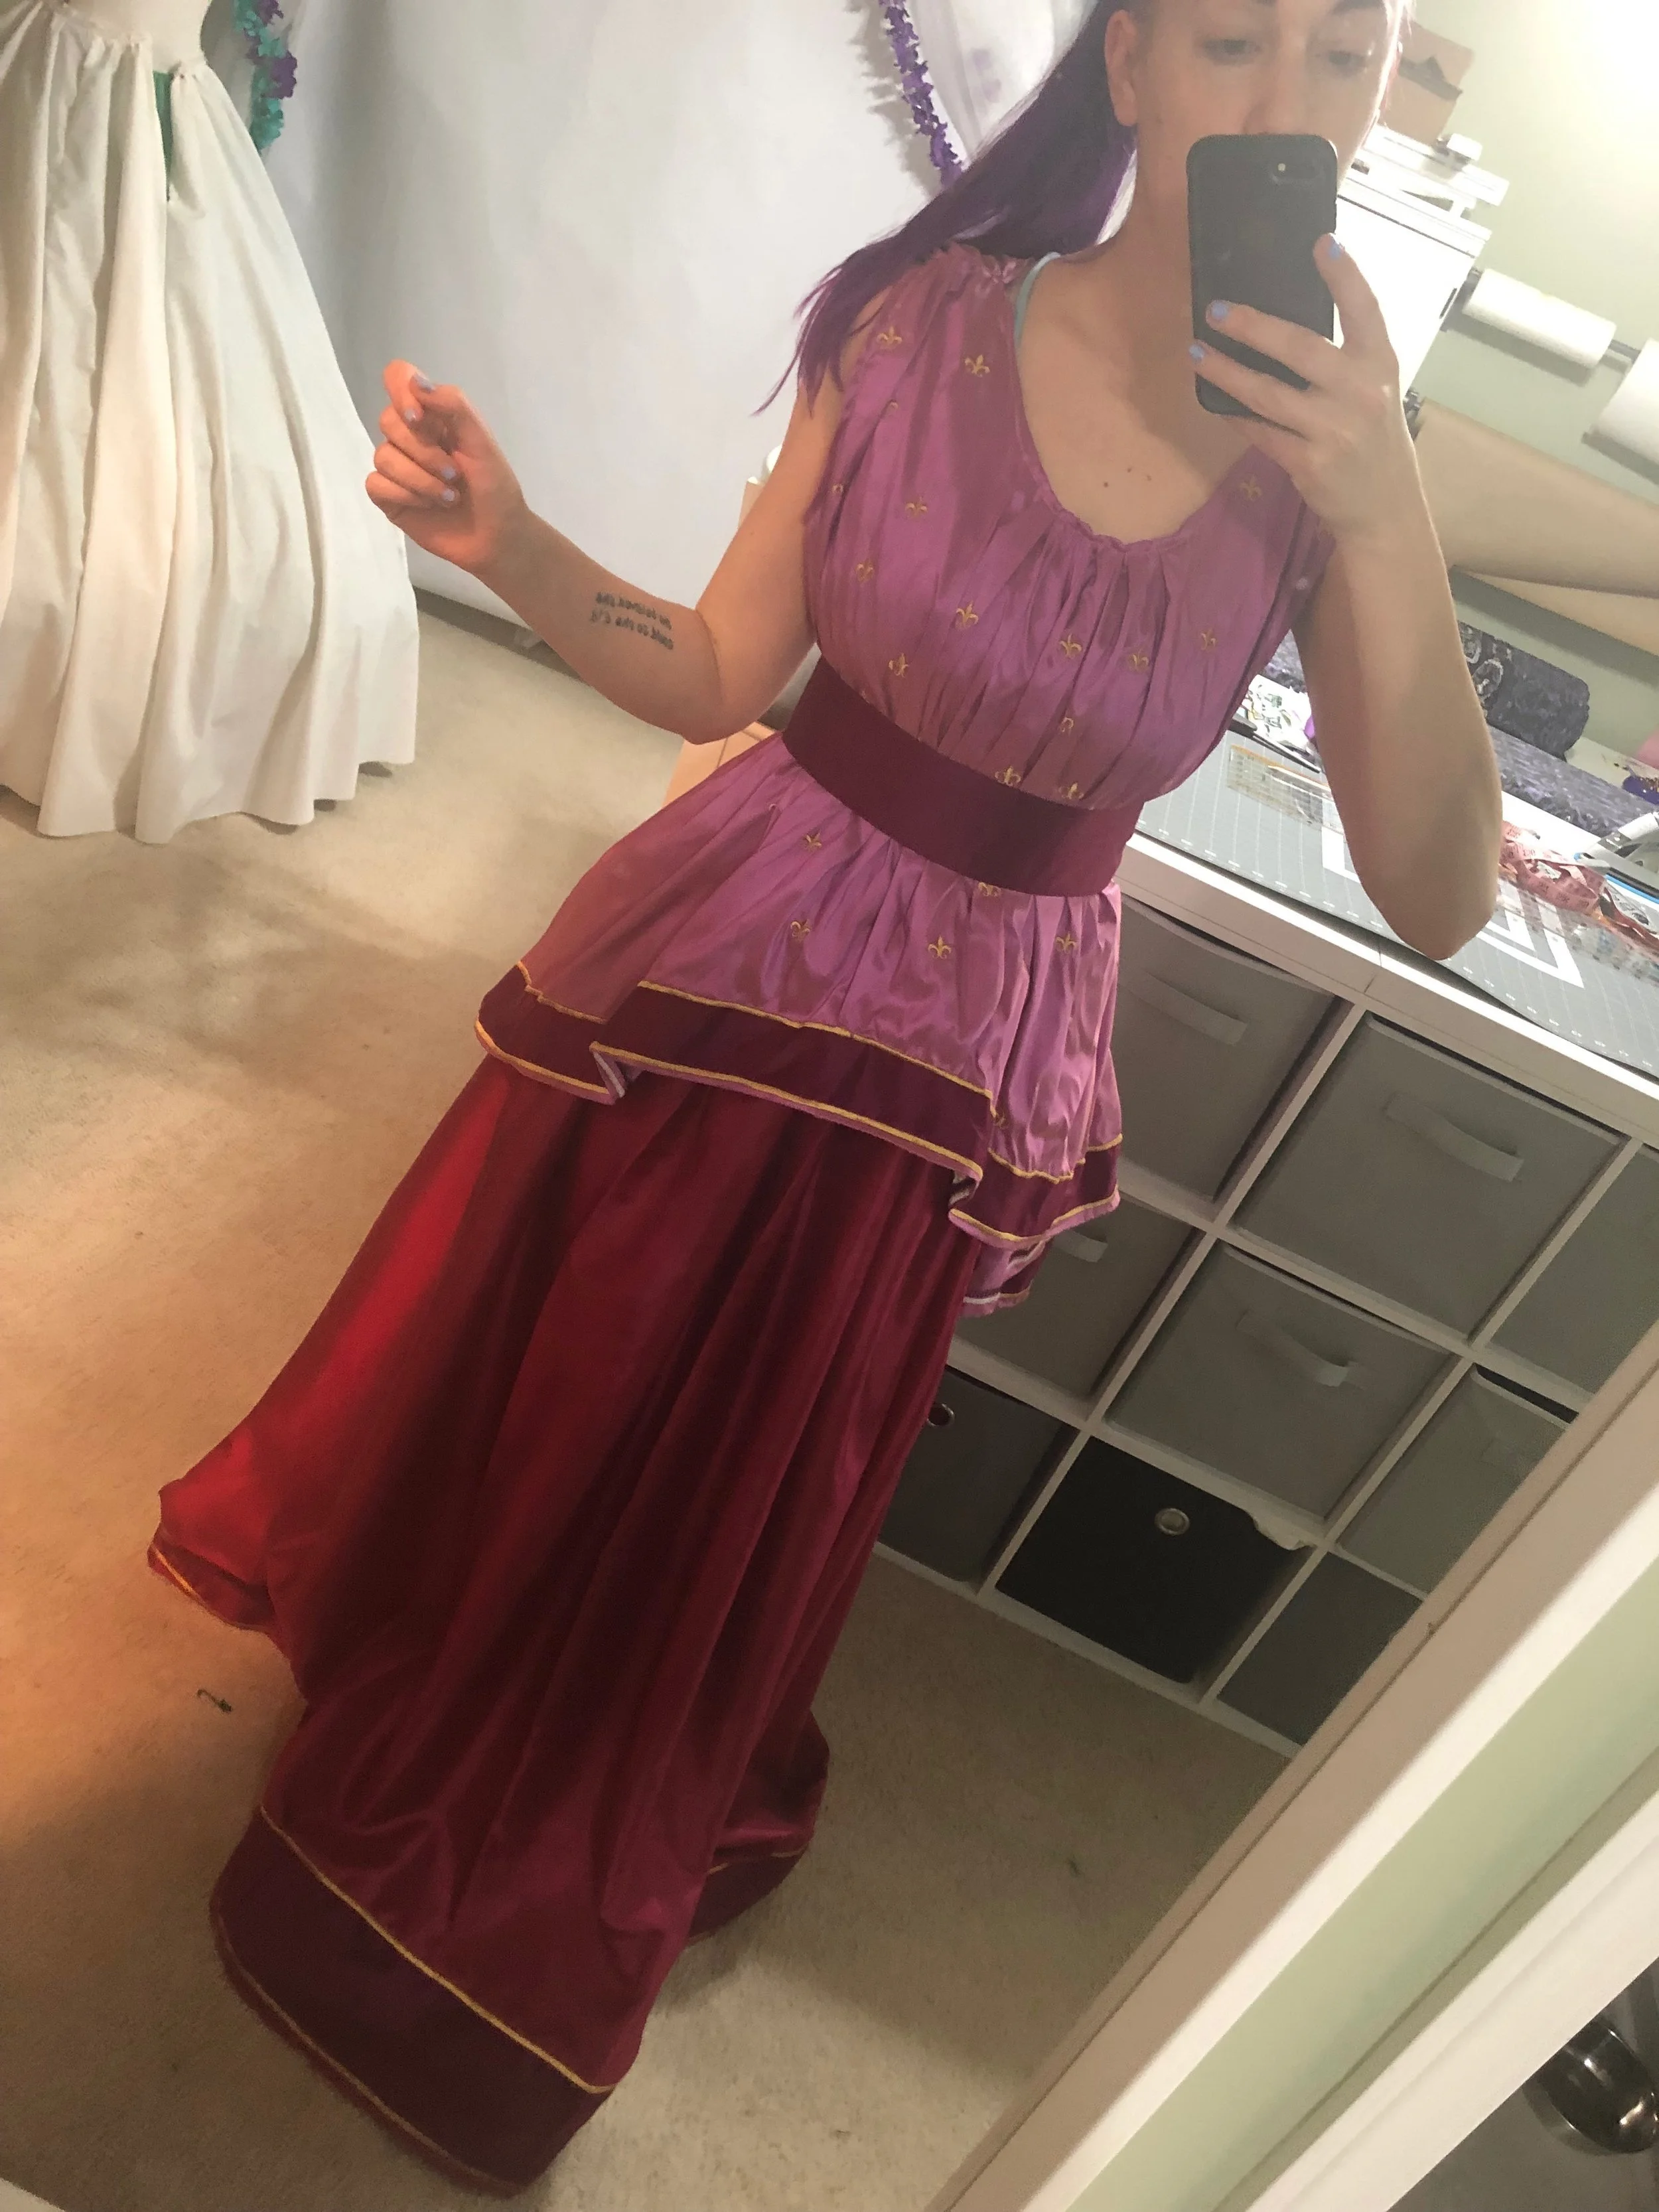
Welcome to a new blog on making Historically Accurate Megara from Hercules. I made this costume in three weeks leading up to Momocon so I take a lot of short cuts and don’t exactly do things historically accurate but this design has been on my list for over a year now so what better time to make it then now.

To start off, I used silk instead of linen because I had never used silk shantung before and I really wanted to, I know now that it doesn’t give the drape that I need from the image but the color of the fabric was still stunning so I stand by my choice.

I purchased three yards of silk shantung from mood, three yards of silk habotai and three yards of silk shantung from Silk Baron. I used embroidery thread from Robison Anton in 24k Gold, as well as sewing thread from Intressa for sewing the garments.

The embroidery design was already programmed in my Husqvana embroidery machine in the exact size I wanted it so I chose to go the easy but inaccurate route vs digging for something more appropriate.

This blog is going to cover the shirt and skirt, while the next blog will cover the accessories and wig styling.

To start out I draped the chiton over my dress form by gathering the sleeves and neckline by hand, I did this on stream so naturally I forgot to take photo’s of it. There’s only two a bodice front and back to this piece so it goes together rather simply.

Once I had the shapes I wanted I cut out my fabric and serged all the edges to minimize the fraying.

Now I went in with my embroidery machine and stitched out the design, over and over and over again.

IMG_3540.JPG

I’m aware this is not a historically accurate choice but this is the choice I made so after 6 hours of placing, pressing go, stitching, and starting all over again I finally had this design all over my costume.

So now it was time to gather down the sleeves and neckline and then sew the pieces together.

IMG_3656.JPG
IMG_3657.JPG

Next I made a strip of fabric out of the Mulberry silk shantung the length of the hem by 3 inches. I folded over the edges and baste the strip down.

IMG_3654.JPG

Then using my embroidery machine I satin stitched the edges. This greatly worked against the drape but still looks good. If I were to redo this, I would not fold the edges inside and I would not do such a wide satin stitch.

IMG_3659.JPG

Then I made a belt out of the Mulberry silk shantung, I cut a piece of it 5” by 30” added interfacing to it and then sewed snaps on the back.

IMG_3658.JPG
IMG_3661.JPG

Now it’s time to make the skirt, this part was really easy and basically mimics what I did for my Jafar skirt. So I took my 3 yards of habotai and created the 5” strip at the bottom just like I did on the hem of the shirt.

IMG_3668.JPG

Then, creating a french seam I stitched the two edges together in the back leaving a 6 inch gap from the top. I gathered down the 110” to 28” made a waistband, and attached the skirt to the waistband.

IMG_3671.JPG

That’s the skirt, it took longer to stitch out the embroidery than it did to sew both the top and bottom of this costume. I would say about 15 hours have been put in so far.

IMG_3669.JPG

The next blog will cover the accessories and wig styling.

For those that want to help support my creations you can always join my Patreon or donate to my Ko-fi.

Project Ebon Blade Stellagosa: Part 1 Sleeve, Bodice and Necklace

New Costume time! This one is a little different than I am used to, it is not historical, Disney or spooky but it does have a bit of sewing and it is very beautiful.

This blog will cover how I made the sleeves, necklace and bodice for Project Ebon Blade Stellagosa artwork by Zach Fischer This entry will be covering just the sewing parts but I will do an entire entry on all the sculpting and thermoplastic parts. My intention is to make this costume light up but it might not get done for C2E2 (now less than 3 weeks away) so if I get it done for Dragoncon there will be an entire blog or video on that at a later date.

There will be either 2 or 3 more parts to this blog which I will link at the end as I complete them. But lets jump in.

I started the entire process with the sleeves, I made a duct tape and clear wrap sleeve around my arm (like people do with their duct tape dress forms) and cut it open where I wanted my seam. I don’t have photo’s of this process but I transferred that onto fabric.

IMG_2611.JPG

From there I refined my sleeve design and then began to draw the separate panels onto the sleeve. I found it very hard to draw and erase on the fabric so I quickly switched to pattern paper and accepted that this was my design.

Once I had moved to the paper I was also able to start drawing on the stitching design I was going to attempt.

IMG_2612.JPG

Now that I basically had the plan for the design it was time to do a test of it. I made an entire sleeve design test before working on the official sleeves because I wanted to make sure the design read as the design from the image as well as I wanted to get good at doing it on my machine.

So to create the curved design I used two design stitches in my Embroider/Sewing Machine. I have a Husqvarna Viking Topaz 50 and I am still very new at using it.

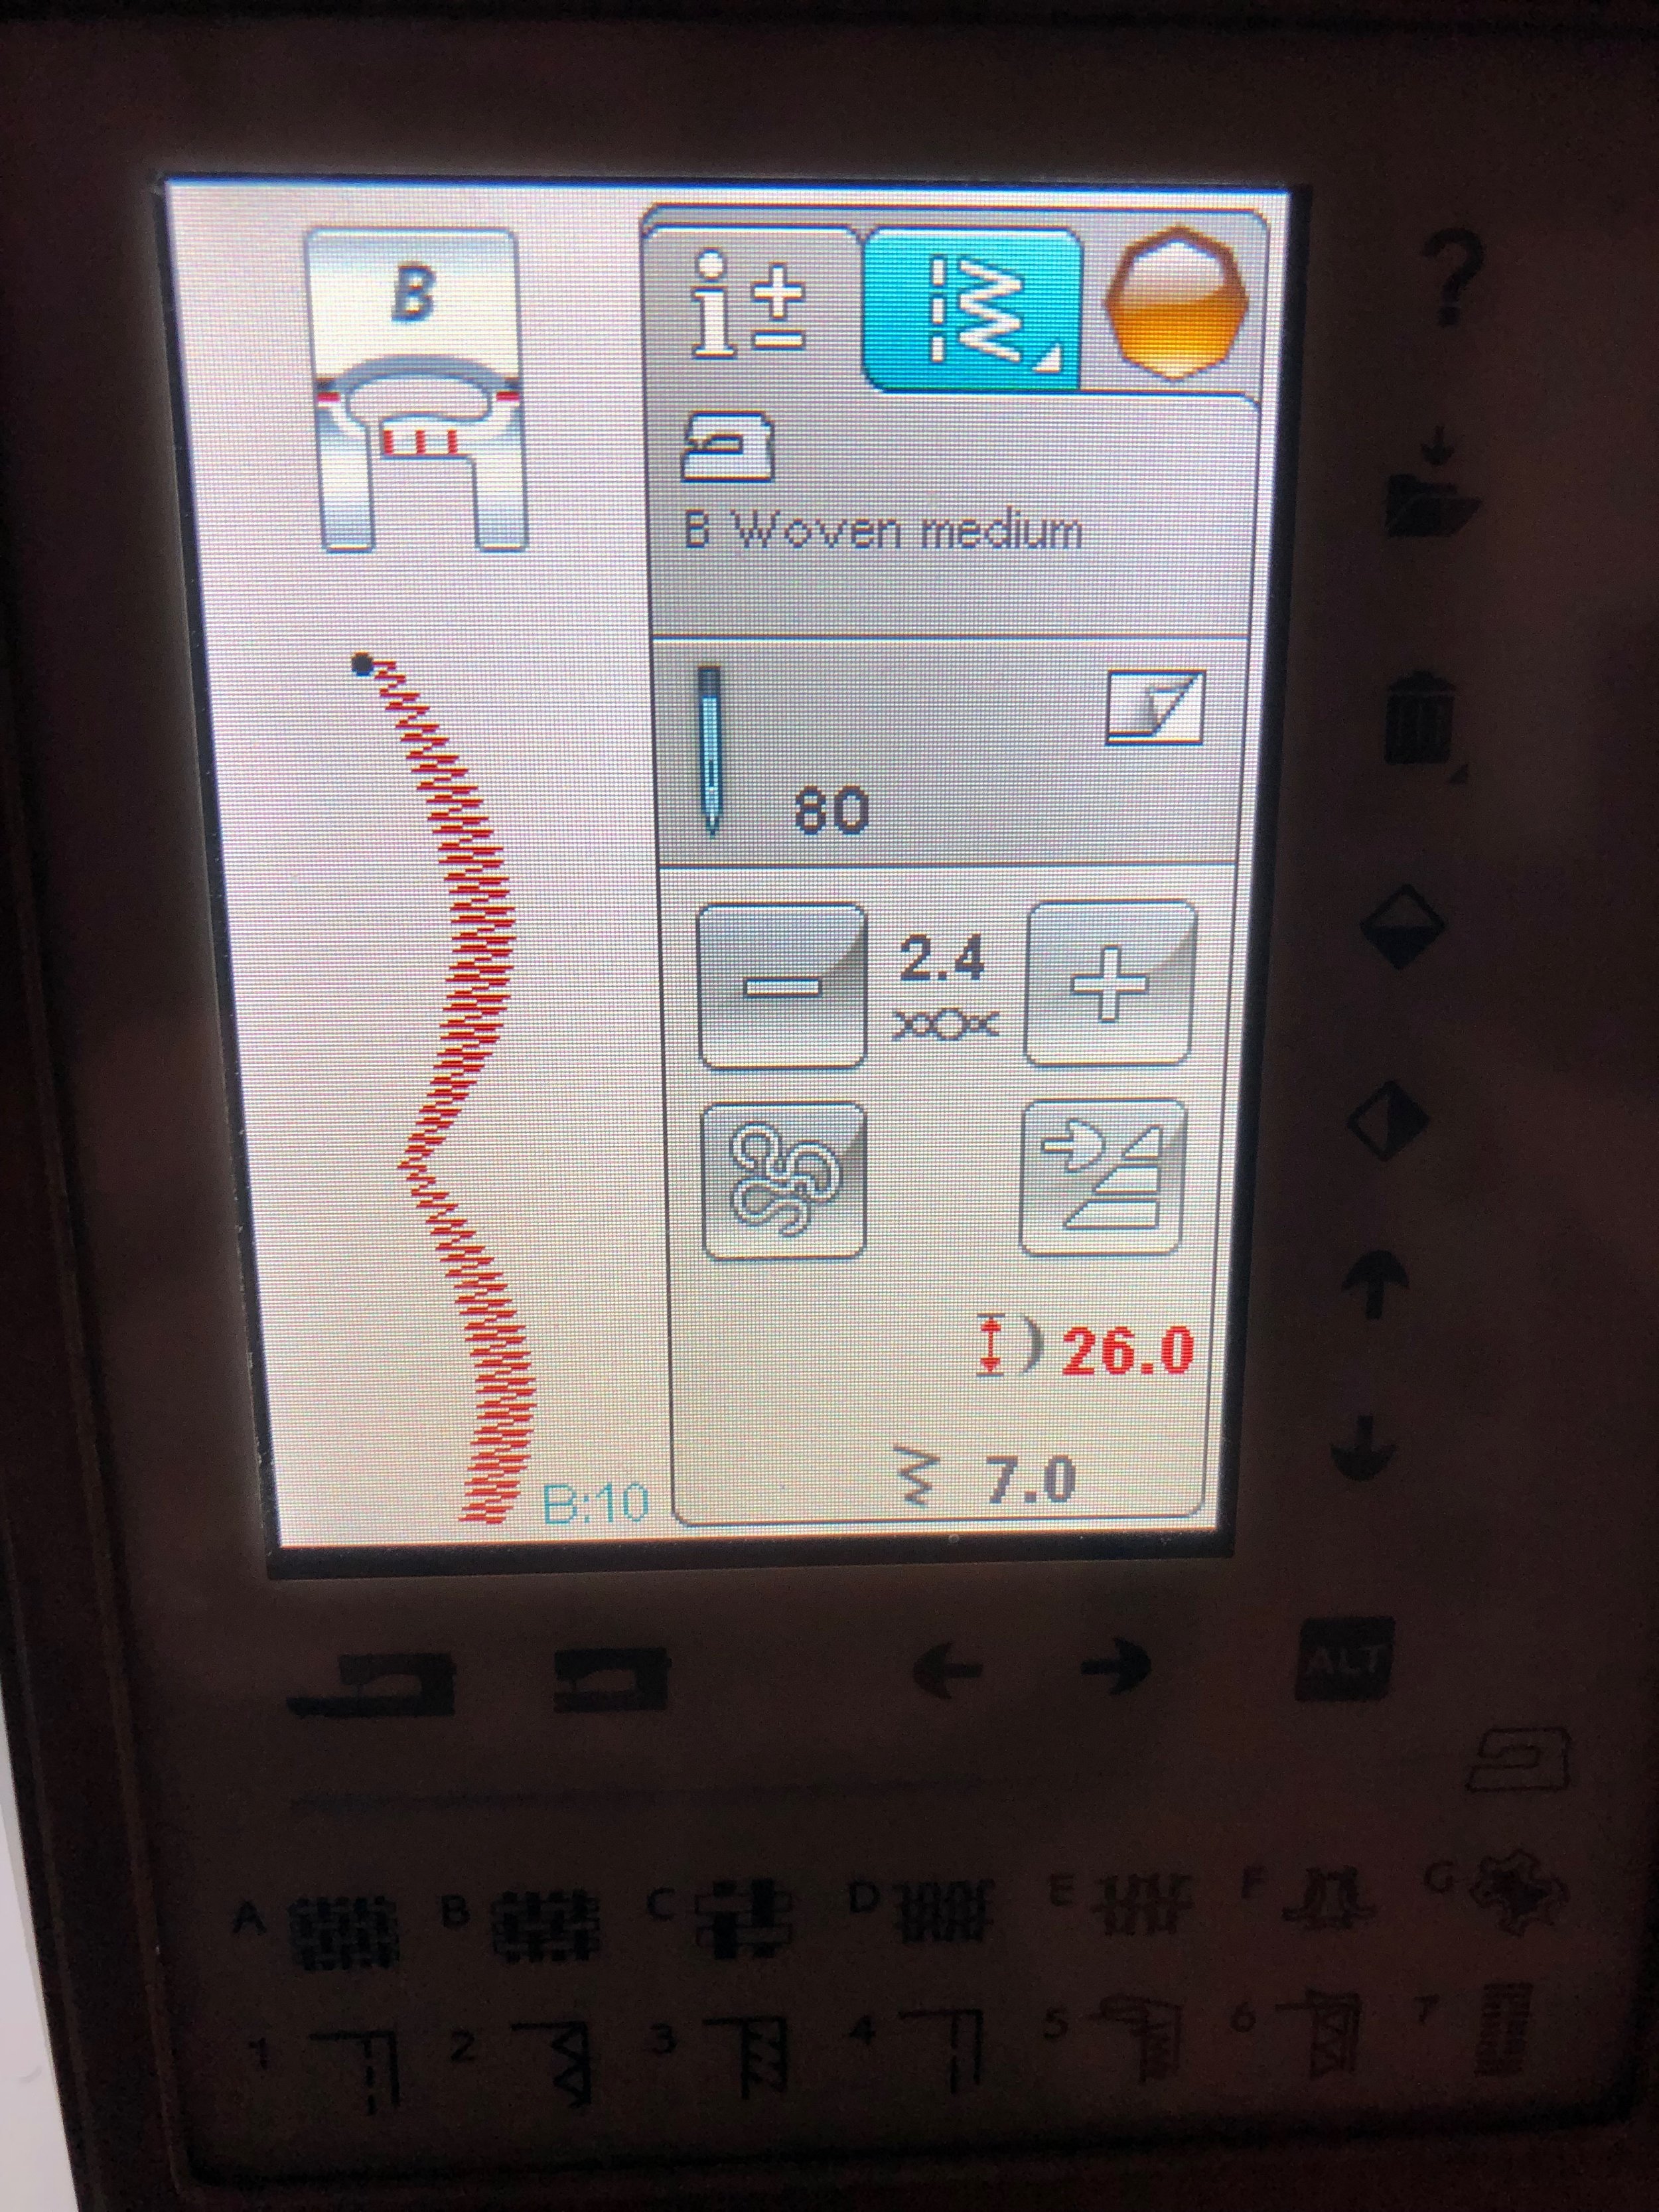
Using Rayon Embroidery Thread from Robison Anton in Saturn Gray I used the curved stitch at a 26mm length and a 42mm length to create the design, I stitched it out on the slowest speed and stopped after one curve was stitched. I use this same design, stitch length and method on both the necklace and the bodice.

IMG_2614.JPG

Then I used a satin stitch (which is pre loaded in my machine) to attached the grey cotton but also to attach the silk taffeta to the silk habotai.

IMG_2615.JPG

As you can see there was some spacing issues and a lot of control issues with both the design and the satin stitch so it was actually really beneficial to make the practice sleeve.

IMG_2616.JPG

At this point I repeated the entire process but for the real sleeves. Then I cut out the habotai and satin stitched the taffeta piece onto the habotai.

IMG_2631.JPG

From there I over locked all the edges, applied rhinestones to give it the sparkly look and at this time I had no intention of adding further embellishments. So I stitched the seams together, folded in the top seam, added elastic to help hold it on my arm, folded the bottom seam and that was that.

But later on I decided I did want to apply embellishments so here they are. Note the diamond cut out at the tip of the sleeve is for gem placement once I have made those.

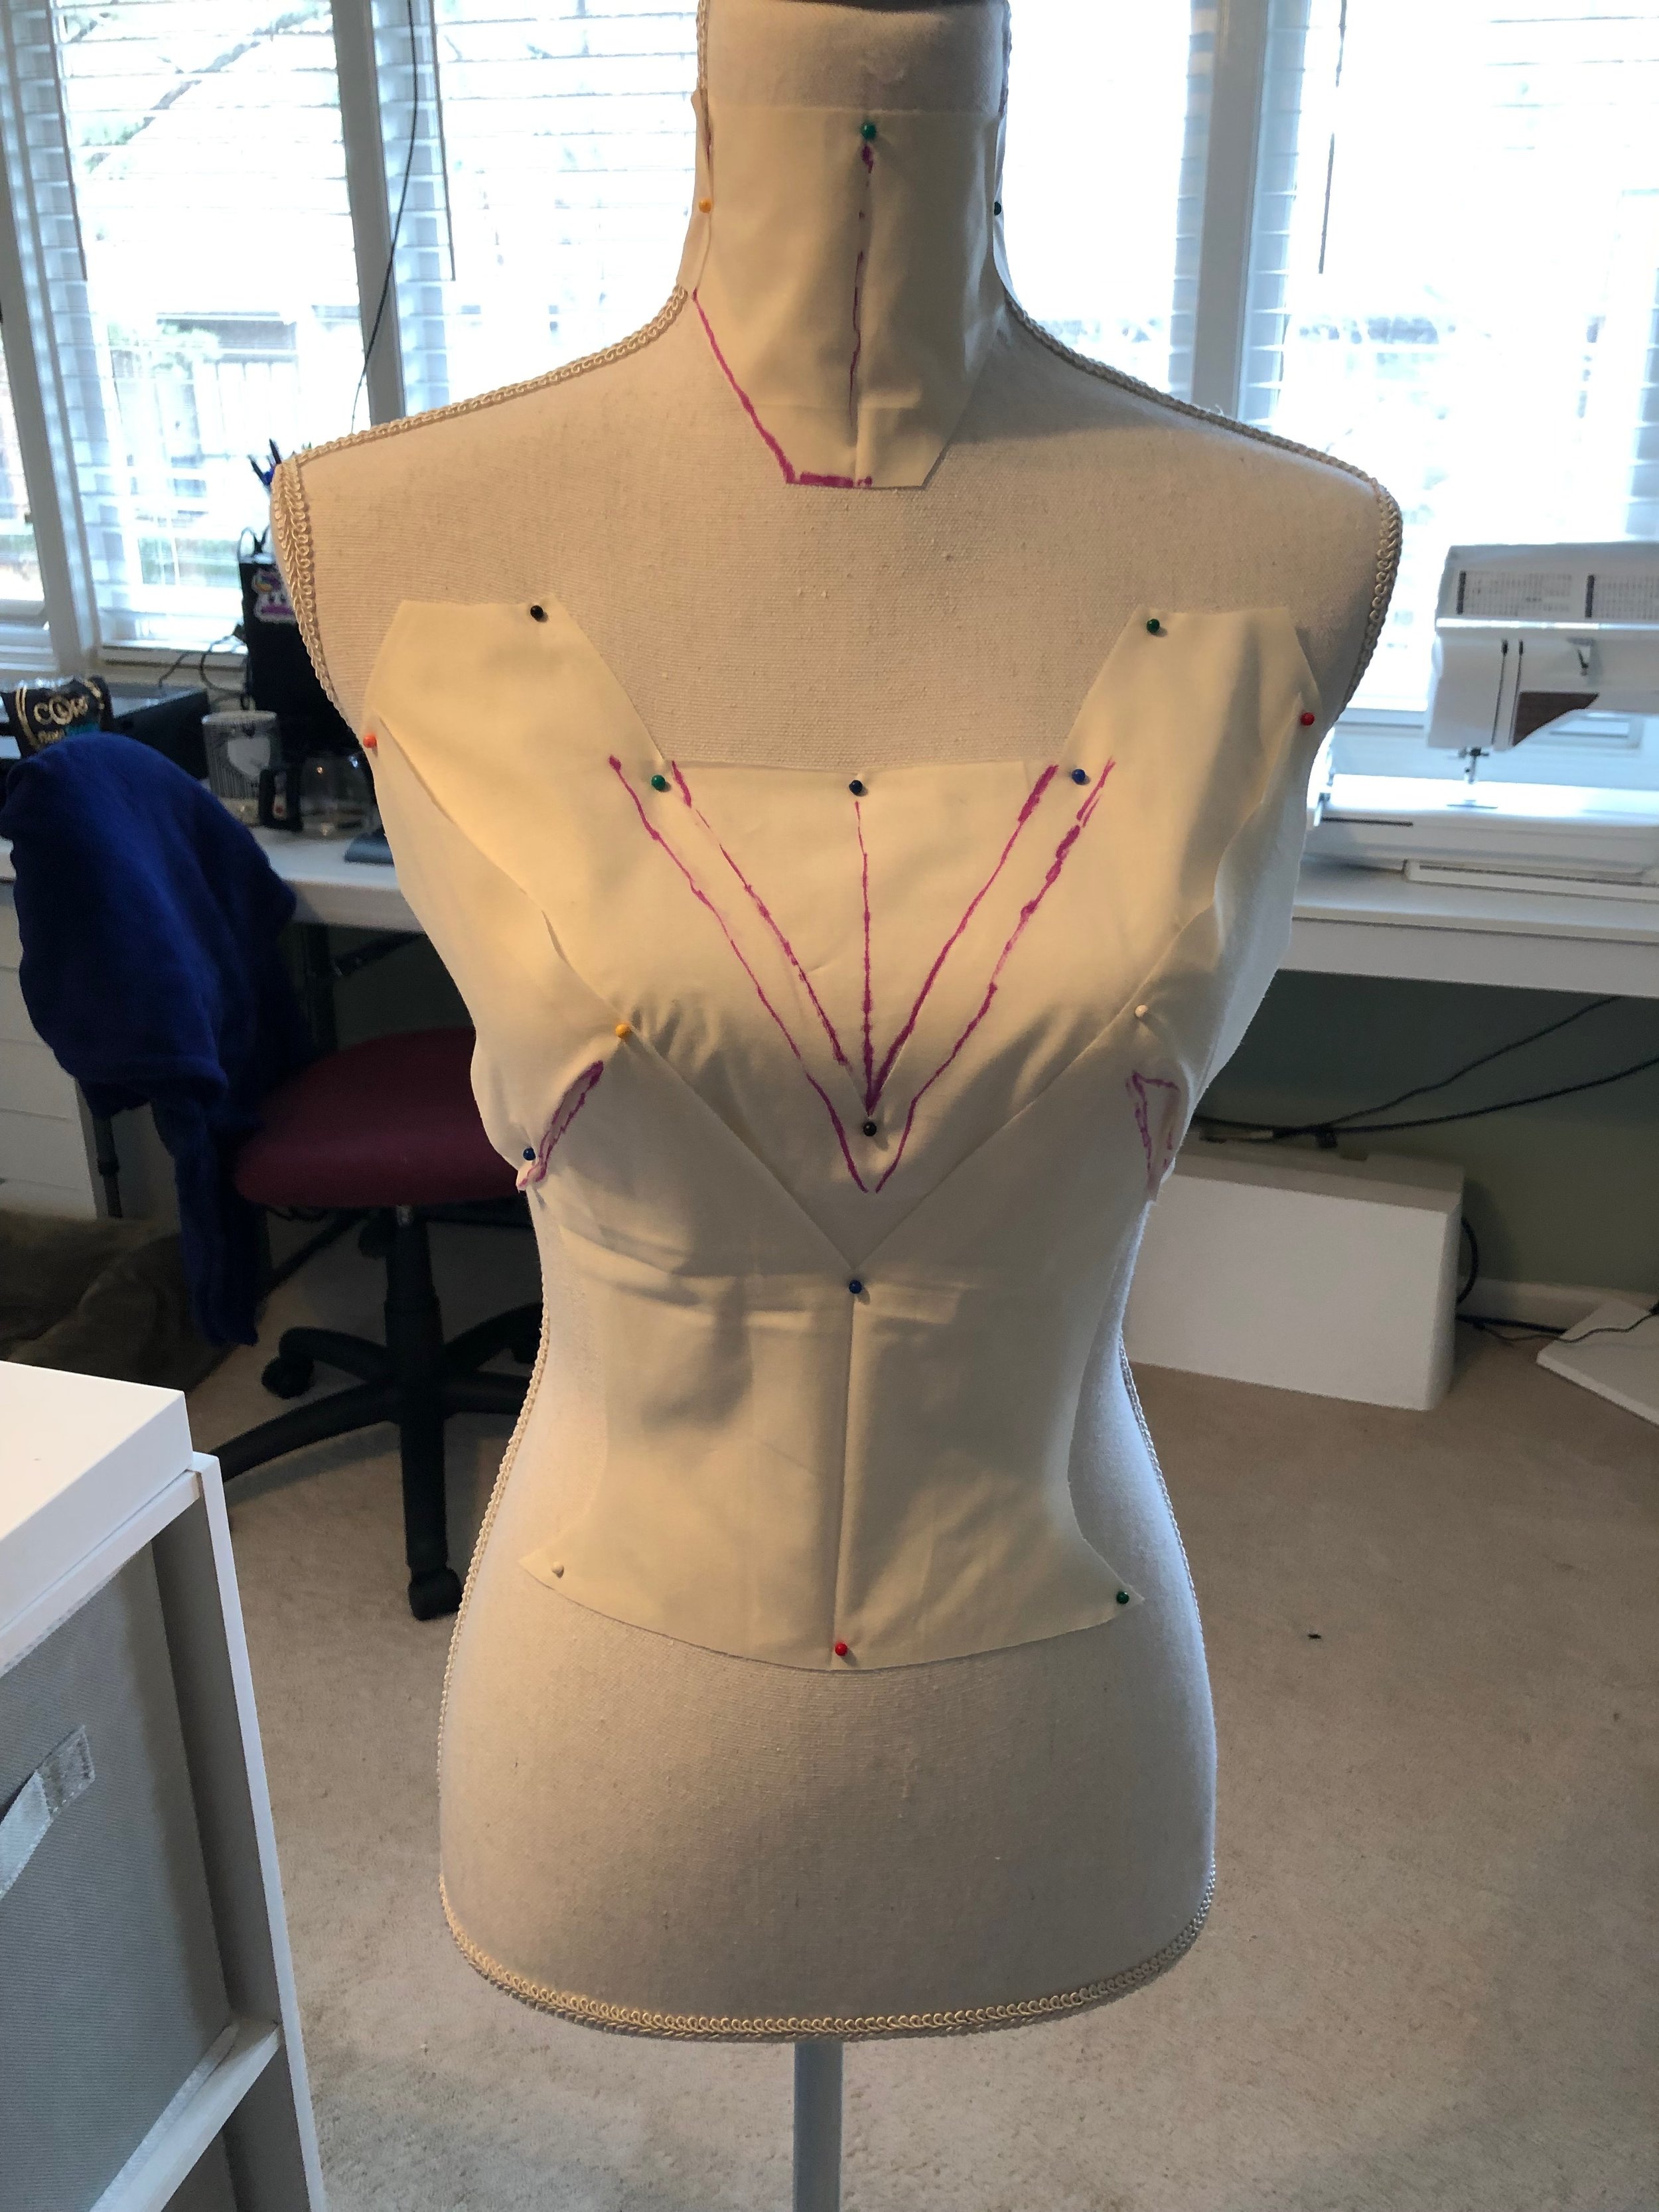
Next up is the necklace. I did some basic drafting of the necklace and the bodice on my dress form. I didn’t take a ton of photos of the draping or necklace making process but it was fairly easy.

IMG_2609.JPG

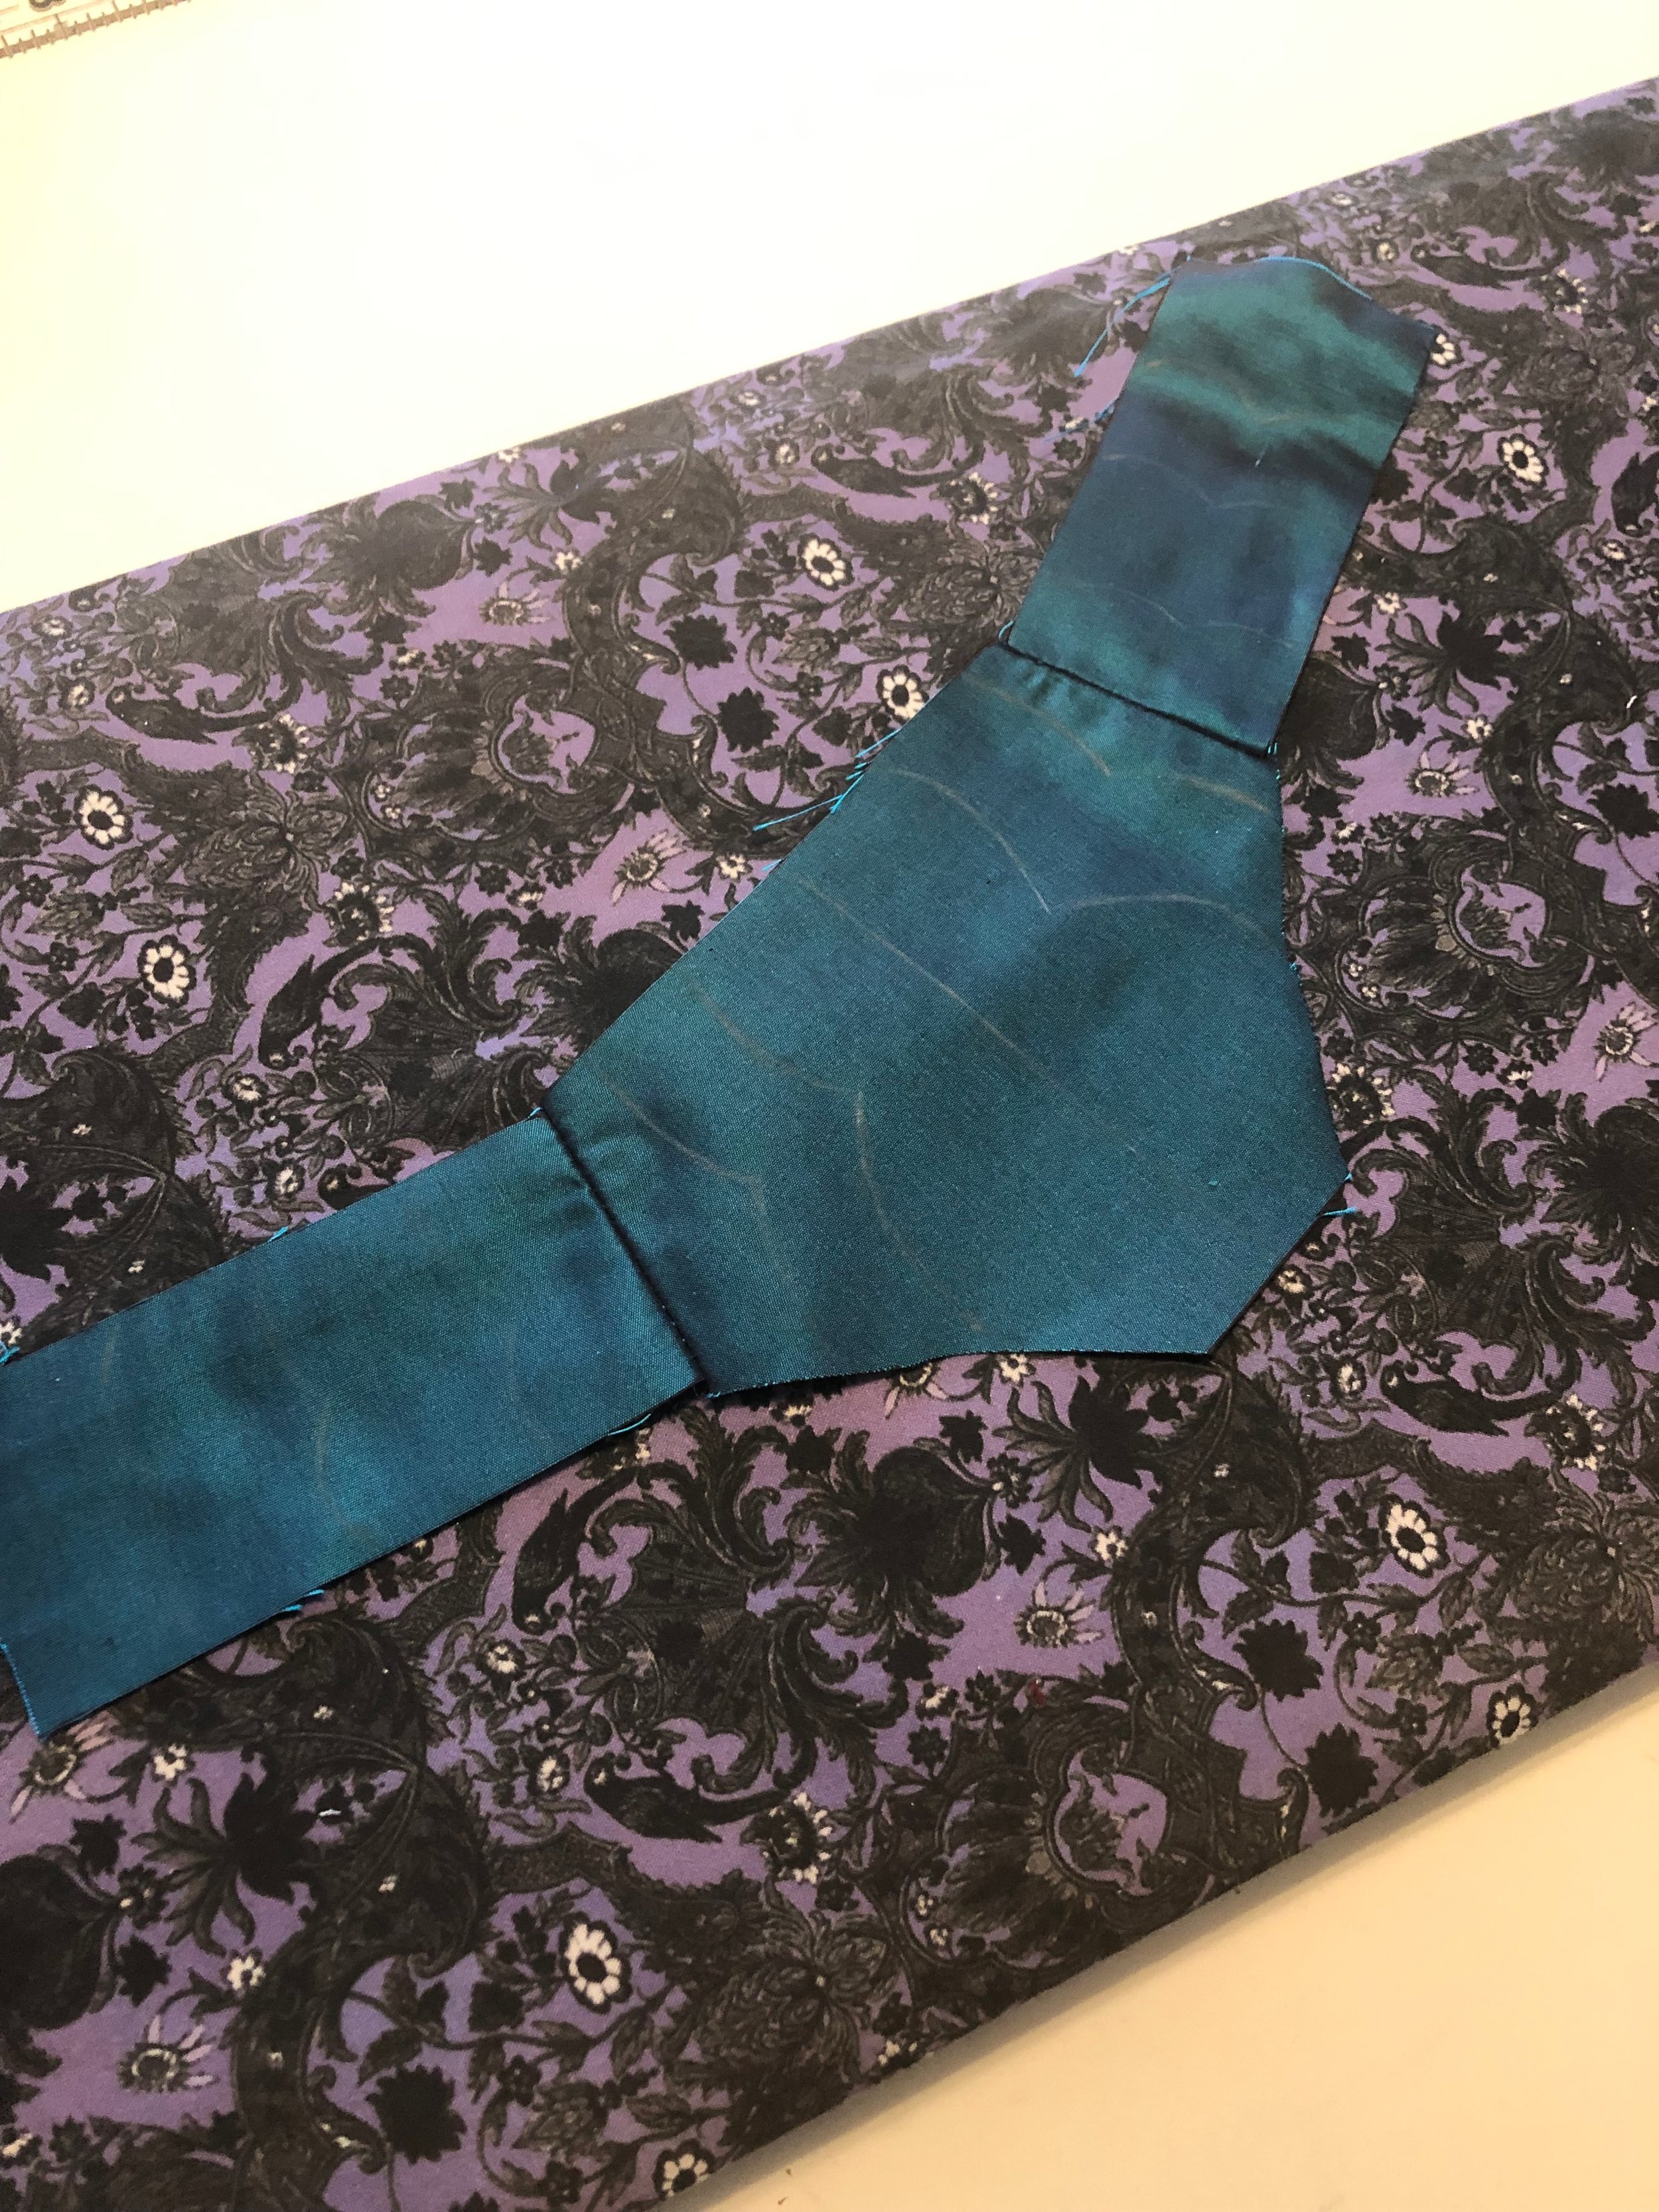
So from my pattern above, I cut that out on taffeta and cotton as well as made some bias tape out of the cotton. I drew the design onto the fabric with fabric colored pencil. Then I did the curved design stitch over it.

IMG_2725.JPG

Then I cleaned it all up with bias, added hooks in the back and that was that. Later on I added beads and sequins to the necklace as well.

IMG_2726.JPG

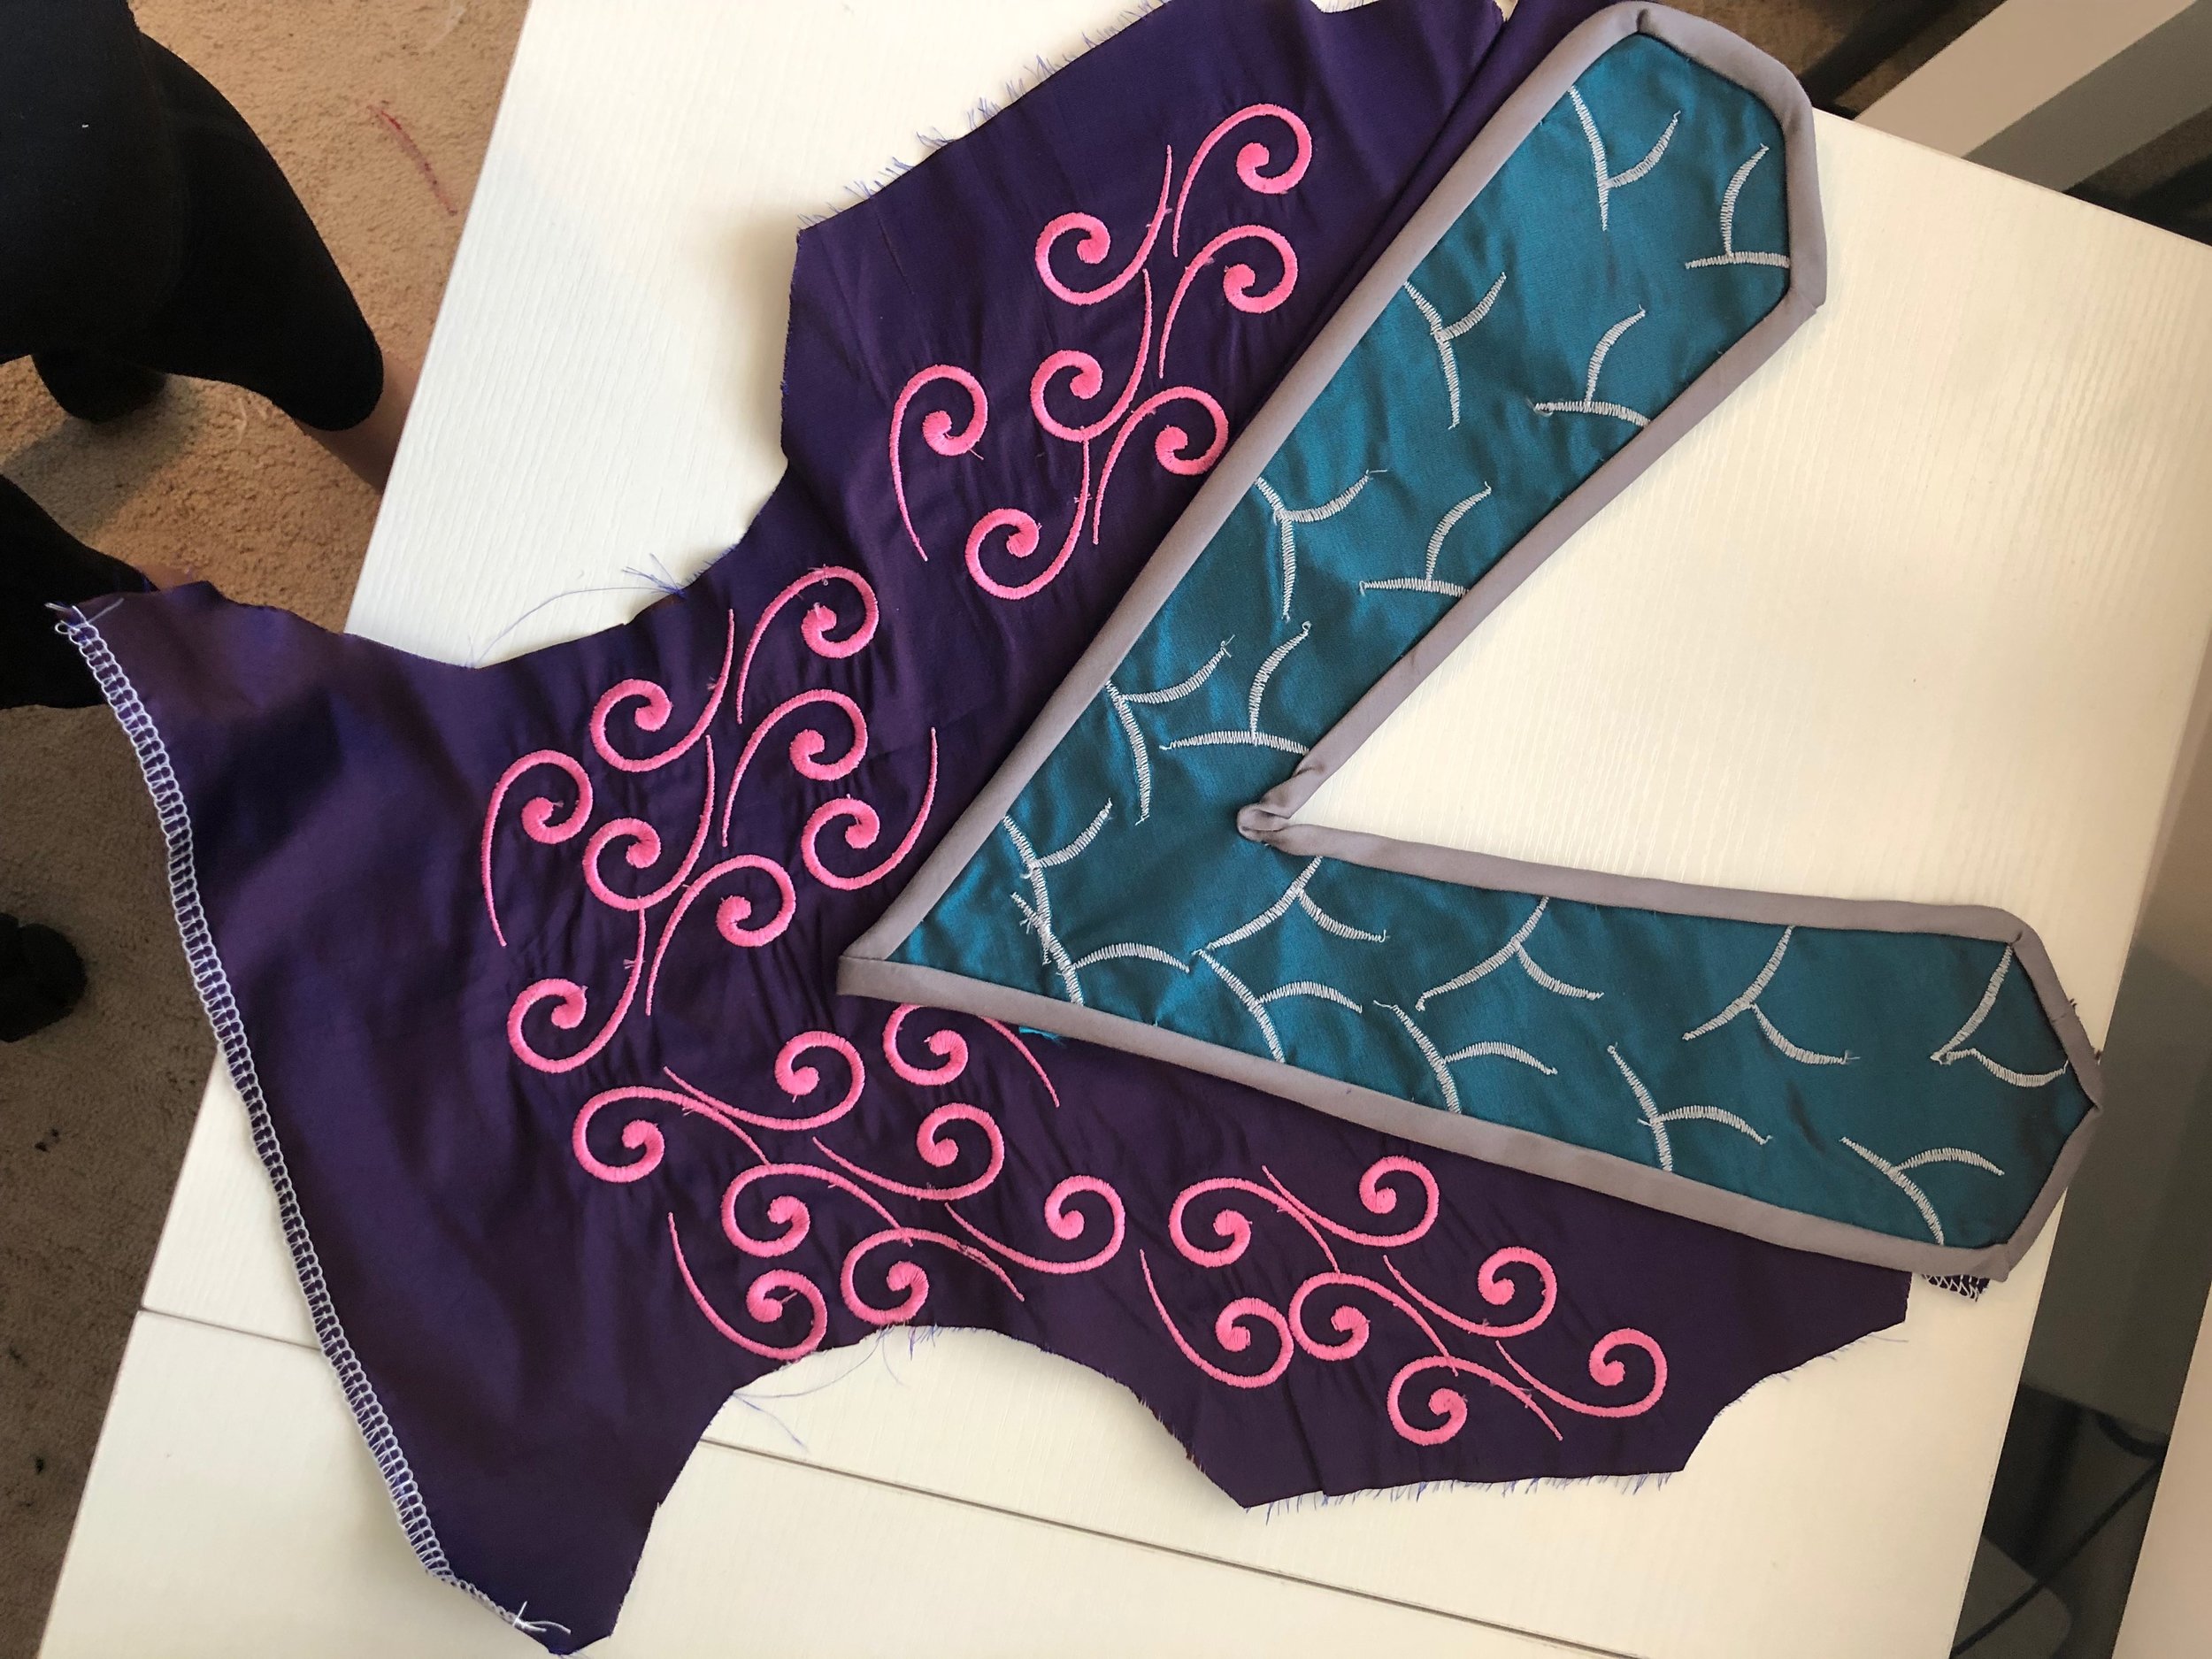
Finally the bodice, which was kind of all over the place but I will try to make sense of it all. So I started with the piece that had the curved design on it. I cut that out on taffeta and cotton, made binding for it and I also left the stabilizer on the taffeta when I stitched the cotton on to help give it structure. This bodice has no boning and very little interfacing due to the nature of the see through habotai that is true to the drawing.

IMG_2728.JPG

I had some issues with the bias in the “V” part of the piece, I have since figured out how to do it right but since at this point I already knew I was going to spend several hours adding embellishments I just let it stay this way.

IMG_2733.JPG

Now it was time to work on the purple shantung and I couldn’t find any embroidery designs in my machine that looked like the image so I kind of did my own thing with it. This is probably my least favorite part of the costume and probably my least favorite thing I have made in a really long time but I chose a swirl design and just repeated it in a fashion that “made sense”. However, I am not very good at my embroidery machine yet and I was incredibly impatient so the design does not line up very well and it really looks horrible in my opinion.

IMG_2944.JPG

But I moved forward and just did what I could to make everything else look better to make up for my mistakes.

I serged all the seams I could since I opted out of lining the bodice because of the see through nature of the art. I really wanted to recreate that but also while staying in my comfort zone. I made sure that the top piece lined up before finishing the garment, I didn’t want to add embellishments to it while being attached to the rest of the piece.

IMG_2945.JPG

I interfaced and “lined” the top taffeta piece and the side taffeta piece for structure and also since I plan to add grommets when the skirts are finished and attached. In the middle of making this piece I decided it would be better as a dress then a top and bottom.

IMG_2946.JPG

Finally it was time to embellish and I couldn’t do that without my assistant Eva to sniff and make sure I was using the good beads.

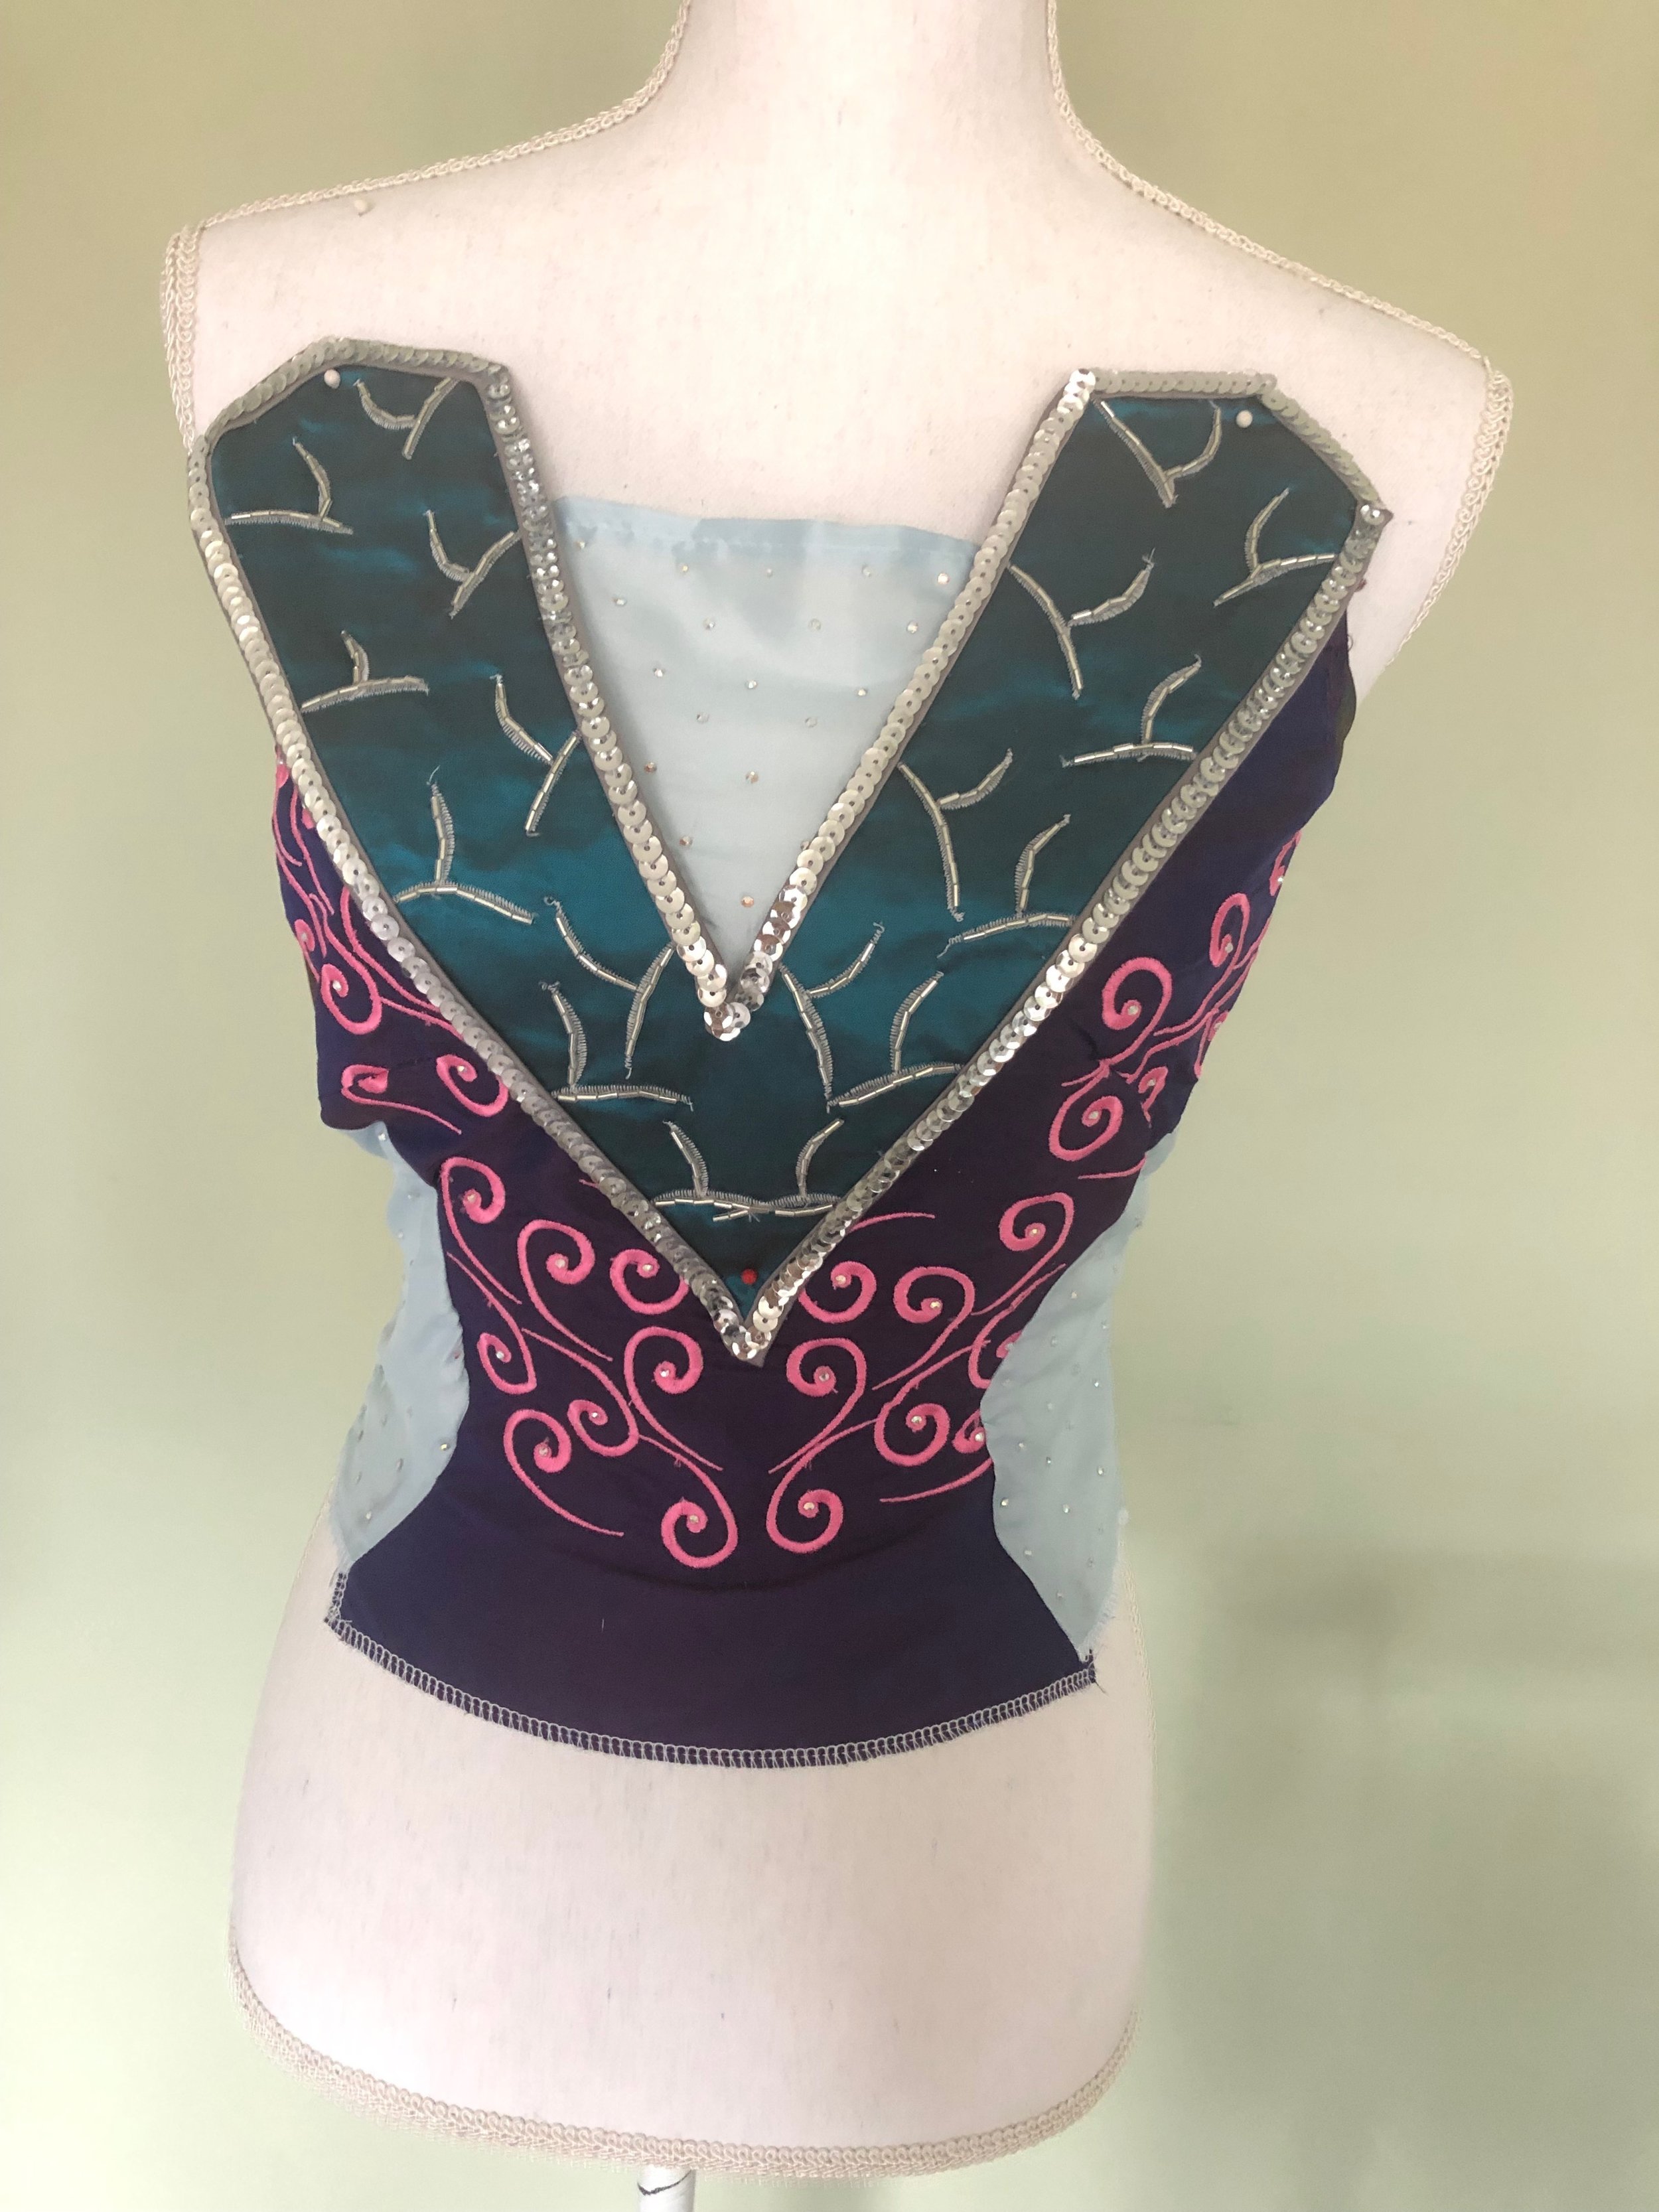
Once embellishments were done I hand stitched the design piece onto the bodice.

IMG_2962.JPG

Overall, despite some bad embroidery line up, some bad sewing and lack of boning I think this piece looks pretty good. There will be straps added from the bodice to the necklace, I will most likely talk about those in one of my last blogs about this costume.

The next blog will be about the skirt portions of this costume. It will include the dragon scale underskirt as well as the skirts that get attached to this bodice.

Thank you all for reading, I release blogs every 1st and 3rd Friday of the month and you can catch video content on my Youtube on the 2nd Friday of the month.

If you would like your name in my current project then you can become a Patron for $1 a month you get early access to blogs, WIP and costume tests!

Rhinestone Royalty

2018 was the year of the rhinestone for me and if you thought that was going to change in 2019 then guess again. Over the last few months I’ve had several questions about where I buy my rhinestones, how to apply them, etc and I have been planning this blog since the beginning of the year. However, after sharing my most recent batch of stones on Instagram last night I realized that this write-up can’t wait until March.

So, in this write-up I will break down the types/brands of stones, quality, adhesives, price and how long it takes for the stones to get to you and to apply them. If you just want links to where I have bought mine, scroll to the bottom and pick and choose whichever works best for you. Full disclosure all amazon links are affiliate links, so I do make a commission if you purchase from them.

Getting that sweet sweet sparkle.

IMG_2572.JPG

A common misconception about rhinestones is that you need Swarovski Crystals to get the best sparkle but that’s just false. Pictured above are Bohemian, Swarovski and the cheap eBay stones. Can you guess which is which? Probably not unless you look at the facet of the stone and these stones range in price from $1.40 to $55.60 per 10 gross (1440 crystals).

So, there’s really no need to drop over $100 o Swarovski Crystals (like I did initially on Sakizou) for cosplay. Now don’t get me wrong, there is a time and place for Swarovski but I just don’t think they are necessary for cosplay.

With that being said all the crystals I will link at the end of the blog meet my quality standard and that standard is, if I’m walking on a stage or in a well light room will I turn into a disco ball?

Personally in quality I look for sparkle, I look for how reflective the stones are and overall how much impact they will have when walking around. I prefer not to use filters when I post rhinestones, so you will never see that fake like sparkle where there is no stone. There is absolutely nothing wrong with those filters, I love seeing them used by others I just personally stay away from them.

IMG_2574.jpg

Don’t be afraid of colors! They are awesome and can really add dimension to a costume. I prefer to use color when I am trying to create a design on a gown or to highlight a design that is already in a gown.

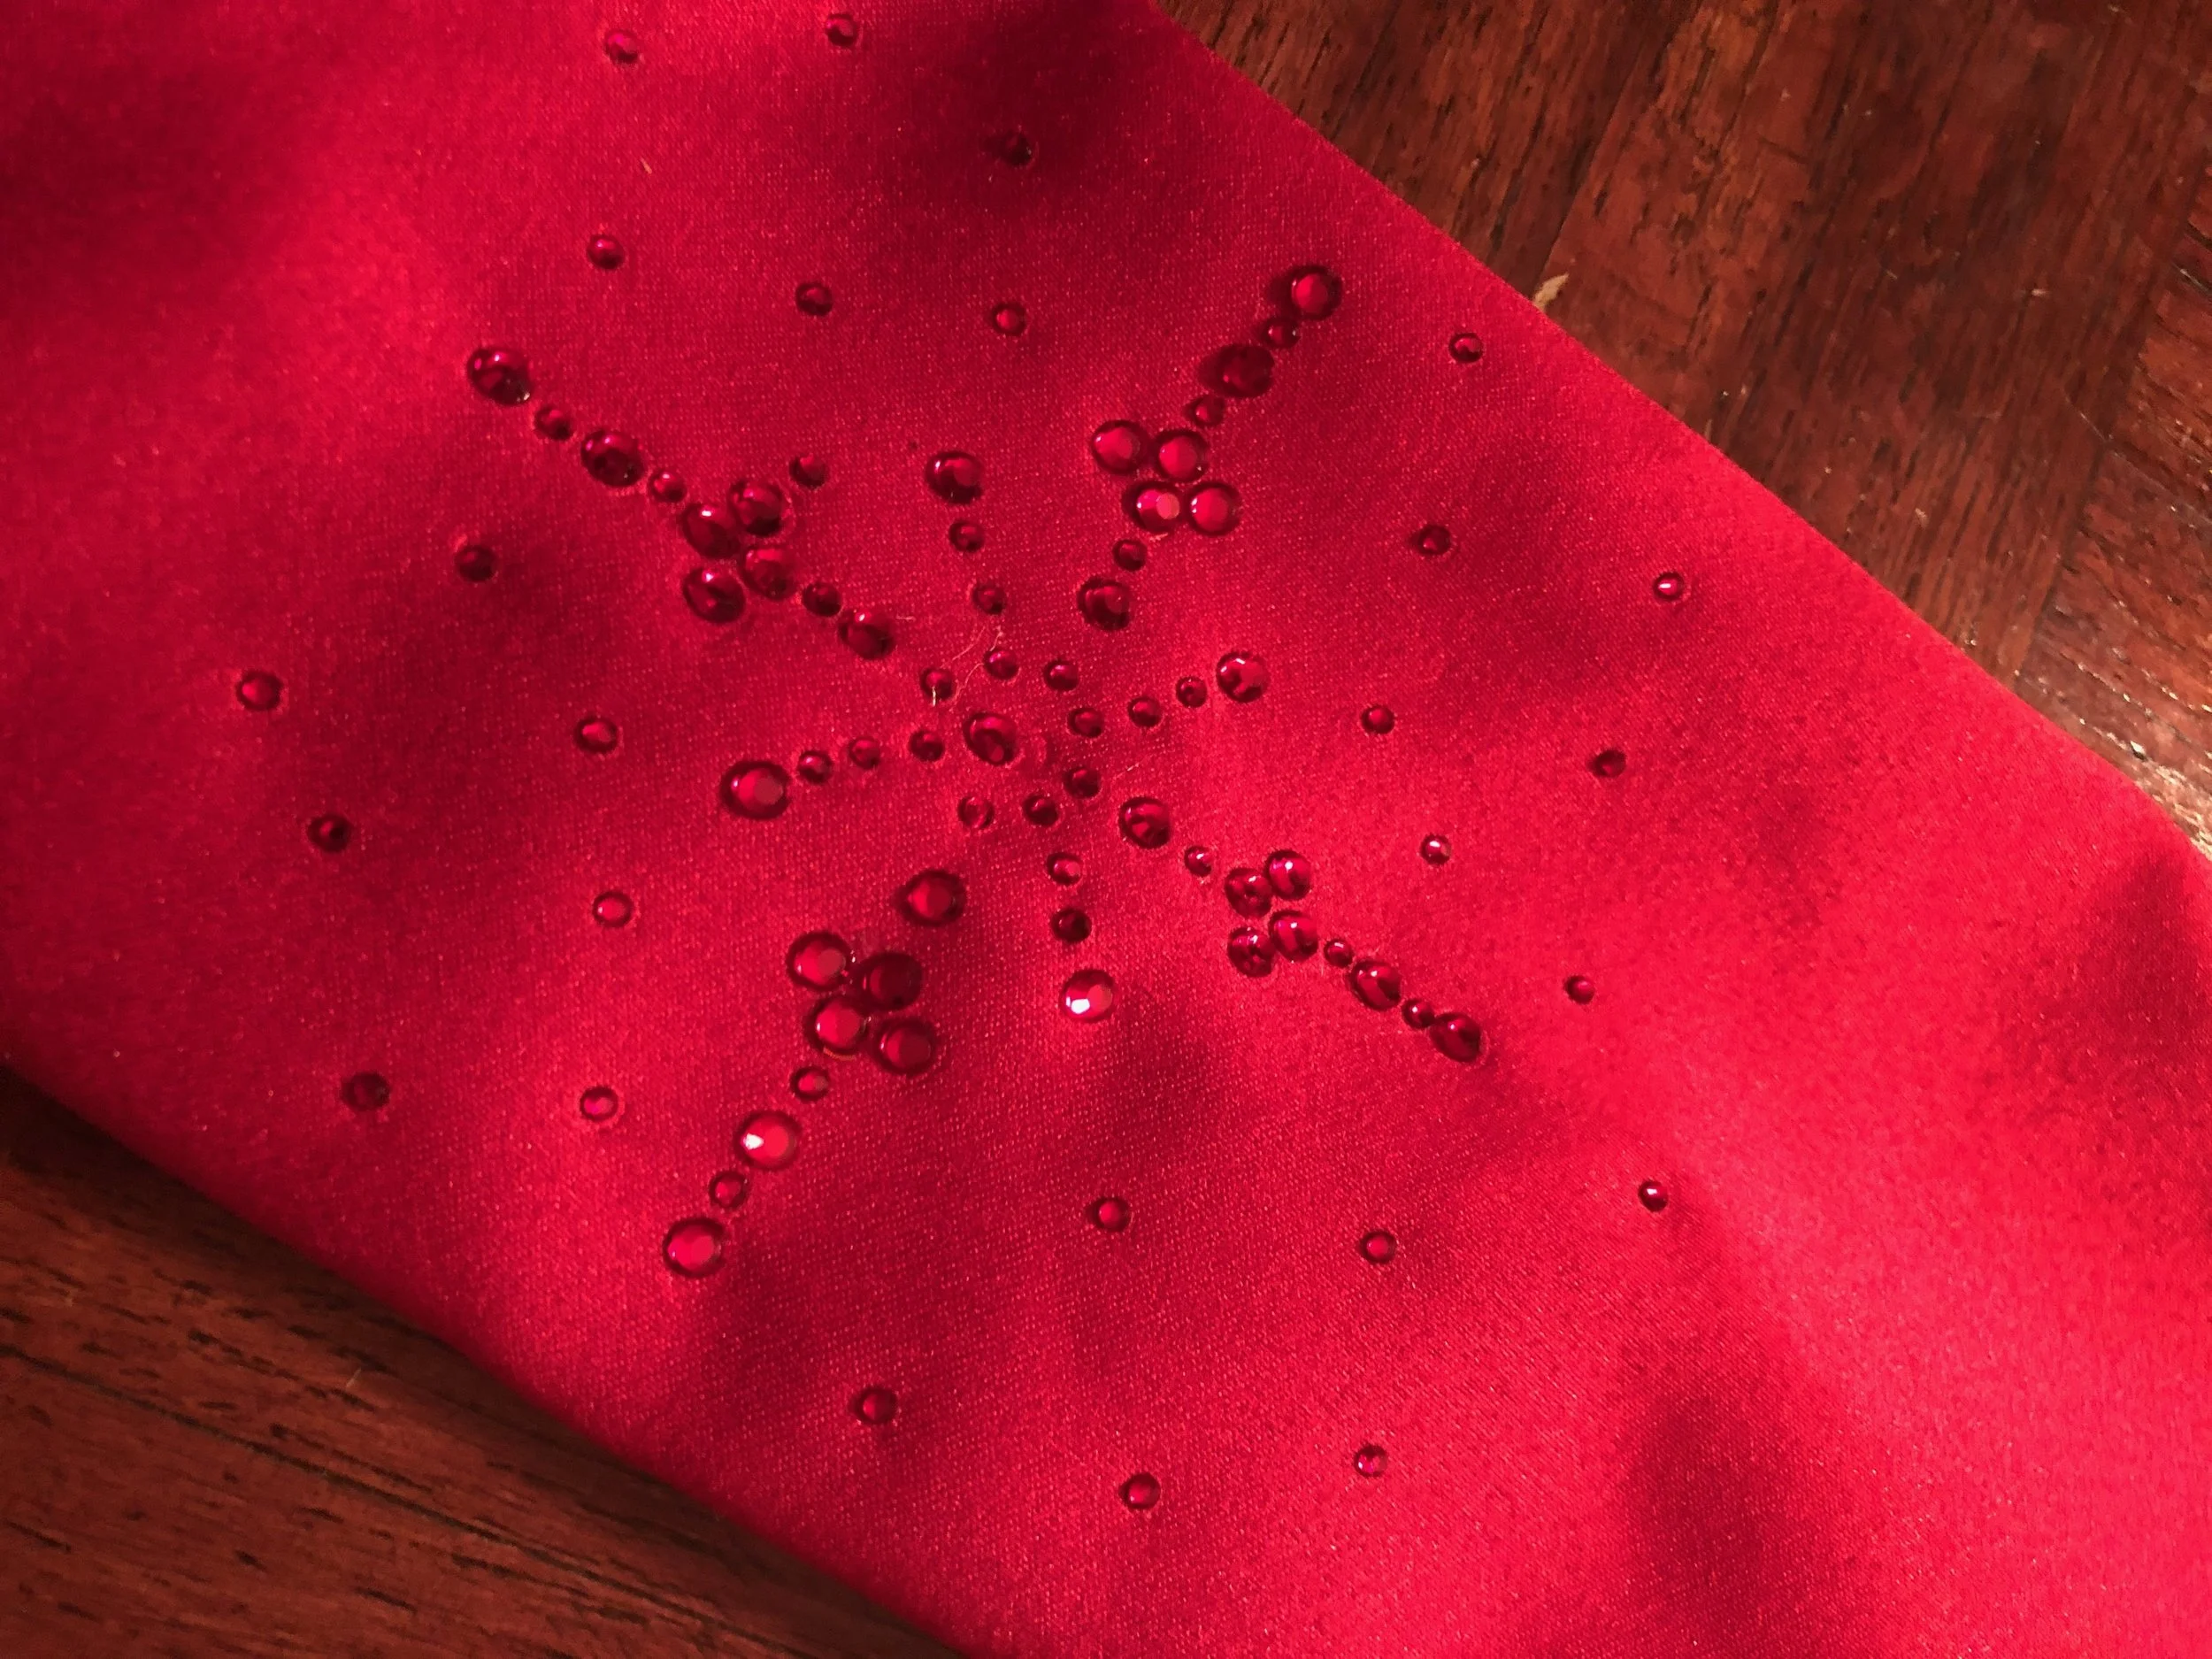
Here’s my White Christmas red dress with the snowflake design I added in rhinestones:

IMG_2203.JPG

Then this is how I took the flames on my Jafar costume and used rhinestones to accent pieces of it:

IMG_2550.jpg

You can also use colored rhinestones to create extra sparkle, I used Black AB rhinestones on my Sakizou dress to add extra sparkle and it was awesome:

IMG_0972.jpg

AB rhinestones have an iridescent coating to give extra shimmer, named after the Aurora Borealis. They are typically half coated and AB 2x are fully coated. I almost always buy massive amounts of AB crystals because you can use them on everything. On both Belle and Sakizou there were over 10k each.

Does size matter?

IMG_2573.jpg

Yes!

Okay, maybe because it all depends on what you’re using them for.

If you’re using them as a means to lightly cover an entire piece of clothing, like I did with Sakizou’s skirts, then I would recommend smaller but closer together.

If you want to create a cascading effect that draws attention to certain areas of a costume or just emphasize a silhouette then I suggest using multiple sizes.

If you want to make a design then multiple sizes is the way to go.

I personally have 3 different size AB Crystals in my stash at all times. I use small stones (3mm) when I am covering a sleeve or skirt. I use small and medium (2mm, 3mm or 4mm) when I am creating a design. I will typically use larger ones (5mm and 6mm) when I just want a pop of sparkle but don’t need it to cover an entire piece.

But honestly, the best part about crystals is you can use them whatever the heckin way you want to!

Finally, I’ve been using this chart to help with sizing since every website seems to use one of these two ways of sizing and I always forget which ss corresponds with which mm.

Chart from Creative Crystal

Chart from Creative Crystal

How to apply crystals.

IMG_2576.JPG

There’s two basic methods I use to apply crystals.

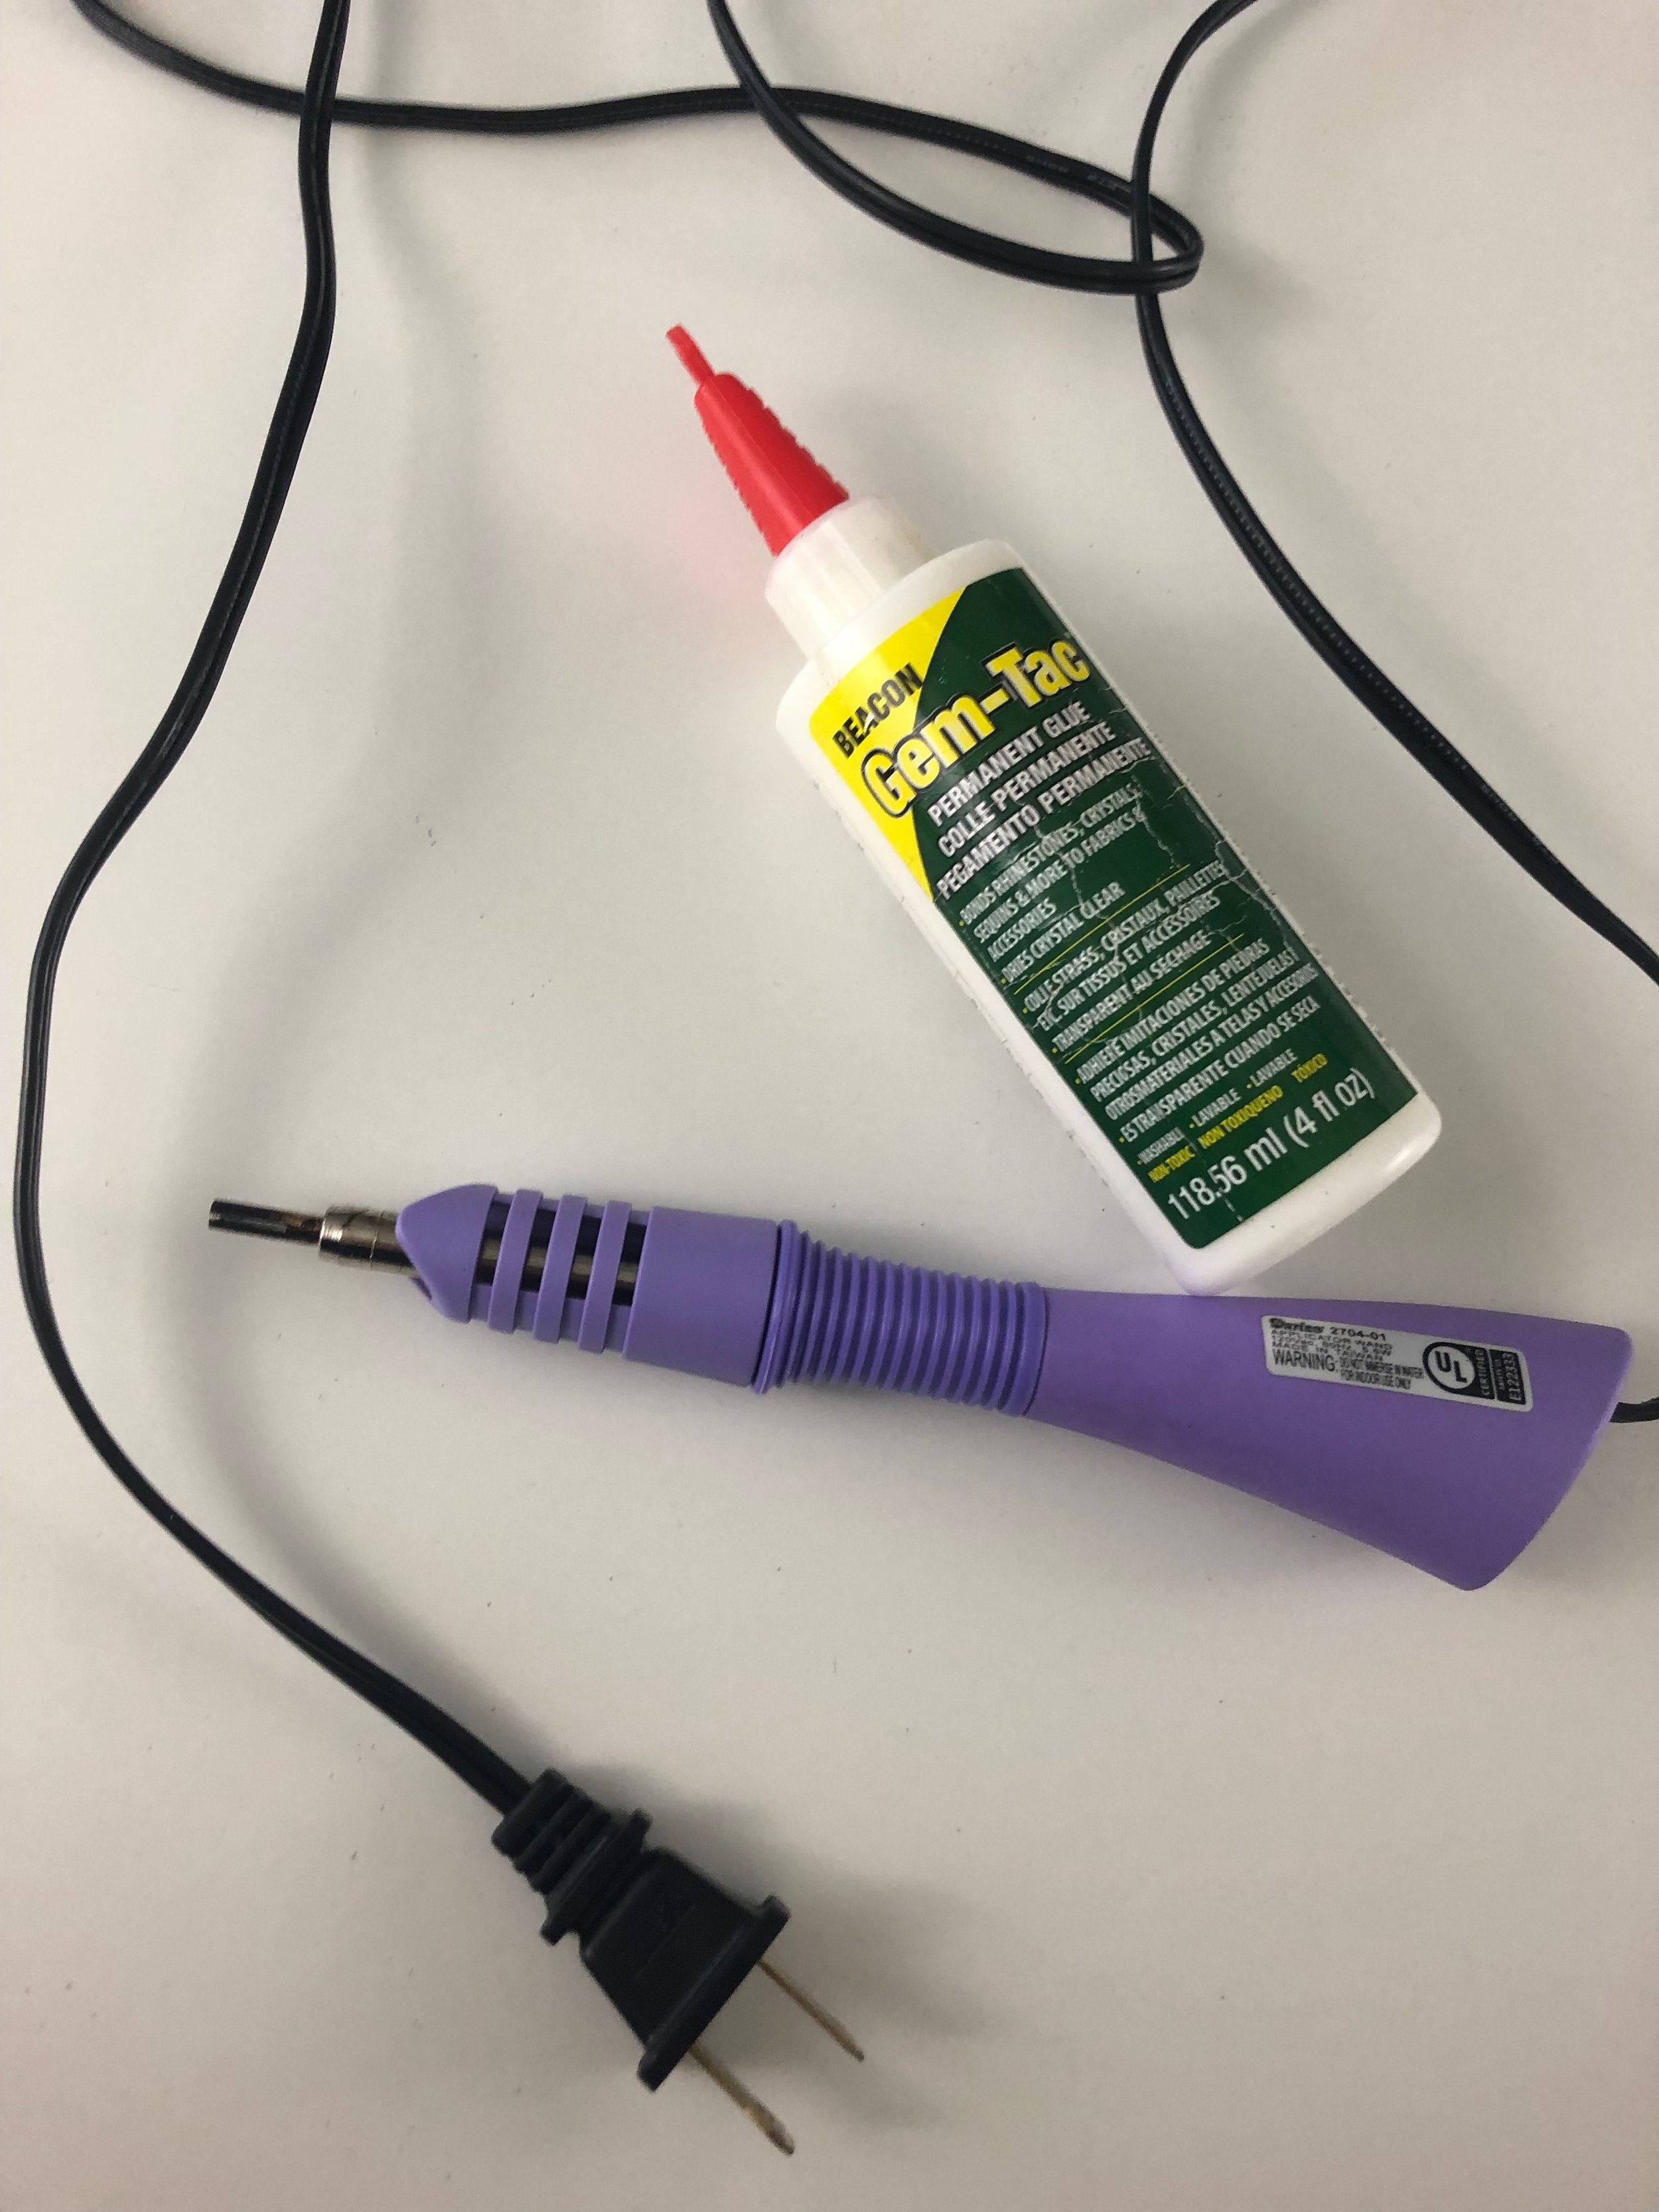
The first and most commonly used on my stream is the Hotfix tool. Now this is a good method of adding rhinestones, its affordable, you can get rhinestones for this on Amazon Prime and they apply quickly.

BUT, they have been known to fall off if you don’t allow the glue to completely warm up AND it can take longer if you are using large stones.

I use this method on stream all the time and I have very little issues with it but I have also learned from experience that this is probably not the say all end all to applying crystals.

You can purchase the tool here.

The best rhinestones I have found for this tool are here.

Please for the love of god DO NOT purchase the stones that come with 1 gross of 15 different colors, I have bought 2 of those kits and they are trash. I also have heard that the rhinestones that come in a kit with the tool are also trash. Save yourself the frustration and buy the tool and then the Threadart stones separately.

I have purchased 10k AB rhinestones for $40 and the one issue I had with those was that each batch seemed to be slightly different quality. By that I mean the adhesive for some are better than others and how well the tool picks up the stone varies.

Also note that for hotfix you need electricity and if you’re planning to rhinestone on your 12 hour car ride to Katsucon then you’re out of luck.

Ultimately, hotfix is not the cheapest method of stone/application but its the quickest method to get to you.

Now, lets talk about gem-tac. I know people have done blogs stating E6000 is king and only use that but here’s the tea, E6000 used on 4k-5k-20k stones per costume will kill you. Also, it doesn’t actually adhere to a wide variety of fabrics. I used it on all my Lady Gaga rhinestone covered costumes and on ALL of them I have lost lots of stones.

So you can buy gem-tac here. 1oz covered about 2k crystals and that’s while streaming where I had quite a bit of glue waste due to talking and having it dry. The cure time is probably 30 minutes, probably less and even though its white, it dries clear. I used it on silk dupioni and had ZERO problems with it distorting my fabric. Also, note that this can be used with literally EVERY stone you purchase, you can even use it with your hotfix stones.

Now, applying stones with gem-tac can be tedious although we are talking about applying stones so I guess that’s just tedious all together. My advice is to use toothpicks or those cheap chopsticks you get at take out places to dot your fabric with glue and then tweezers to pick up and place the stones. These tweezers are really good for both beads and rhinestones.

Don’t Break the bank on crystals, unless you want to I guess.

Now it’s time to discuss the best price rhinestones for the best quality. This is where I will start giving you links to where I buy my crystals but please note that some of these can take upward of 2 months to get to you. So plan accordingly.

Let’s start with my favorite stones to date, these are the ones a lot of you probably saw on Instagram last night. My friend Eveille Cosplay sent me this link and she really deserves all the credit for this find, so go follow her.

Ebay

I bought, 4mm gold, 4mm dark purple, 4mm light green, 4mm purple, 4mm Iridescent A/B, 4mm Emerald green, 4mm blue, 4mm peacock blue, 4mm light blue, 4mm black and 6mm iridescent A/B stones for about $25 and it took 2.5 weeks to get to me. Those stones are my absolute favorite and I plan to buy one of every color after I finish this blog.

My second choice would be hot-fix but ONLY because I can get it all on Amazon Prime and the price per gross is the second cheapest. So if you want the links to all that jump back to ‘How to apply‘ and just note that all those links are affiliate links so if you purchase there you just feed into my rhinestone addiction and I appreciate you.

My next favorite option would be from Beads Factory. They are not very cheap UNLESS you get them on hella sale like I did on black Friday. I purchased Bohemian Crystals for 70% off and the quality is just a step up from the eBay option and IMO are just as good as Swarovski. You can also purchase Swarovski and Perciosa from Beads Factory. I have not used Perciosa but I’ve had it recommended a dozen times so if you try them out let me know.

Finally, I bought my Swarovski from Fire Mountain Gems. I buy a ton of beads from them but keep in mind to pre-plan because every unit you buy can make the entire total go down. I typically only like to purchase from them when I know I need 50 units or more total (you can mix and match between items and that rocks) because it will save money in the long run.

There are TONS of other places to get crystals but these are the places I have purchased from, I am not listing any I have not purchased because well I don’t want to screw anyone over so if you purchase elsewhere leave a comment with a link.

If this guide was helpful to you at all and you’re feeling extra generous please consider buying me a coffee. Everyone that does so will get their name inside my Stellagosa costume that I am starting on Tuesday.

If you can’t help out I totally get it because those precious doll hairs could be used to purchase crystals BUT sharing this blog helps too and using my Amazon Affiliate link is also a way to help.

Last but not least, PLEASE PLEASE PLEASE tag me on IG, FB or Twitter if you use any of these suggested crystals or if you just want to share your work with me.

Thank you to all of my Patrons and Twitch supporters, you guys make it possible for me to grow not only as an artist but as a human. I love you all.