Those of you that follow me on Instagram are pretty familiar with Eva, my 2 year old pit bull mix but for those that have never seen her before she is my sewing assistant/entertainment during long sewing sessions.
This project was inspired by the fact that during the winter Eva get’s rather cold due to her short hair and it’s difficult finding cute sweaters and costumes for her because of her size so I thought it would be fun to make her a vest that also doubles as a Dragon costume.
The fabric for this project was given to me by Shannon Fabrics specifically the cuddle fabric and trust me it’s extremely soft.
For the mock up I used $1 fleece I got at my local fabric warehouse, it’s not soft but it was a good thickness for the mock-up and that’s what I needed.
I also used Super Structure Foam
4” wide Velcro
For the eye’s I bought this embroidery file off of Etsy.
So let’s get started, I drafted a pattern using a vest we purchased for Eva but ended up being too small. I used the vest as a base for the pattern added 2 inches on each side to fit her better, and followed all the placement on the vest for the velcro pieces. I made a mock-up with all that information and 1” velcro I had left over from Sith and Jedi robes and it fit.
She seemed pretty happy in it so I was ready to move onto the real fabric.
For my real fabric I still needed to add 5/8” seam allowance for sewing lining into the vest. So I chose to use one color cuddle fabric for the top and another for the lining. Another alternative for the lining is lining fabric or satin but I just loved the way the cuddle fabric looked so I used it.
Once my fabric was cut, I pinned the Velcro in the places I marked on my pattern.
I also pinned the collar pieces together and stitched everything down.
Once velcro was attached I was able to sew the pieces to the lining.
Before flipping the piece I clipped the curves so the piece would lay flat around the arms.
The collar pieces were stitched, right sides together, then flipped.
Then the collar was stitched onto the top vest piece before lining was added.
The lining was then pinned and stitched leaving an opening at the top right piece.
The piece was flipped and the bottom piece was sewn to the top at the top right corner.
Time to try it on, in the future I will make the velcro pieces a bit smaller but other than that, it looks super snuggly.
Now onto the wings, I modeled these after wings on my Toothless stuffed animal, but a bit larger and more detailed.
I knew I wanted them to be about 24” long and 10”-12” wide so I started with pattern paper in that size and just sketched until it looked like I wanted it to.
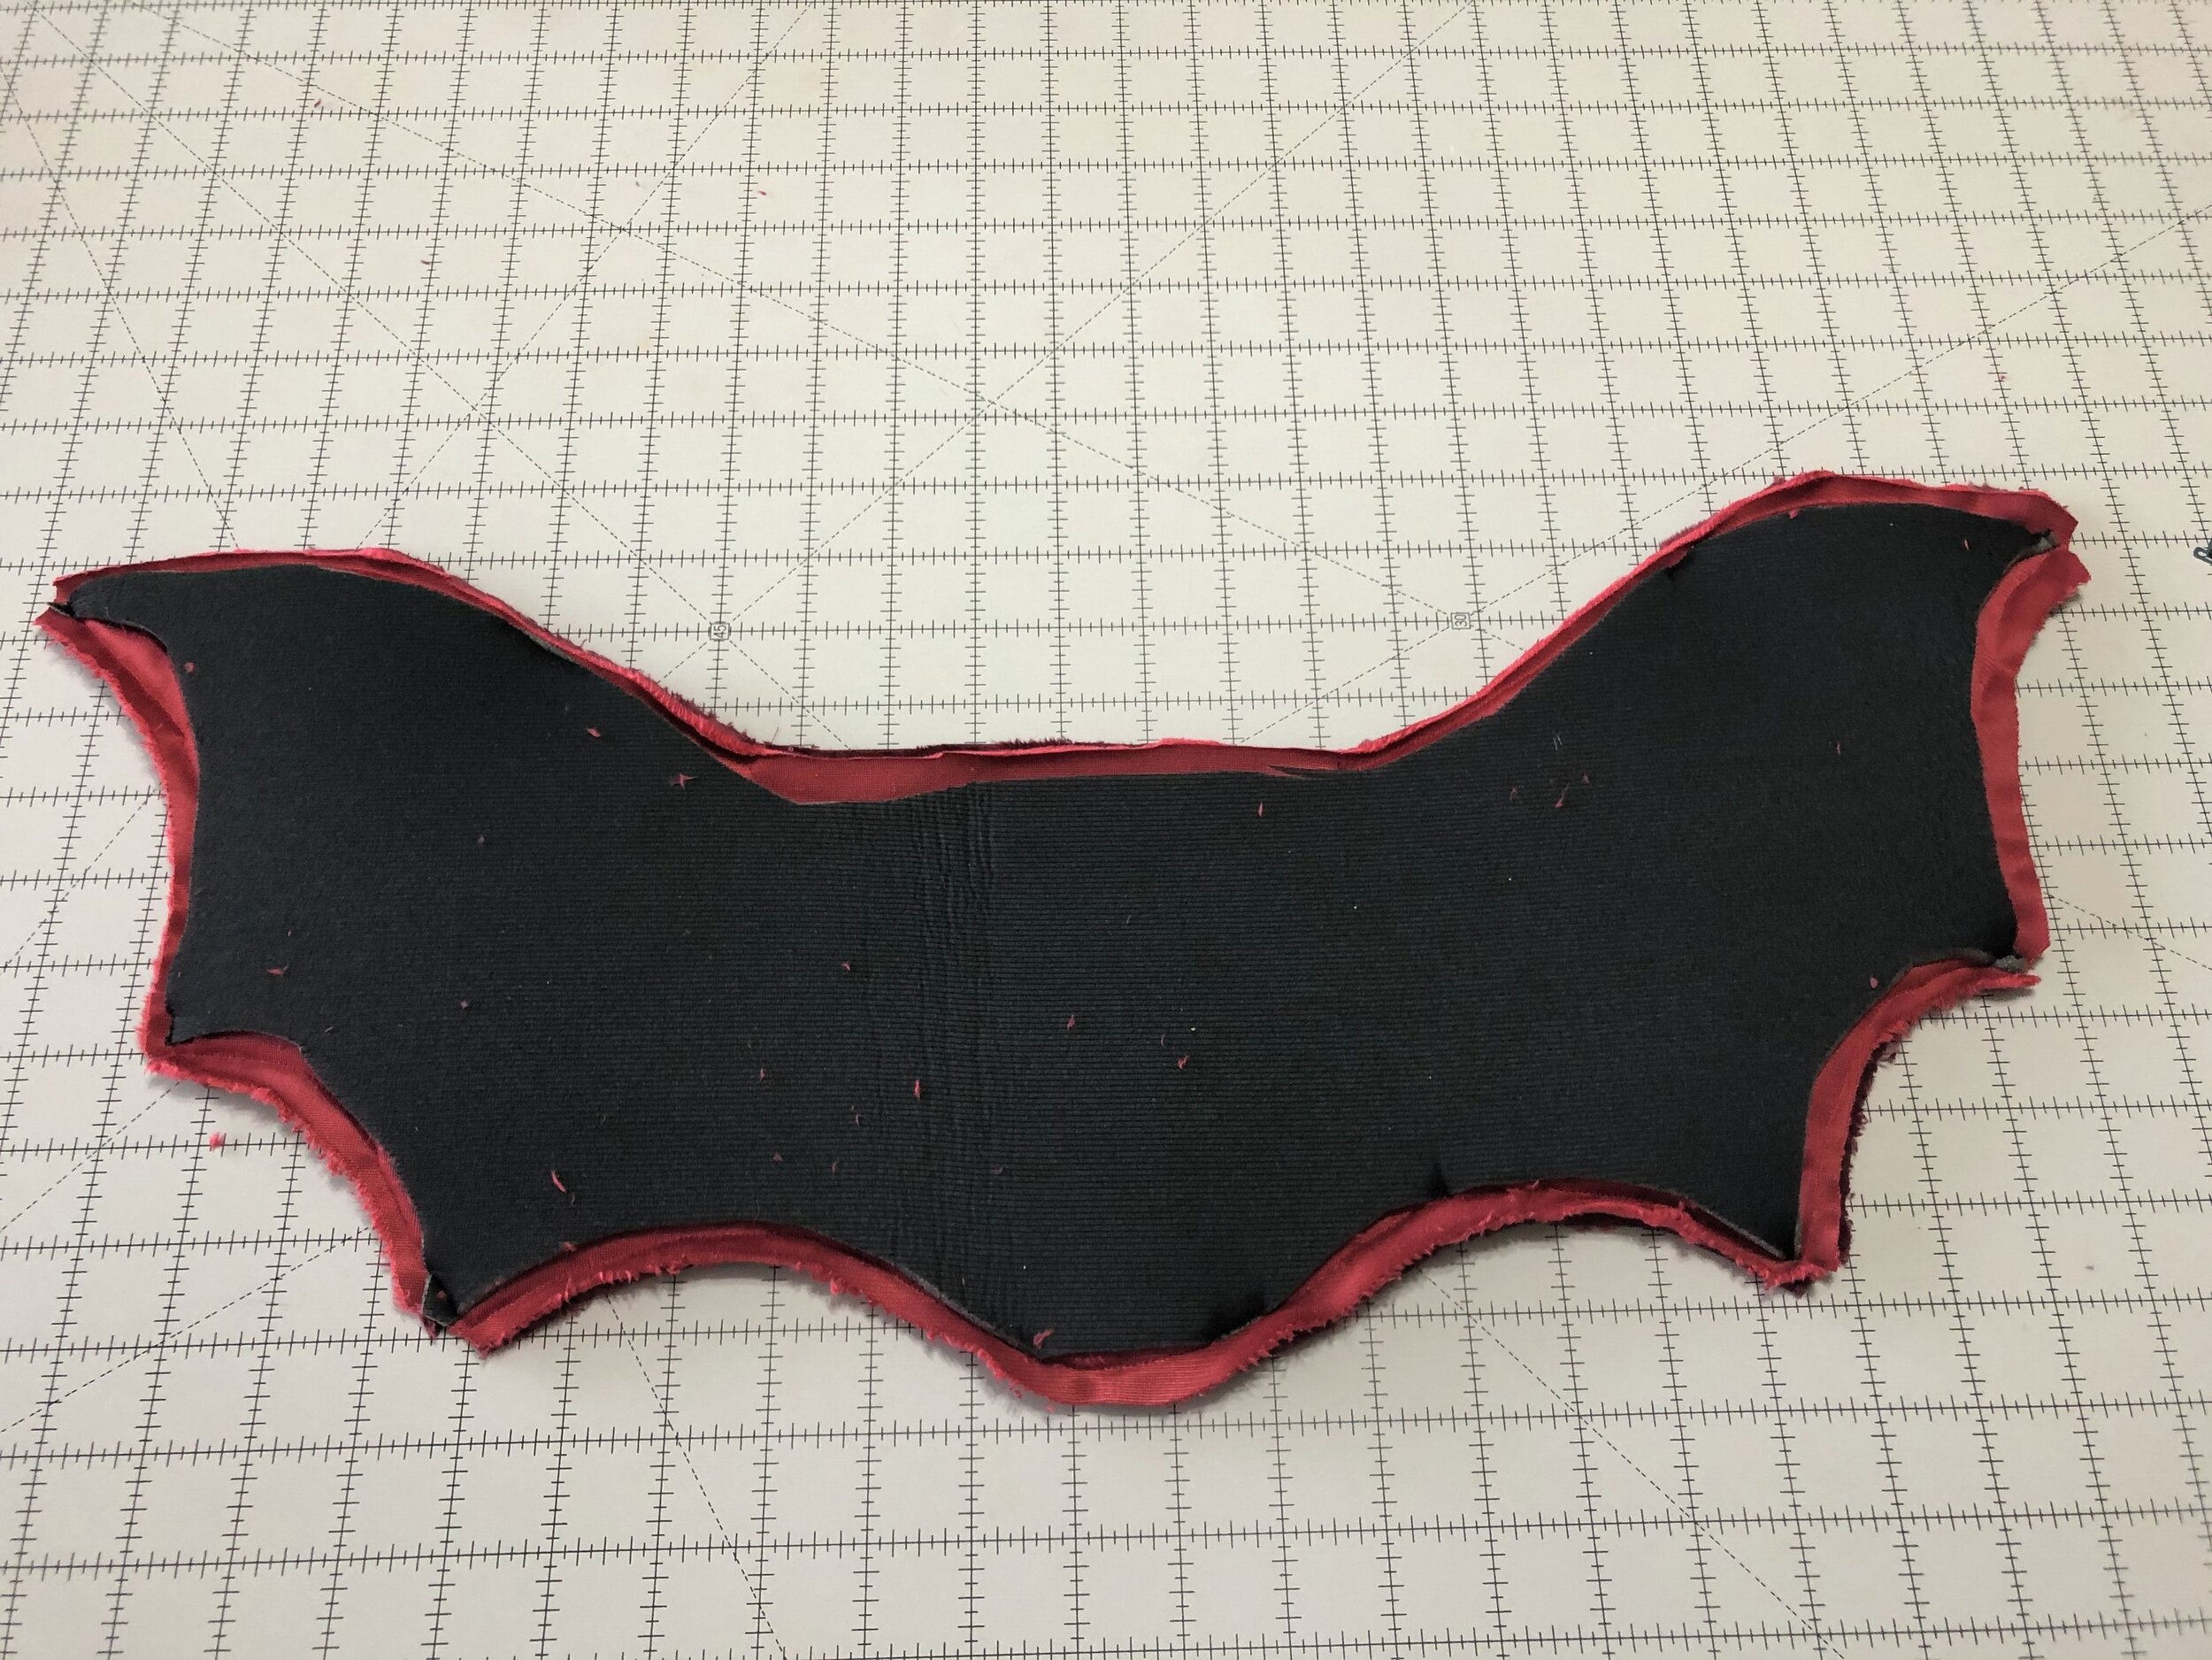
I pinned the paper to Super Structure Foam so I could sew the “bone” structure into it.
Then I cut the wings out twice on fabric with 5/8” seam allowance.
Then I adhered the top fabric to the foam, stitched the two fabric pieces together, clipped the corners and edges.
I slip stitched the opening closed and then quilted the “bone” pieces on to the wings.
Finally, I stitched two large snaps to the underside and the opposite side onto the vest.
Moving onto the hood, I used the same hood concept that I have for my Kigurumi’s for the hood of this costume. To half pieces with a 4” by 26” strip around the front. I cut these out on both red fabrics.
While my embroidery machine was stitching the eyes out on the top strip, I was making the ears, and teeth pieces inspired by Toothless. I have never done embroidery on cuddle fabric before and it’s thicker than I’m used to so I made a few mistakes and it took a total of 5 attempts for both eyes and the final eyes are still not very perfect but I kind of love them.
Once the pieces were together, I stitched the lining to the top fabric, flipped them and folded under the neck seam to top stitch it closed. I hand stitched snaps onto the inside and the collar and then called the costume done.
If you would like to support my blog, please check out my patreon!
It helps funds my projects and get's you early access to all future projects plus exclusive content.
~~~~~Sewing FAQ~~~~~~
Oliso Smart Iron (affiliate link)


