Dragon Costume for my dog Eva

Those of you that follow me on Instagram are pretty familiar with Eva, my 2 year old pit bull mix but for those that have never seen her before she is my sewing assistant/entertainment during long sewing sessions.

62572586_10156327807574849_6753967859736510464_o.jpg

This project was inspired by the fact that during the winter Eva get’s rather cold due to her short hair and it’s difficult finding cute sweaters and costumes for her because of her size so I thought it would be fun to make her a vest that also doubles as a Dragon costume.

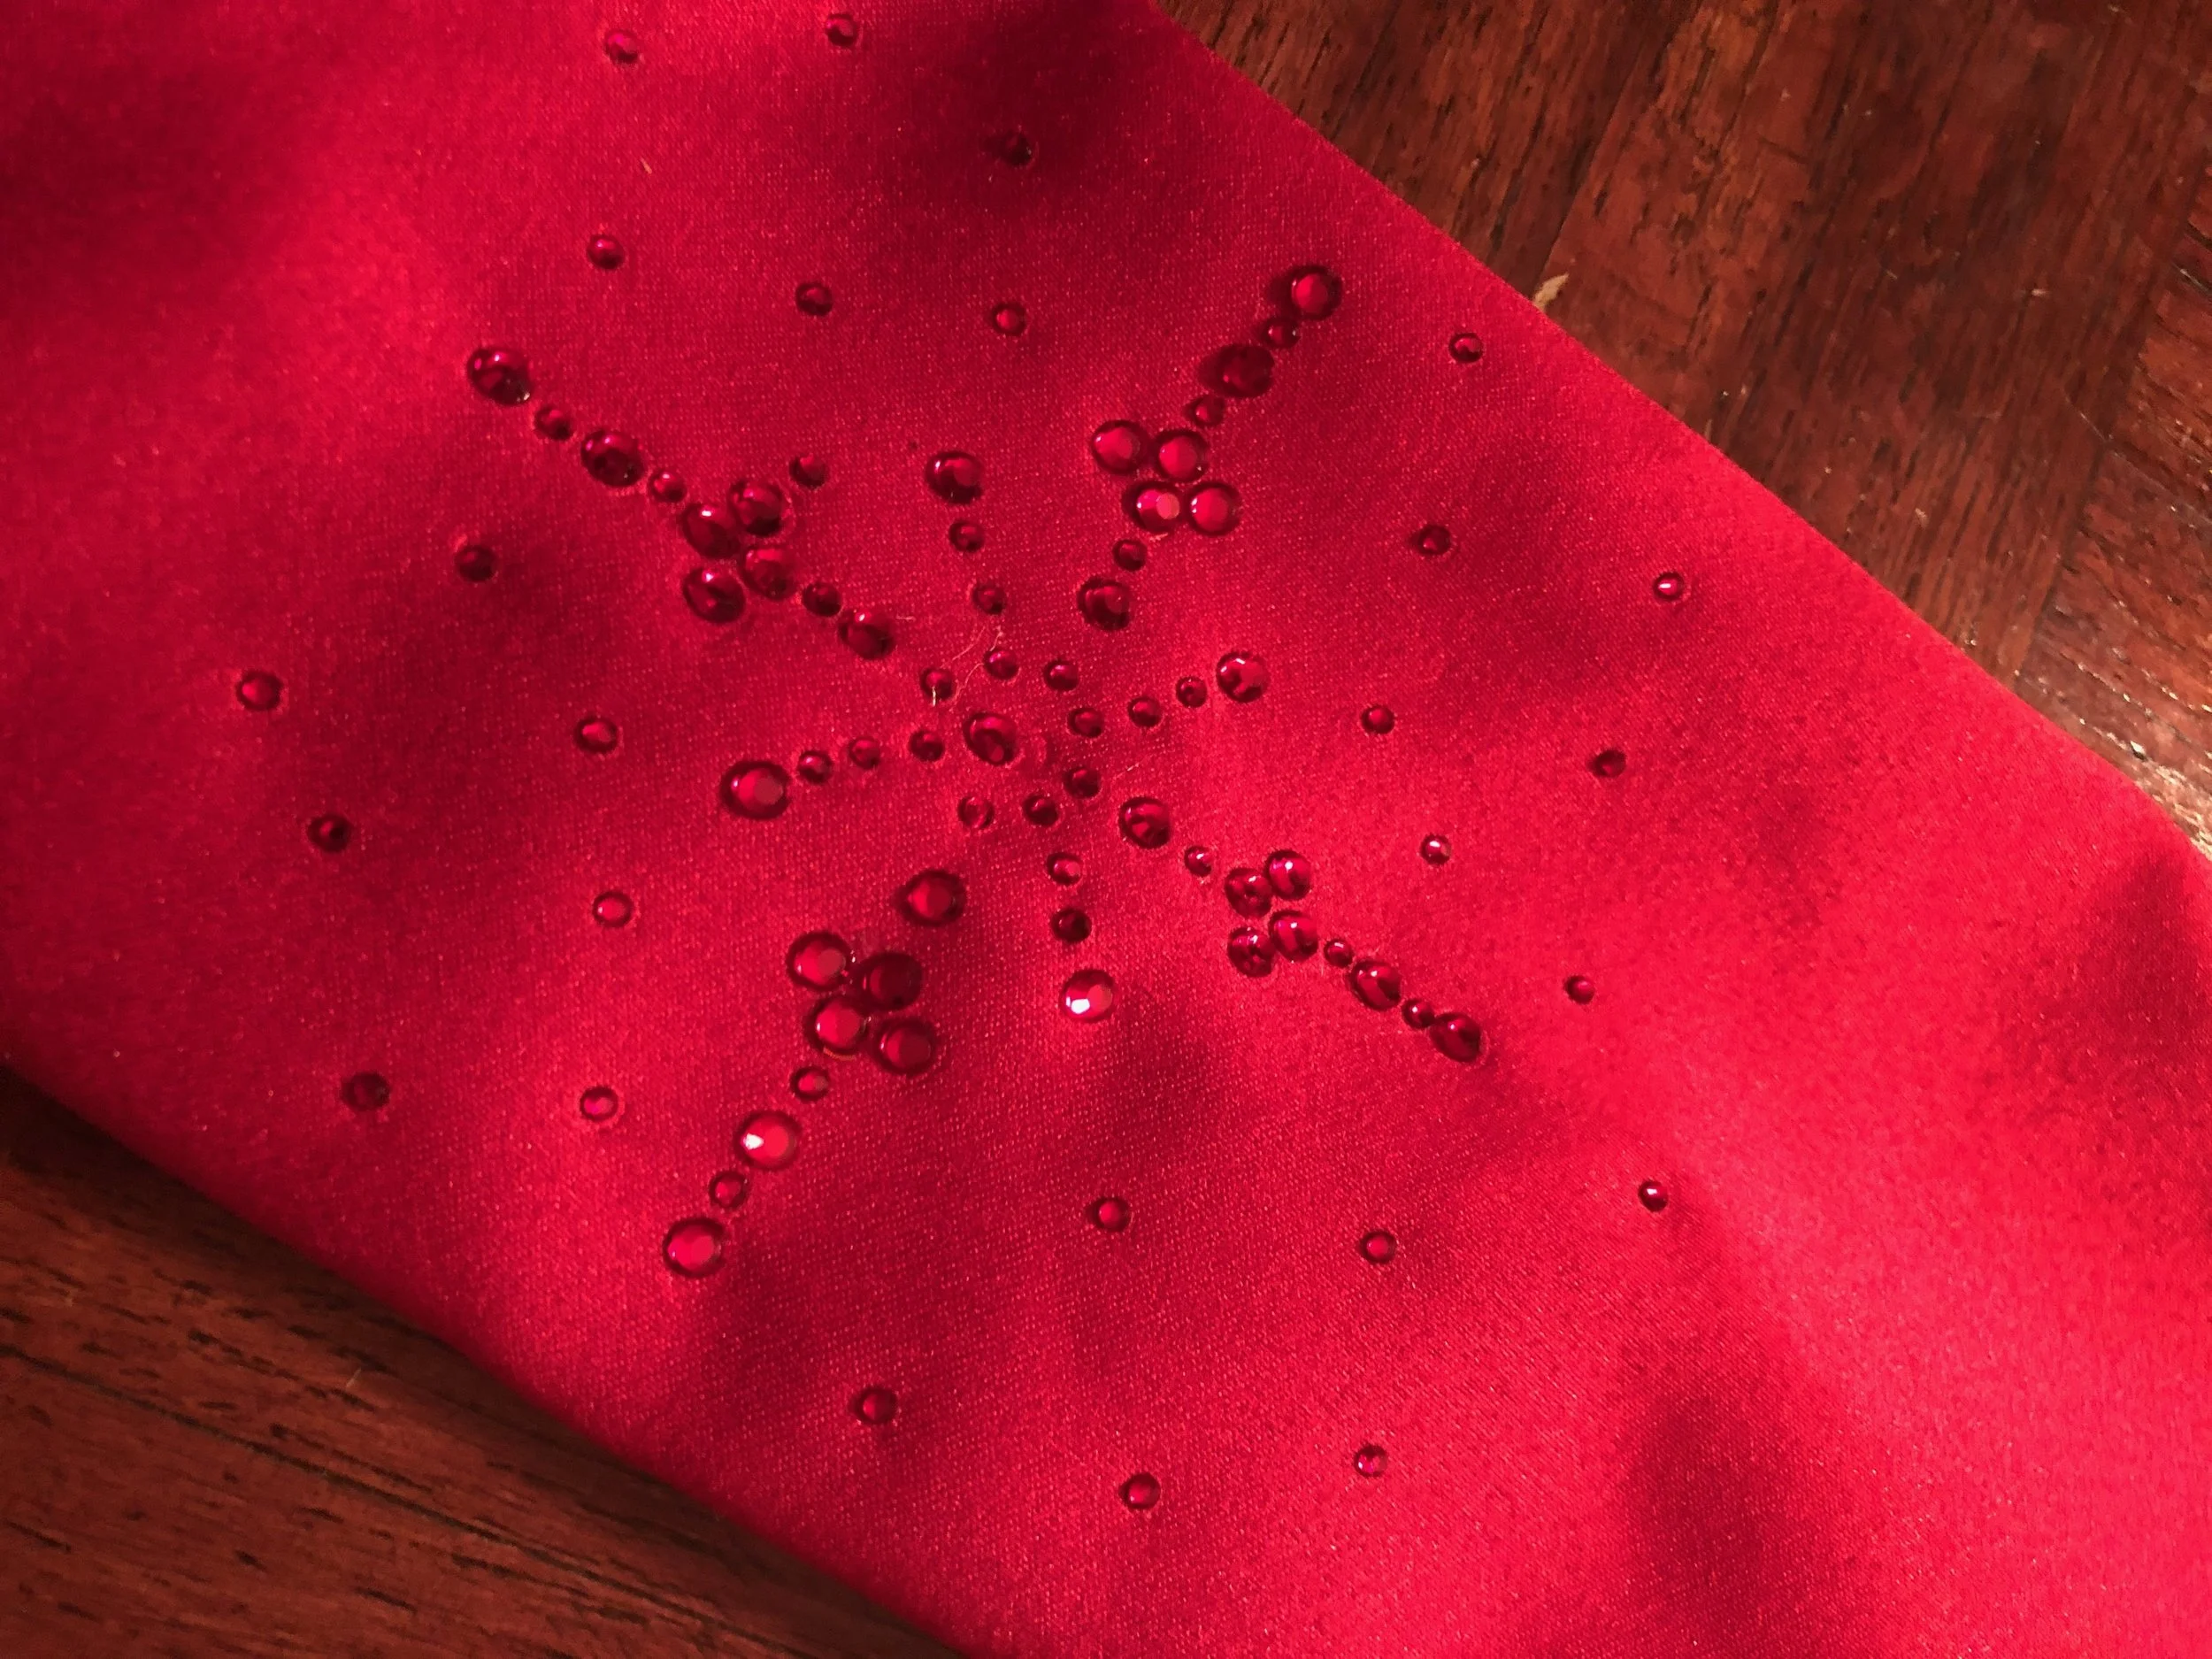
The fabric for this project was given to me by Shannon Fabrics specifically the cuddle fabric and trust me it’s extremely soft.

For the mock up I used $1 fleece I got at my local fabric warehouse, it’s not soft but it was a good thickness for the mock-up and that’s what I needed.

I also used Super Structure Foam

4” wide Velcro

For the eye’s I bought this embroidery file off of Etsy.

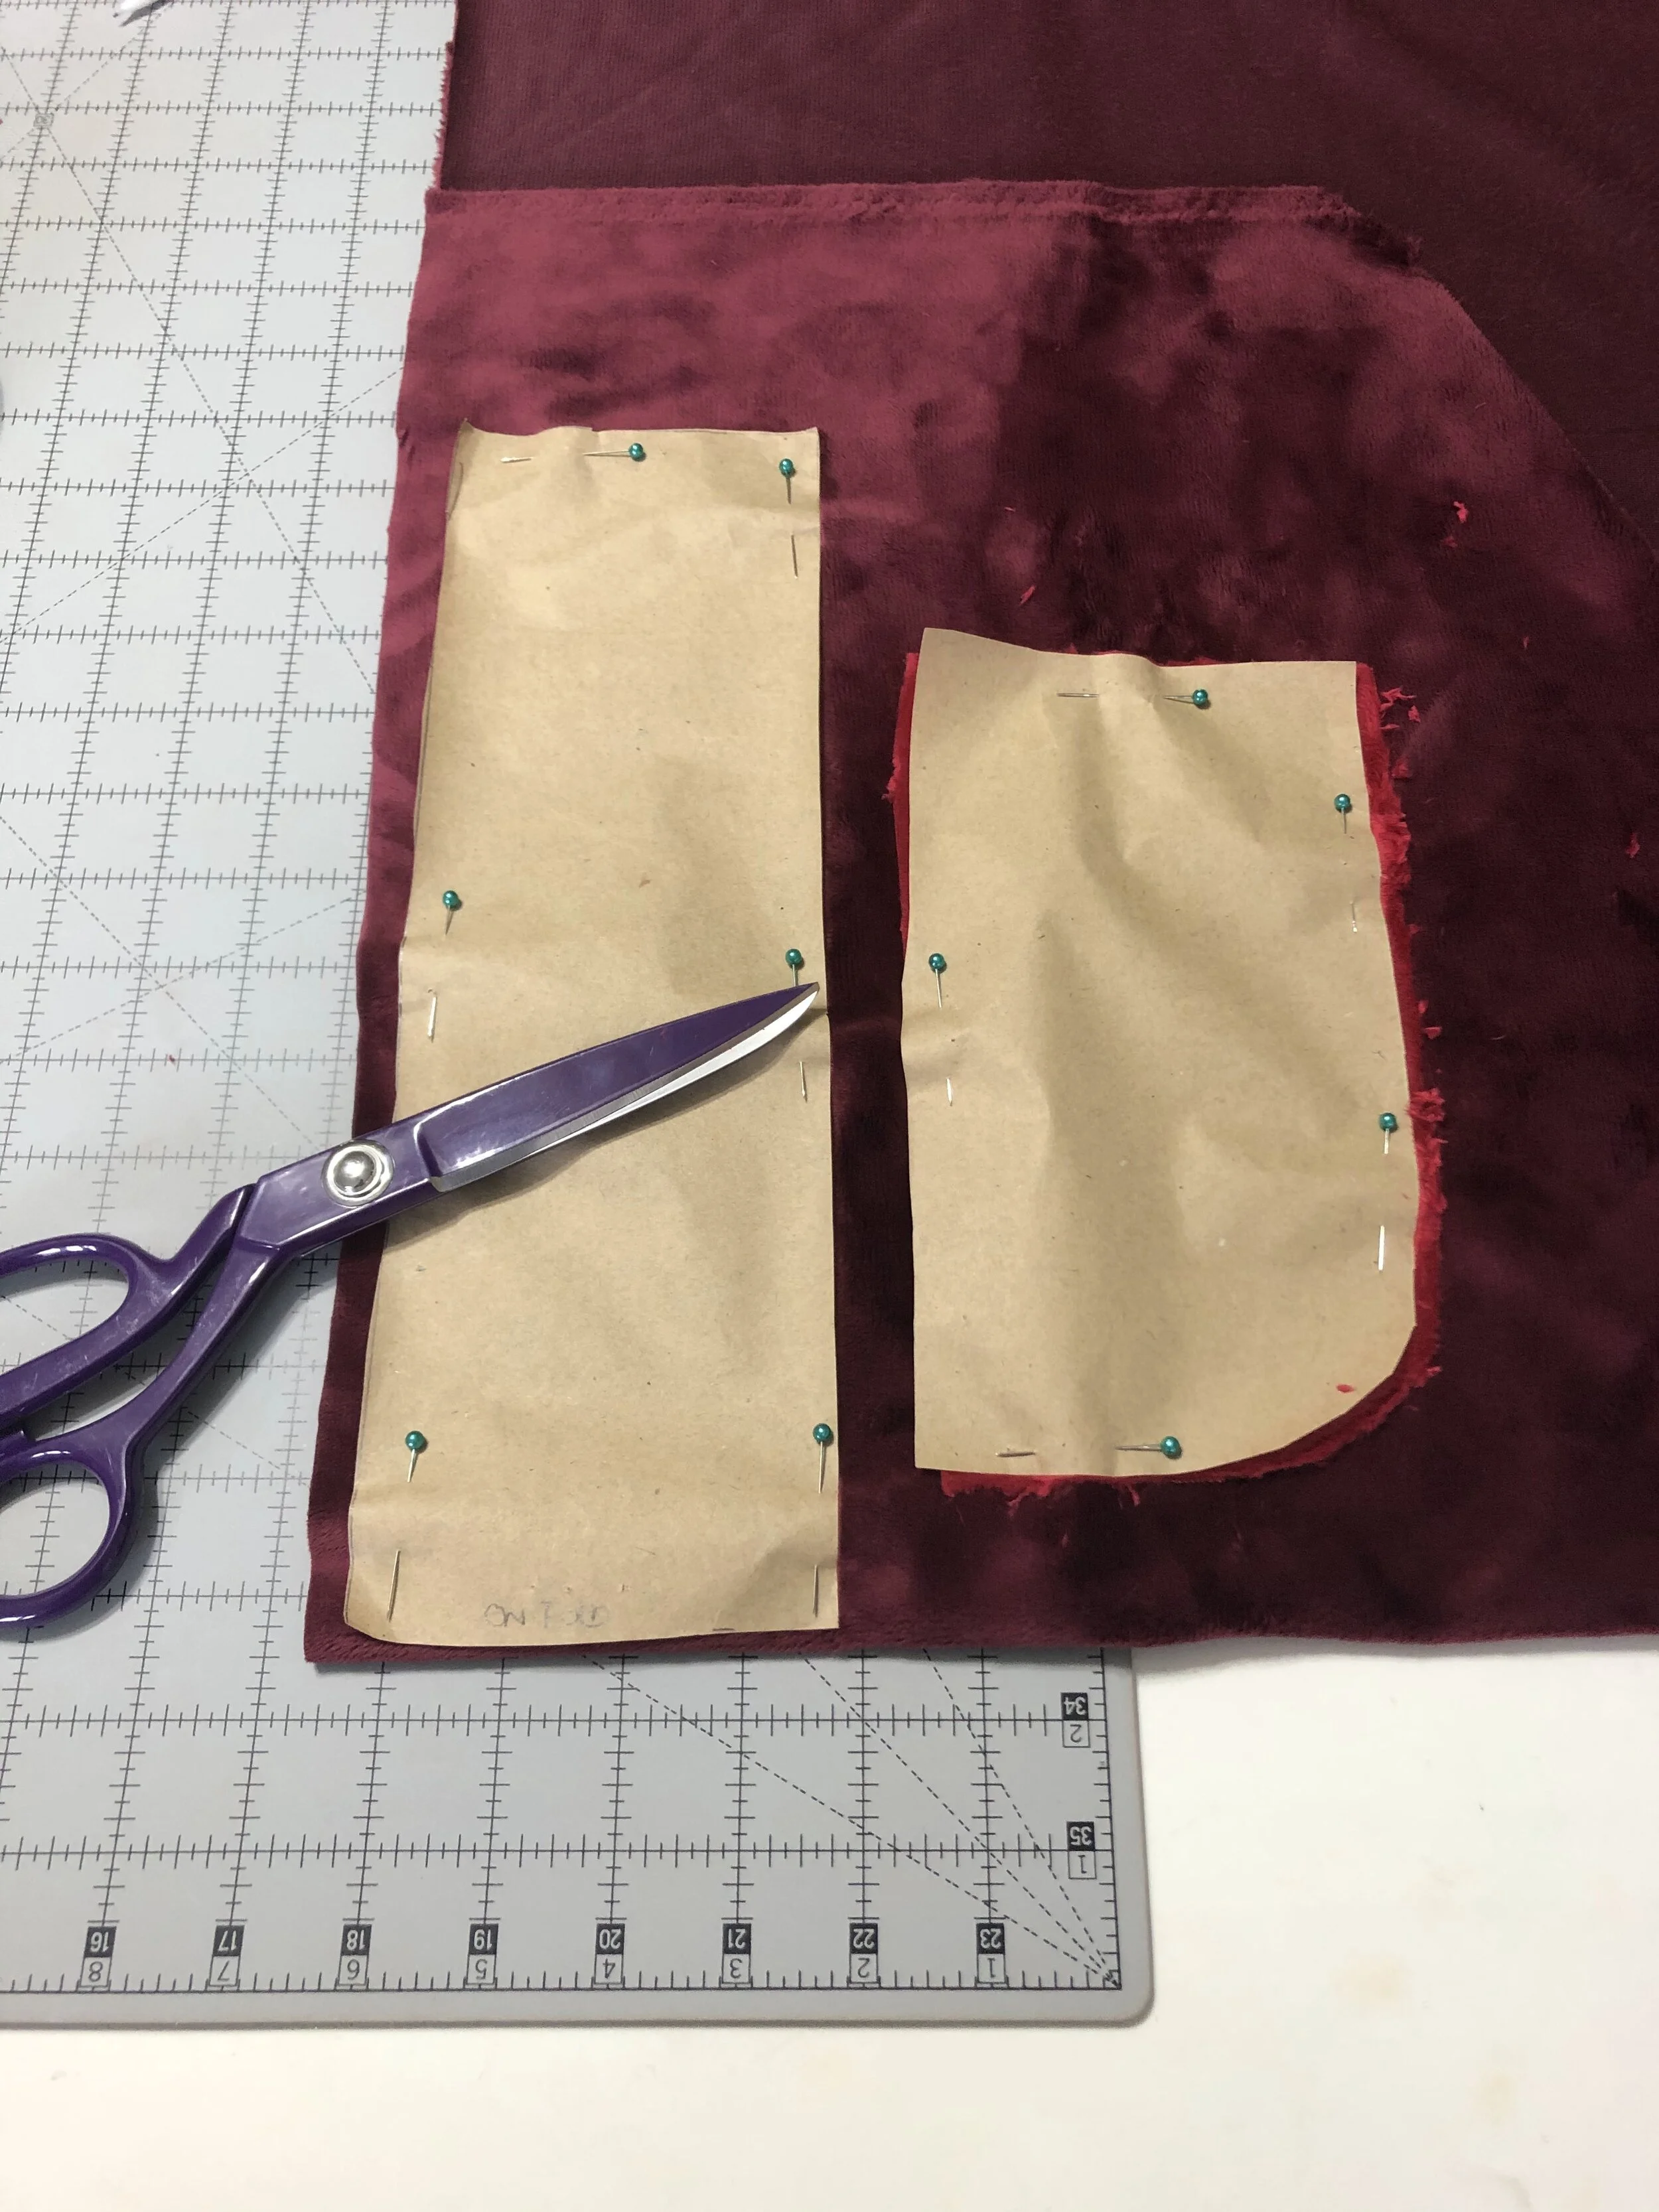
So let’s get started, I drafted a pattern using a vest we purchased for Eva but ended up being too small. I used the vest as a base for the pattern added 2 inches on each side to fit her better, and followed all the placement on the vest for the velcro pieces. I made a mock-up with all that information and 1” velcro I had left over from Sith and Jedi robes and it fit.

IMG_6835.jpg

She seemed pretty happy in it so I was ready to move onto the real fabric.

IMG_6836.jpg

For my real fabric I still needed to add 5/8” seam allowance for sewing lining into the vest. So I chose to use one color cuddle fabric for the top and another for the lining. Another alternative for the lining is lining fabric or satin but I just loved the way the cuddle fabric looked so I used it.

Once my fabric was cut, I pinned the Velcro in the places I marked on my pattern.

IMG_6895.jpg

I also pinned the collar pieces together and stitched everything down.

IMG_6896.jpg

Once velcro was attached I was able to sew the pieces to the lining.

IMG_6897.jpg

Before flipping the piece I clipped the curves so the piece would lay flat around the arms.

IMG_6899.jpg

The collar pieces were stitched, right sides together, then flipped.

IMG_6900.jpg

Then the collar was stitched onto the top vest piece before lining was added.

IMG_6901.jpg

The lining was then pinned and stitched leaving an opening at the top right piece.

IMG_6902.jpg

The piece was flipped and the bottom piece was sewn to the top at the top right corner.

IMG_6904.jpg

Time to try it on, in the future I will make the velcro pieces a bit smaller but other than that, it looks super snuggly.

IMG_6906.jpg

Now onto the wings, I modeled these after wings on my Toothless stuffed animal, but a bit larger and more detailed.

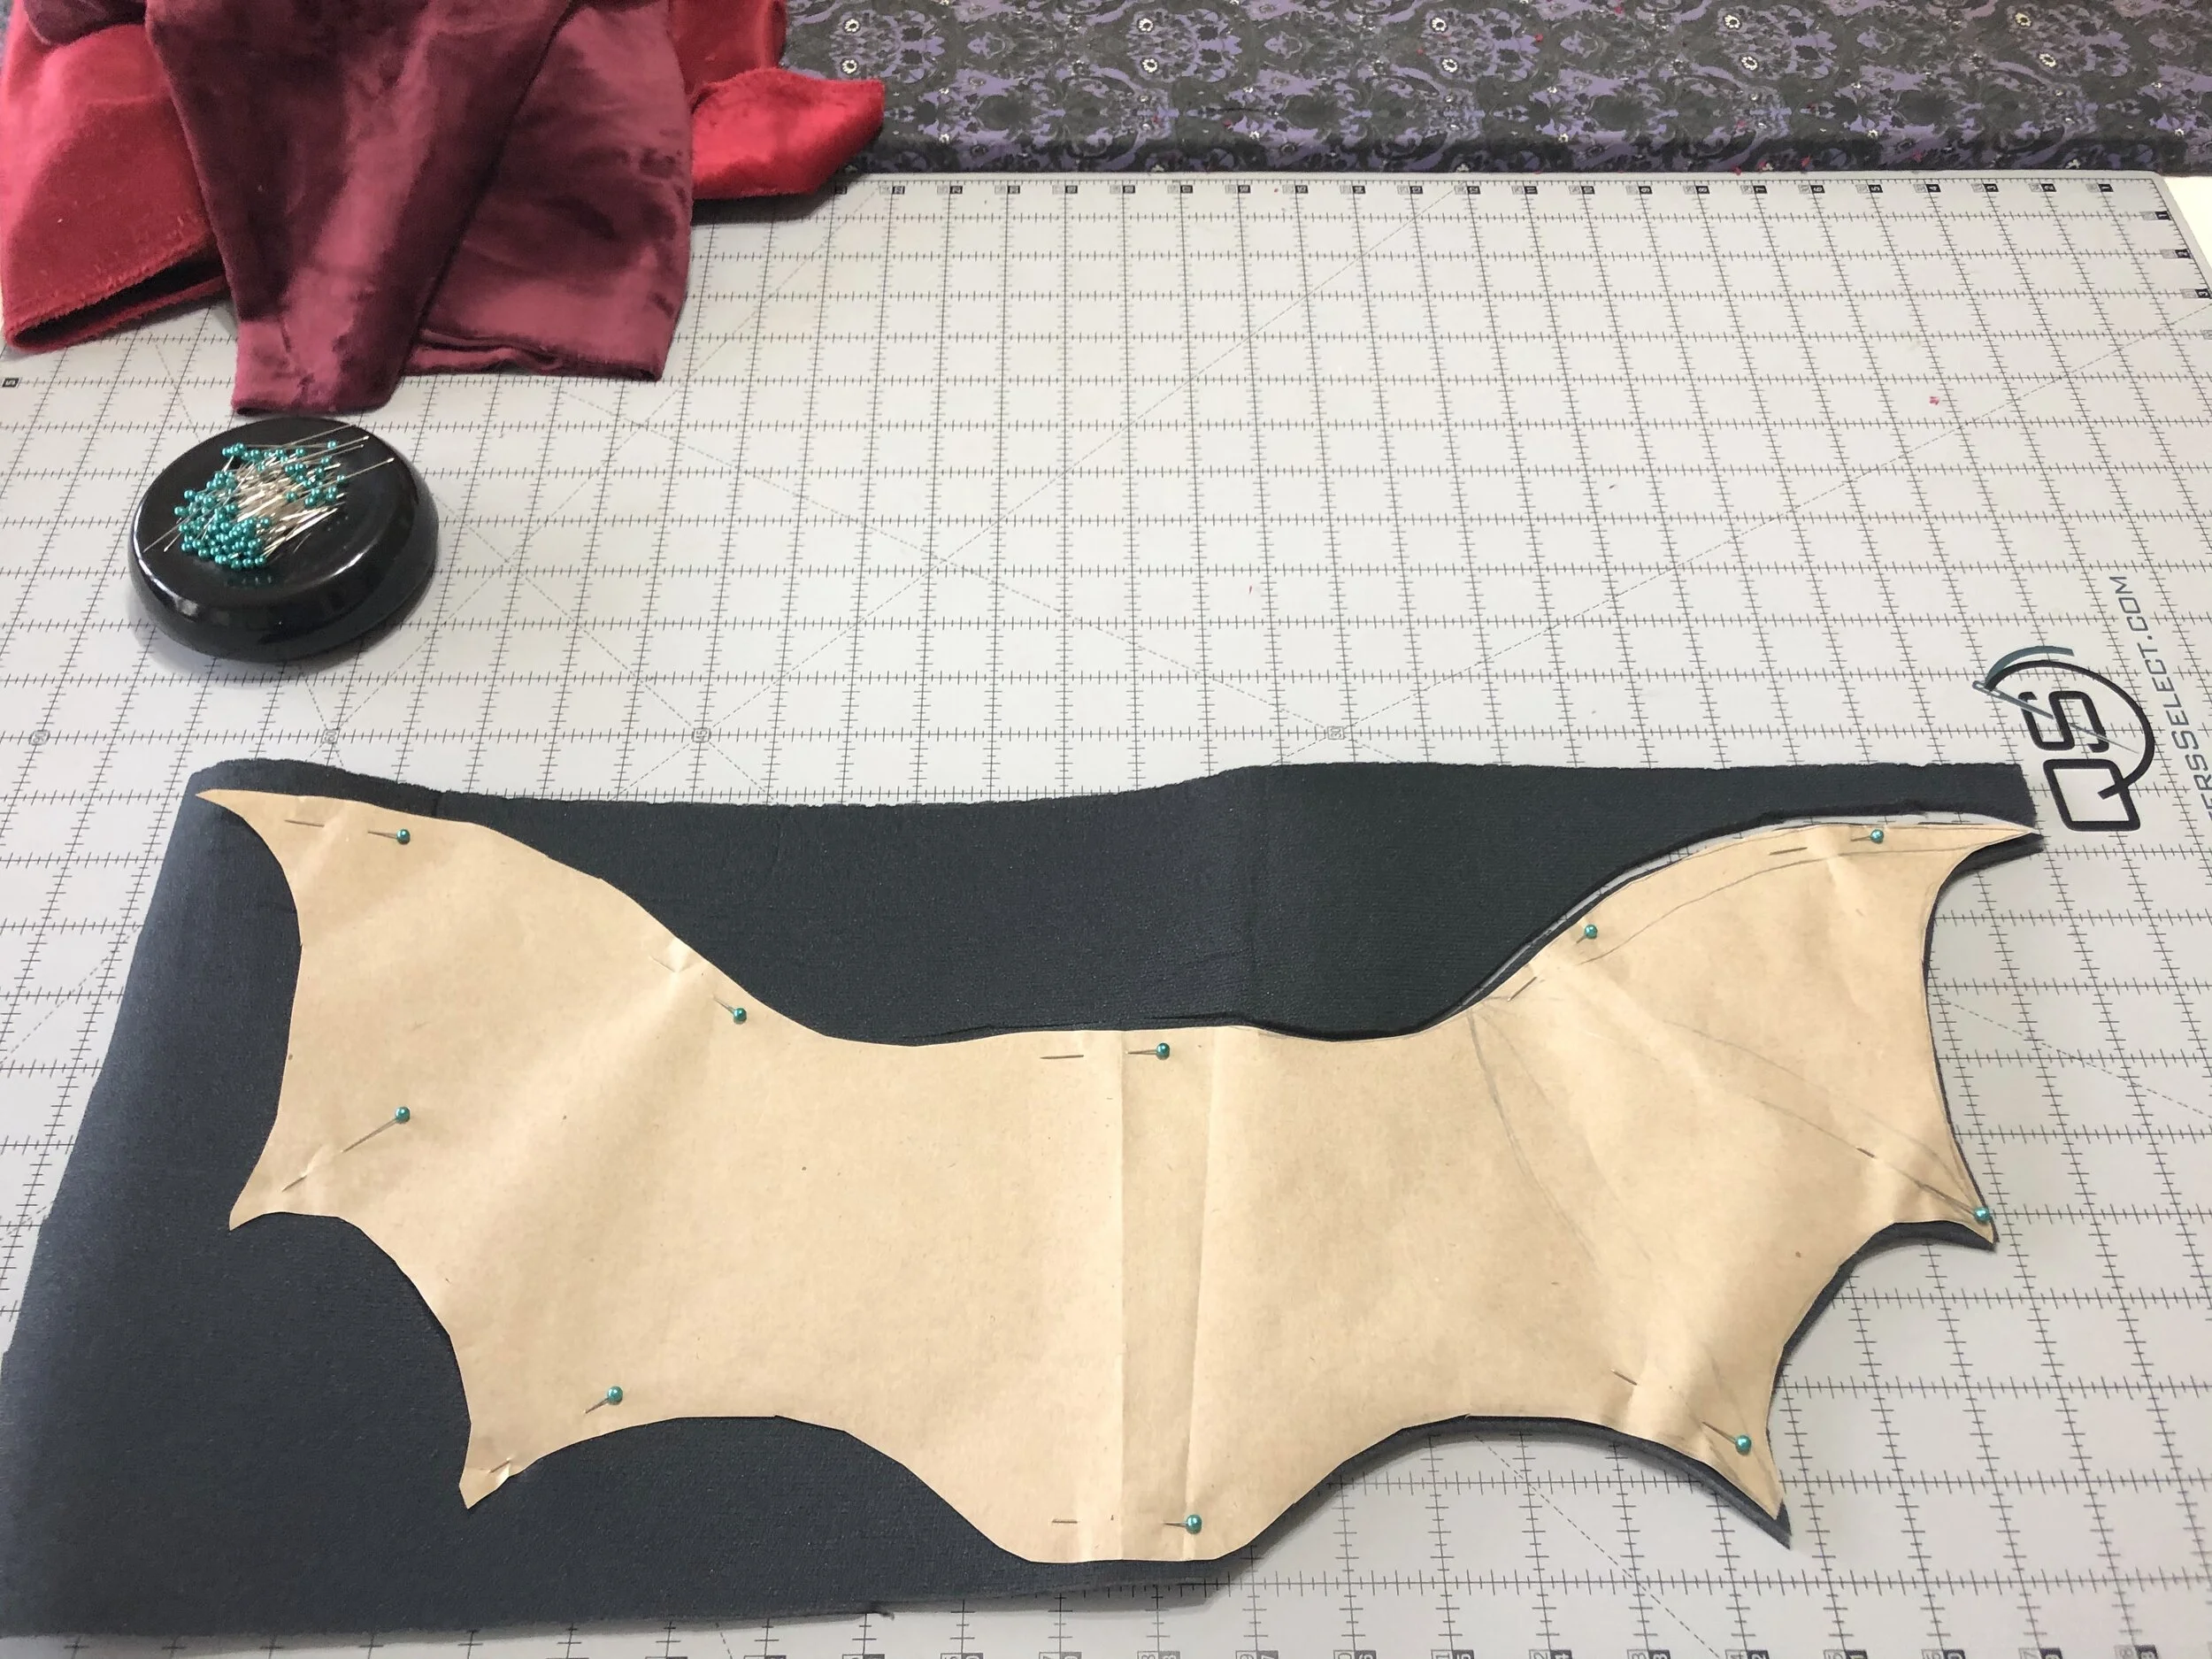
I knew I wanted them to be about 24” long and 10”-12” wide so I started with pattern paper in that size and just sketched until it looked like I wanted it to.

IMG_6908.jpg

I pinned the paper to Super Structure Foam so I could sew the “bone” structure into it.

IMG_6909.jpg

Then I cut the wings out twice on fabric with 5/8” seam allowance.

IMG_6910.jpg

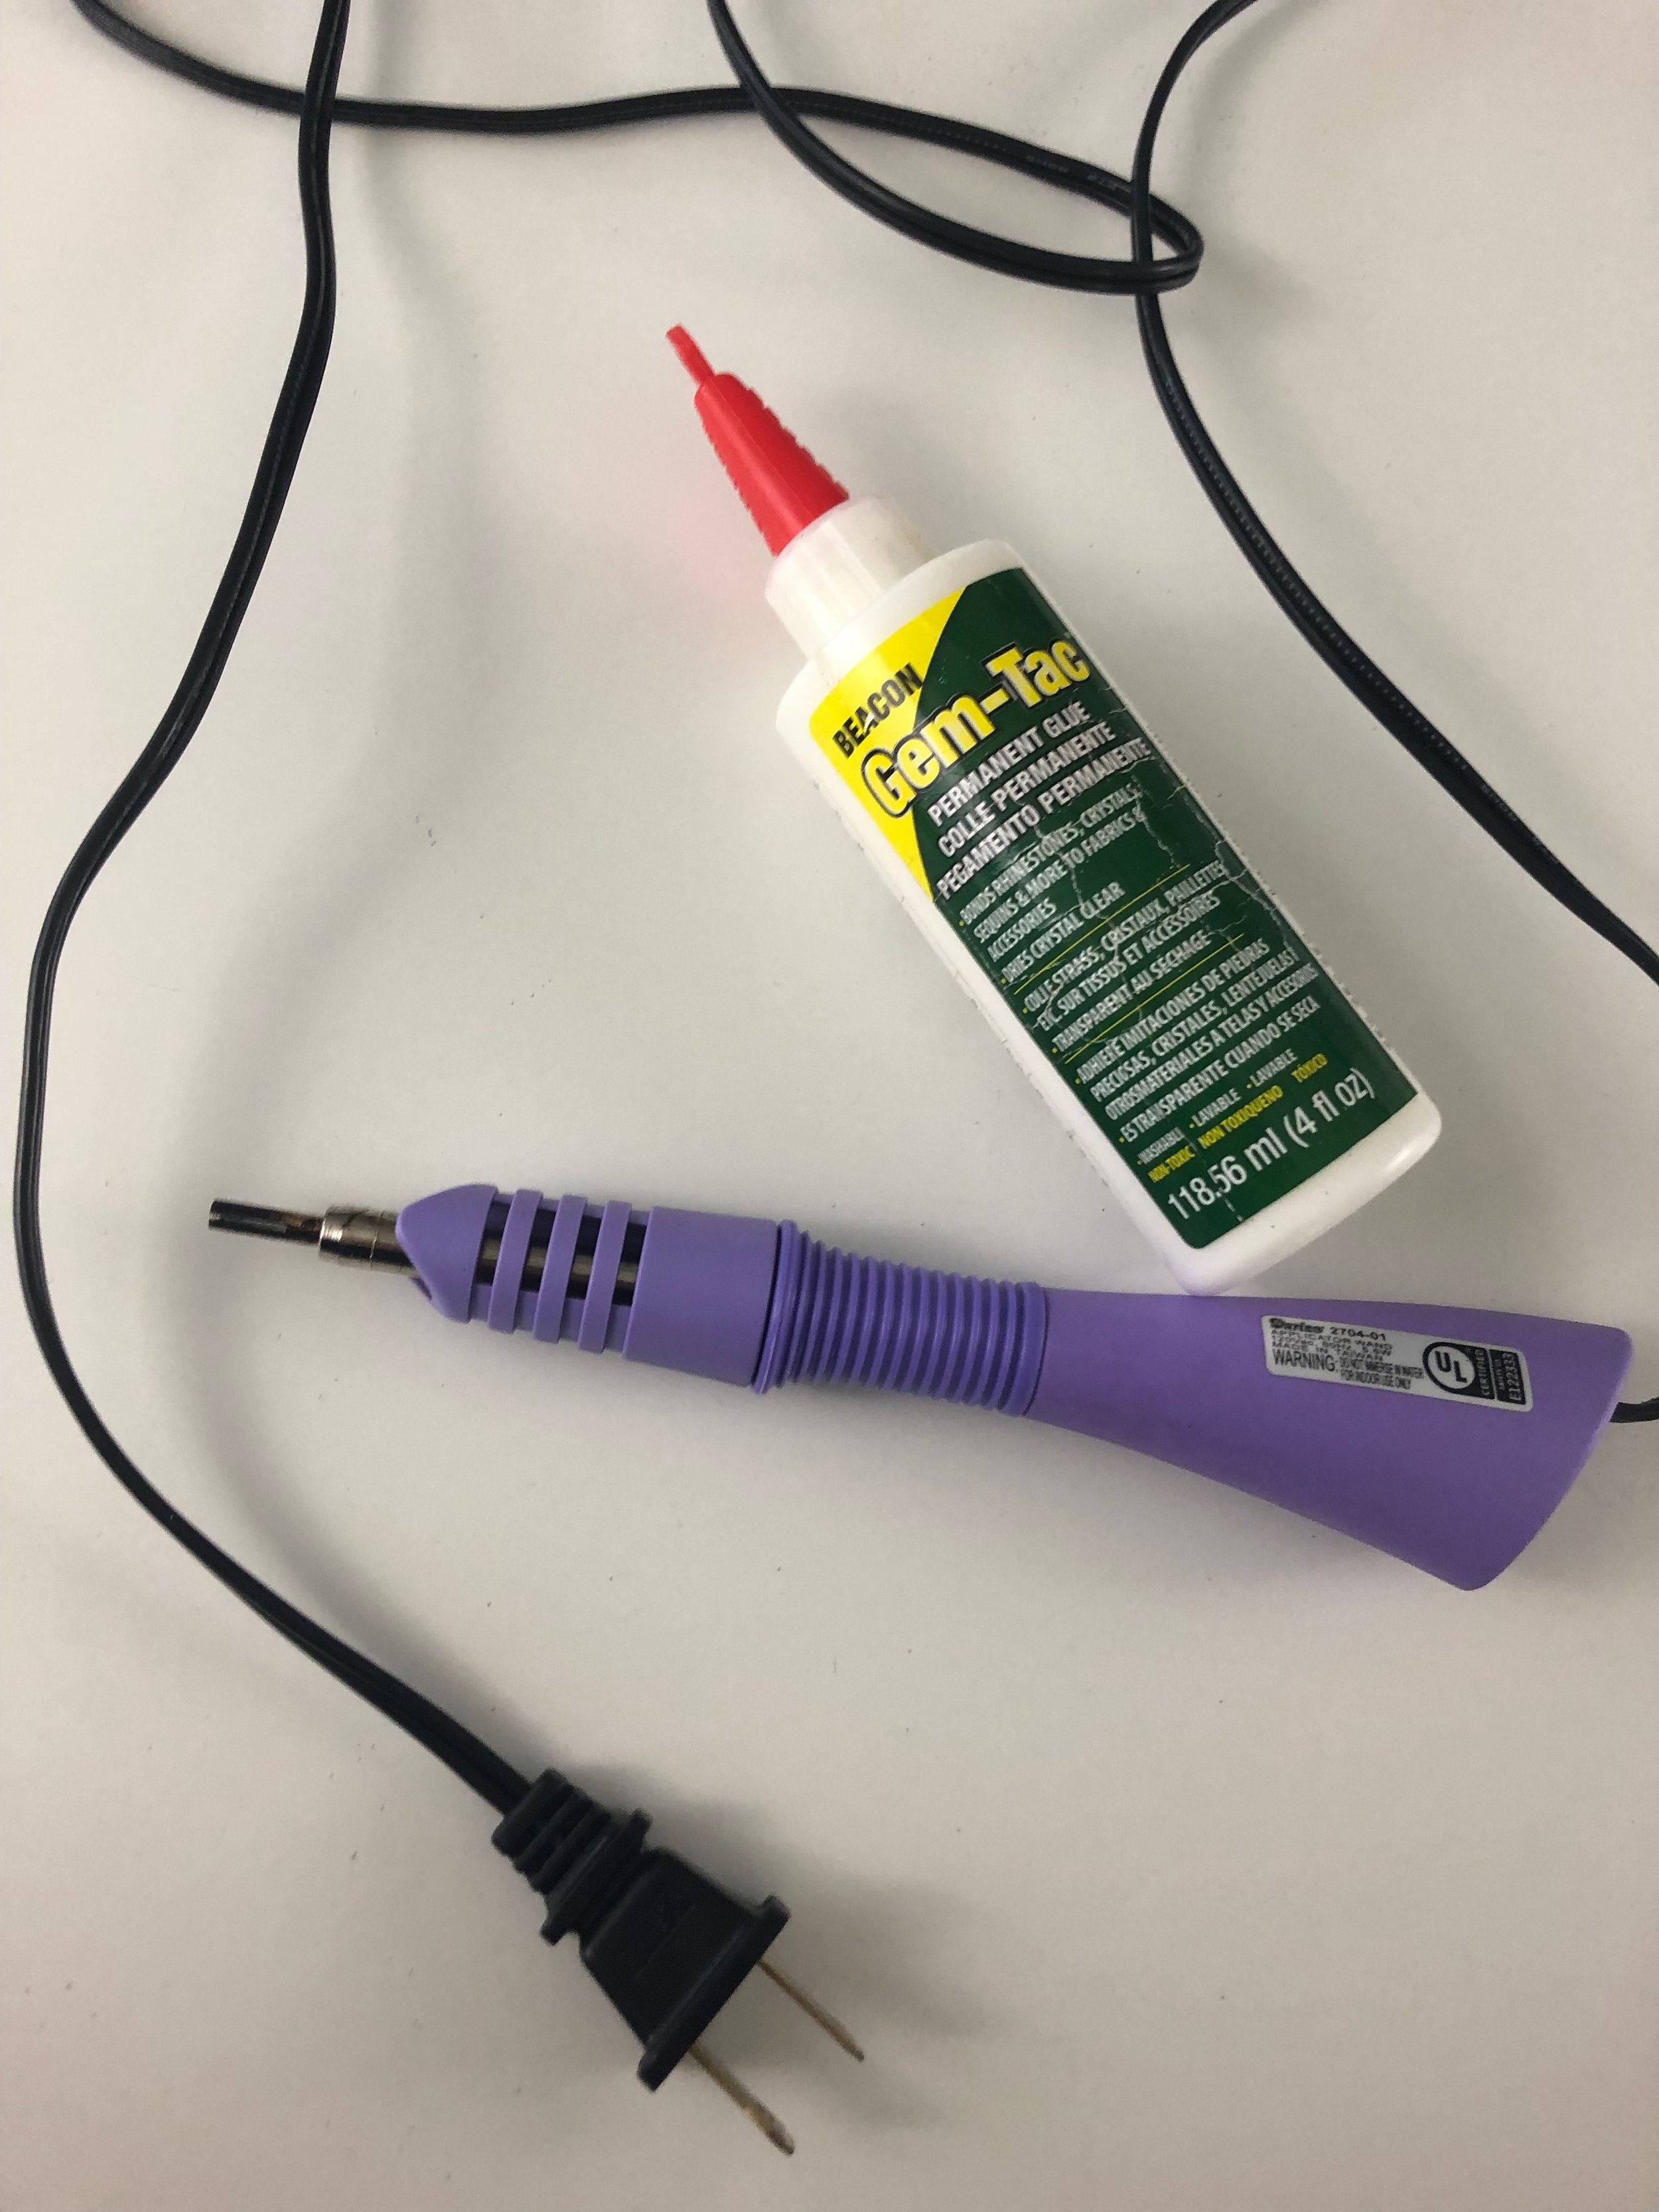
Then I adhered the top fabric to the foam, stitched the two fabric pieces together, clipped the corners and edges.

IMG_6911.jpg
IMG_6912.jpg

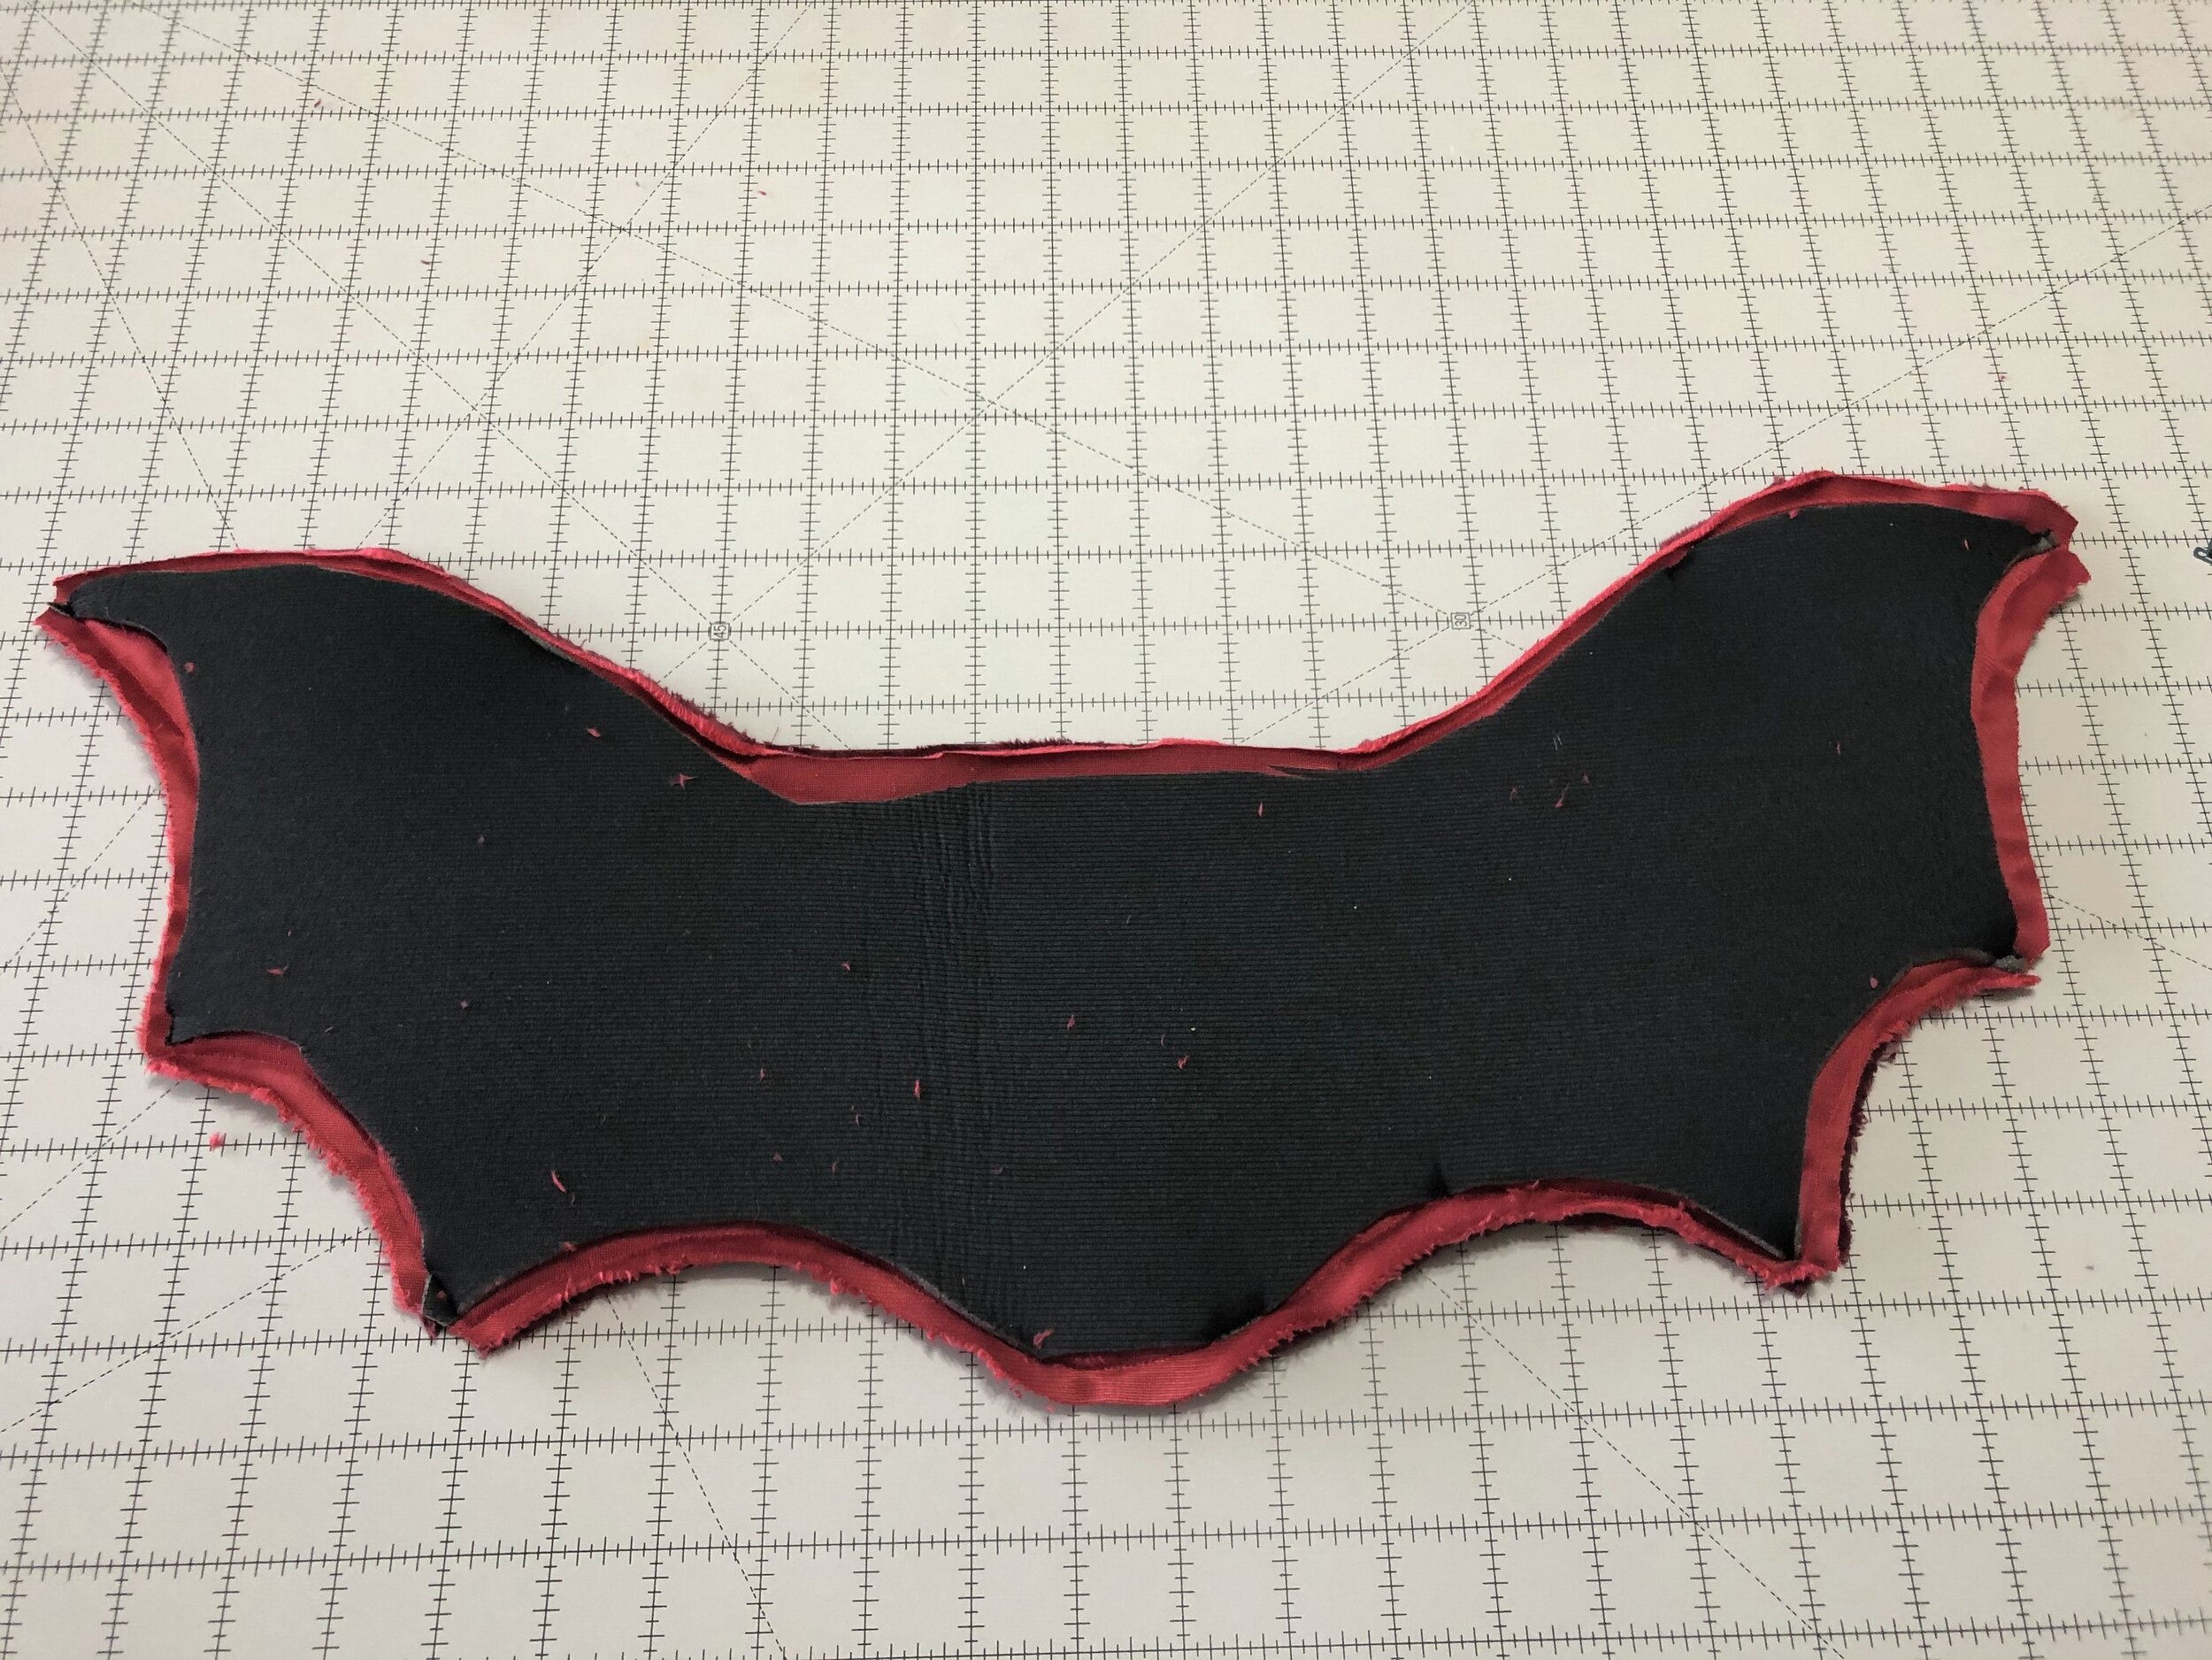
I slip stitched the opening closed and then quilted the “bone” pieces on to the wings.

IMG_6913.jpg

Finally, I stitched two large snaps to the underside and the opposite side onto the vest.

IMG_6915.jpg

Moving onto the hood, I used the same hood concept that I have for my Kigurumi’s for the hood of this costume. To half pieces with a 4” by 26” strip around the front. I cut these out on both red fabrics.

IMG_6916.jpg

While my embroidery machine was stitching the eyes out on the top strip, I was making the ears, and teeth pieces inspired by Toothless. I have never done embroidery on cuddle fabric before and it’s thicker than I’m used to so I made a few mistakes and it took a total of 5 attempts for both eyes and the final eyes are still not very perfect but I kind of love them.

IMG_6917.jpg
IMG_6918.jpg

Once the pieces were together, I stitched the lining to the top fabric, flipped them and folded under the neck seam to top stitch it closed. I hand stitched snaps onto the inside and the collar and then called the costume done.

IMG_6921.jpg
IMG_6920.jpg
IMG_6923.jpg

If you would like to support my blog, please check out my patreon!

It helps funds my projects and get's you early access to all future projects plus exclusive content.

~~~~~Sewing FAQ~~~~~~

Sewing Machine

Embroidery Machine

Oliso Smart Iron (affiliate link)

Capelet Sew Along for St Jude

Join me on Friday December 6th at 12pm ET to kick off our Holiday St Jude Fundraising with a Sew Along!

Fabric sponsored by Shannon Fabrics

WHAT: We will be making a fully lined cuddle capelet with sherpa binding.

IMG_6289.jpg

MATERIALS:

2 yards of fashion fabric: Sparkle Cuddle Glitter

2 yards of lining fabric Silky Satin Solid

1 yard of Sherpa Fur

Closure of your choice

Thread

Scissors

Sewing Machine

Iron

Tape Measure

We will be drafting our own pattern for this but if you want you can purchase one.

WHERE: Twitch.tv/CaseyReneeCosplay

The Video of the Stream will be exported to YouTube and linked in this blog once it is complete.

GOALS and GIVEAWAYS:

IMG_6292.jpg

For the month of December our goal is to raise $1000 for St Jude.

Shannon Fabrics has also gifted us with a baby blanket kit and a baby blanket to giveaway and once I finish my capelet I will be giving it away on stream as well.

Every donation of $5 or more enters you into our giveaways.

Here’s the entire December Stream Schedule:

St Jude Stream Schedule.png

Corset Making Sew-along Part 2

Today we covered flat lining, sewing the panels together, boning channels and embellishments. Since we did all this live I am going to be very brief in my descriptions.

The first thing I did was flat line all the duck canvas to the silk dupioni. To do this, I pinned the wrong side of the duck canvas to the wrong side of the dupioni on all edges. Then with a baste stitch I stitched around the entire piece. I did this on every panel.

IMG_5408.JPG

Once all the duck canvas was attached to the dupioni I started sewing the panels together. For this I used a closer together stitch it was the 1.5 setting on my sewing machine. I stitched the panels together at 5/8th of an inch to insure I would have enough seam allowance to create the boning channels out of. To add the panels I started in the center and worked my way outward, so piece 1 then attached piece 2 followed by 3 etc.

IMG_5409.JPG

After adding a panel I would press the seams open so they would lay flat. Once all the panels were added I pinned the seams open.

IMG_5407.JPG

I once again changed my stitch length, this time to a 2.5 and then I stitched the seam down 3/8 of an inch away from the seam. This is now my boning channel.

IMG_5411.JPG

Finally, the last thing we discussed was embellishments. It’s not required or even necessary to add embellishments but for me I was going with a themed corset so I am adding bumble bees to it and making a flower crown to go with it so I can have a fun little fashion look.

With embellishments there’s a few things to think about, first was not to sew anything through the boning channels or you wont be able to add the boning to the channel. This is an example or a poorly placed bee:

IMG_5412.JPG

Applique that is very large that would have many points of contact with the corset could work over boning channels as long as they are not sewn in the space where the bones go. Alternatively glue is an option but I wouldn’t recommend it. It’s also possible to tack it down by only catching the top layer of fabric when you sew it but that’s challenging and time consuming. Here’s a better placement for my bee since the bulk of the bee is in between the channels:

IMG_5413.JPG

Finally try to keep any embellishments away from the busk, grommet and bias tape placement. Alternatively you could wait to place embellishments until the corset is fully finished but you will have thread hanging out on the inside.

That’s all for this week! Next week we will apply the boning, busk and lining.

Schedule.JPG

Corset Making Sew-along Part 1

Today we covered sizing, cutting out the pattern, adding seam allowance and cutting out the fabric for our under bust corset. Since we did all this live, I’m going to be very brief in my descriptions.

For sizing, I followed the instructions on the corset pattern and I took off 2 inches and another 2 inches for cinching so that made me a size E on the pattern. The easiest way to start cutting it out is start with page 1 and match the piece with it’s counterpart.

IMG_5345.JPG

Once I found and cut the bottom piece I made sure to leave the bottom 1/2” or so of the top portion so I could tuck it under and then placed tape over the two pieces once they were lined up.

IMG_5346.jpg

I repeat this process on all the pieces.

Now time to add seam allowance. Anywhere from 1/2” to 5/8” will work for the seam. I went and grabbed my hem marking tool (set at 5/8”) and my tailors chalk. Starting on my Duck Canvas I pinned all the pieces with enough space in between to add seam allowances.

IMG_5347.JPG

I marked the edge on both the left and right of the pieces but DO NOT add allowance for the top it is already included in the patter.

Repeat for all the pieces and cut your fabric. I cut my duck canvas on a fold so I could cut both pieces at the same time.

Once duck canvas is cut I cut the pieces out on cotton (my lining) and silk dupioni (my fashion fabric) with the same seam allowances.

IMG_5348.JPG

For the modesty panel, I marked the two side pieces again on the duck canvas but I unfolded it so I will only have on piece of canvas instead of two.

IMG_5349.JPG

Then I pinned the duck canvas onto the silk dupioni and cut while on the fold so I would get two pieces.

That’s all for this week. Next week we will interline the fashion fabric, sew the panels together and discuss embellishments for the corset.

Schedule.JPG

Corset Making Sew A long 2019

It’s finally time for my first ever Sew-A-long!

To kick it off we are going to be making an under bust corset using a FREE pattern from Aranea Black she has so much knowledge of sewing, corsetry and patterning and she is sharing her corset pattern FOR FREE!

After a lot of thought and chat with some of my regulars in stream we have decided on doing an under bust corset that can either be worn as a statement piece with a blouse or underneath a dress to give you that cinched waist look.

2018-02-07 10.42.08.jpg

As many of you know I am not new to making corsets, stays, bodies etc. However, this is my first under bust corset which is exciting. With most of my gowns I have not needed an under bust corset but I have a future costume coming up where I would love the option so here we are.

Let’s start with the pattern.

Please download this pattern from Aranea Black’s website. It’s not necessary to print the Letter unless you absolutely want to but it is important to have the pattern printed and your measurements taken by the first session.

Which leads us to our Schedule:

How it’ll work is I will stream the process on each of these days, answer questions that come up on the steps of the process being covered. I won’t be jumping ahead to finishing if we are still cutting out the pattern. At the end of every live stream I will export the VOD and upload it as is to you-tube. Give me 24 hours after each session to upload the video, I will answer the questions via You-Tube as quickly as I can each week and repeat.

Schedule.JPG

Materials (all links are the specific items I am getting):

  • Pattern, which should be downloaded and printed by the first day.

  • 1 yard Duck Canvas

  • 1 yard Fashion Fabric (this can be whatever you want)

  • 1 yard cotton for lining

  • 44 sets of grommets

  • 10 yd 1/4” spiral steel boning

  • heat shrink tubing for boning capping

  • busk (the size will depend on the length of your torso)

  • bias tape 3-5yards, you can make your own if you want.

  • corset lacing

  • embellishments, this could be anything from lace trim to applique, whatever your heart desires but please note that I will not be able to cover every method of applying embellishments so you might need to do some research on the side.

Tools:

  • sewing machine

  • pressing iron

  • needles for your specific fabric (don’t know what needles you need, Schmetz has an app for that)

  • awl (for the grommets and the busk)

  • grommet pliers

  • boning cutters/metal cutters

  • candle (for capping the boning)

  • pins, scissors, anything else you need when you’re sewing garments.

Please purchase materials ahead of time so that you can participate in the actual sew a long in September. I will be working as hard as I can to answer any and all questions throughout the month.

You can reach me at Instagram or Twitter feel free to invite your friends to make a corset too and hopefully I will be able to make weekly updates here on my blog for those that cannot make catch the Sew A Long live. If this is successful I am more than willing to host another Sew A Long in the future.

Rhinestone Royalty

2018 was the year of the rhinestone for me and if you thought that was going to change in 2019 then guess again. Over the last few months I’ve had several questions about where I buy my rhinestones, how to apply them, etc and I have been planning this blog since the beginning of the year. However, after sharing my most recent batch of stones on Instagram last night I realized that this write-up can’t wait until March.

So, in this write-up I will break down the types/brands of stones, quality, adhesives, price and how long it takes for the stones to get to you and to apply them. If you just want links to where I have bought mine, scroll to the bottom and pick and choose whichever works best for you. Full disclosure all amazon links are affiliate links, so I do make a commission if you purchase from them.

Getting that sweet sweet sparkle.

IMG_2572.JPG

A common misconception about rhinestones is that you need Swarovski Crystals to get the best sparkle but that’s just false. Pictured above are Bohemian, Swarovski and the cheap eBay stones. Can you guess which is which? Probably not unless you look at the facet of the stone and these stones range in price from $1.40 to $55.60 per 10 gross (1440 crystals).

So, there’s really no need to drop over $100 o Swarovski Crystals (like I did initially on Sakizou) for cosplay. Now don’t get me wrong, there is a time and place for Swarovski but I just don’t think they are necessary for cosplay.

With that being said all the crystals I will link at the end of the blog meet my quality standard and that standard is, if I’m walking on a stage or in a well light room will I turn into a disco ball?

Personally in quality I look for sparkle, I look for how reflective the stones are and overall how much impact they will have when walking around. I prefer not to use filters when I post rhinestones, so you will never see that fake like sparkle where there is no stone. There is absolutely nothing wrong with those filters, I love seeing them used by others I just personally stay away from them.

IMG_2574.jpg

Don’t be afraid of colors! They are awesome and can really add dimension to a costume. I prefer to use color when I am trying to create a design on a gown or to highlight a design that is already in a gown.

Here’s my White Christmas red dress with the snowflake design I added in rhinestones:

IMG_2203.JPG

Then this is how I took the flames on my Jafar costume and used rhinestones to accent pieces of it:

IMG_2550.jpg

You can also use colored rhinestones to create extra sparkle, I used Black AB rhinestones on my Sakizou dress to add extra sparkle and it was awesome:

IMG_0972.jpg

AB rhinestones have an iridescent coating to give extra shimmer, named after the Aurora Borealis. They are typically half coated and AB 2x are fully coated. I almost always buy massive amounts of AB crystals because you can use them on everything. On both Belle and Sakizou there were over 10k each.

Does size matter?

IMG_2573.jpg

Yes!

Okay, maybe because it all depends on what you’re using them for.

If you’re using them as a means to lightly cover an entire piece of clothing, like I did with Sakizou’s skirts, then I would recommend smaller but closer together.

If you want to create a cascading effect that draws attention to certain areas of a costume or just emphasize a silhouette then I suggest using multiple sizes.

If you want to make a design then multiple sizes is the way to go.

I personally have 3 different size AB Crystals in my stash at all times. I use small stones (3mm) when I am covering a sleeve or skirt. I use small and medium (2mm, 3mm or 4mm) when I am creating a design. I will typically use larger ones (5mm and 6mm) when I just want a pop of sparkle but don’t need it to cover an entire piece.

But honestly, the best part about crystals is you can use them whatever the heckin way you want to!

Finally, I’ve been using this chart to help with sizing since every website seems to use one of these two ways of sizing and I always forget which ss corresponds with which mm.

Chart from Creative Crystal

Chart from Creative Crystal

How to apply crystals.

IMG_2576.JPG

There’s two basic methods I use to apply crystals.

The first and most commonly used on my stream is the Hotfix tool. Now this is a good method of adding rhinestones, its affordable, you can get rhinestones for this on Amazon Prime and they apply quickly.

BUT, they have been known to fall off if you don’t allow the glue to completely warm up AND it can take longer if you are using large stones.

I use this method on stream all the time and I have very little issues with it but I have also learned from experience that this is probably not the say all end all to applying crystals.

You can purchase the tool here.

The best rhinestones I have found for this tool are here.

Please for the love of god DO NOT purchase the stones that come with 1 gross of 15 different colors, I have bought 2 of those kits and they are trash. I also have heard that the rhinestones that come in a kit with the tool are also trash. Save yourself the frustration and buy the tool and then the Threadart stones separately.

I have purchased 10k AB rhinestones for $40 and the one issue I had with those was that each batch seemed to be slightly different quality. By that I mean the adhesive for some are better than others and how well the tool picks up the stone varies.

Also note that for hotfix you need electricity and if you’re planning to rhinestone on your 12 hour car ride to Katsucon then you’re out of luck.

Ultimately, hotfix is not the cheapest method of stone/application but its the quickest method to get to you.

Now, lets talk about gem-tac. I know people have done blogs stating E6000 is king and only use that but here’s the tea, E6000 used on 4k-5k-20k stones per costume will kill you. Also, it doesn’t actually adhere to a wide variety of fabrics. I used it on all my Lady Gaga rhinestone covered costumes and on ALL of them I have lost lots of stones.

So you can buy gem-tac here. 1oz covered about 2k crystals and that’s while streaming where I had quite a bit of glue waste due to talking and having it dry. The cure time is probably 30 minutes, probably less and even though its white, it dries clear. I used it on silk dupioni and had ZERO problems with it distorting my fabric. Also, note that this can be used with literally EVERY stone you purchase, you can even use it with your hotfix stones.

Now, applying stones with gem-tac can be tedious although we are talking about applying stones so I guess that’s just tedious all together. My advice is to use toothpicks or those cheap chopsticks you get at take out places to dot your fabric with glue and then tweezers to pick up and place the stones. These tweezers are really good for both beads and rhinestones.

Don’t Break the bank on crystals, unless you want to I guess.

Now it’s time to discuss the best price rhinestones for the best quality. This is where I will start giving you links to where I buy my crystals but please note that some of these can take upward of 2 months to get to you. So plan accordingly.

Let’s start with my favorite stones to date, these are the ones a lot of you probably saw on Instagram last night. My friend Eveille Cosplay sent me this link and she really deserves all the credit for this find, so go follow her.

Ebay

I bought, 4mm gold, 4mm dark purple, 4mm light green, 4mm purple, 4mm Iridescent A/B, 4mm Emerald green, 4mm blue, 4mm peacock blue, 4mm light blue, 4mm black and 6mm iridescent A/B stones for about $25 and it took 2.5 weeks to get to me. Those stones are my absolute favorite and I plan to buy one of every color after I finish this blog.

My second choice would be hot-fix but ONLY because I can get it all on Amazon Prime and the price per gross is the second cheapest. So if you want the links to all that jump back to ‘How to apply‘ and just note that all those links are affiliate links so if you purchase there you just feed into my rhinestone addiction and I appreciate you.

My next favorite option would be from Beads Factory. They are not very cheap UNLESS you get them on hella sale like I did on black Friday. I purchased Bohemian Crystals for 70% off and the quality is just a step up from the eBay option and IMO are just as good as Swarovski. You can also purchase Swarovski and Perciosa from Beads Factory. I have not used Perciosa but I’ve had it recommended a dozen times so if you try them out let me know.

Finally, I bought my Swarovski from Fire Mountain Gems. I buy a ton of beads from them but keep in mind to pre-plan because every unit you buy can make the entire total go down. I typically only like to purchase from them when I know I need 50 units or more total (you can mix and match between items and that rocks) because it will save money in the long run.

There are TONS of other places to get crystals but these are the places I have purchased from, I am not listing any I have not purchased because well I don’t want to screw anyone over so if you purchase elsewhere leave a comment with a link.

If this guide was helpful to you at all and you’re feeling extra generous please consider buying me a coffee. Everyone that does so will get their name inside my Stellagosa costume that I am starting on Tuesday.

If you can’t help out I totally get it because those precious doll hairs could be used to purchase crystals BUT sharing this blog helps too and using my Amazon Affiliate link is also a way to help.

Last but not least, PLEASE PLEASE PLEASE tag me on IG, FB or Twitter if you use any of these suggested crystals or if you just want to share your work with me.

Thank you to all of my Patrons and Twitch supporters, you guys make it possible for me to grow not only as an artist but as a human. I love you all.