After a couple larger projects I really wanted to tackle something that was easy enough to finish in a weekend. Back in December I binge watched all of The Chilling Adventures of Sabrina and after seeing her Red Dress I knew I wanted to make it. I initially planned on just buying a dress off of Amazon and calling it a day but I really liked the buttons and collar in particular so I just decided to make it.
I bought a wig off Amazon, it’s no longer available at the time but it only cost $16 and the headband is the same one I made for my Alice in Wonderland wig.
I bought 2.5 yards of red suiting fabric from Joann Fabrics, 3 buttons and a pre-made lace collar off of Amazon. This exact collar is no longer available on Amazon but here’s a link to some that could work. Please note that all Amazon links in this blog are affiliate links and using them helps me buy materials for future projects. With coupons I was able to get all the materials and wig for less than $50.

I started with draping a pattern on my dress form for the bodice and skirt, I didn’t get any pics of this but I basically put the pre-made collar piece on my dress form and then started draping fabric from there. I lined up the neck with the collar and the shoulder where the shoulder collar piece was sewn. Then from there I chose where I wanted the gathered section to be on the bust. I put darts in the back panel and planned for a zipper.
For the skirt, I decided to use the end of the gather line for the front side seam of the skirt, then I followed the side seam for the side pieces. From there I just repeated the pieces for the back half of the dress.
I actually used a pattern for the sleeve because I am still very bad at draping fitted sleeve patterns and I was trying to make this in a weekend.

After cutting out this sleeve I realized it would have been faster/easier to use this pattern and just shorten the hem but whatever I’m glad I at least made an attempt at patterning this dress.
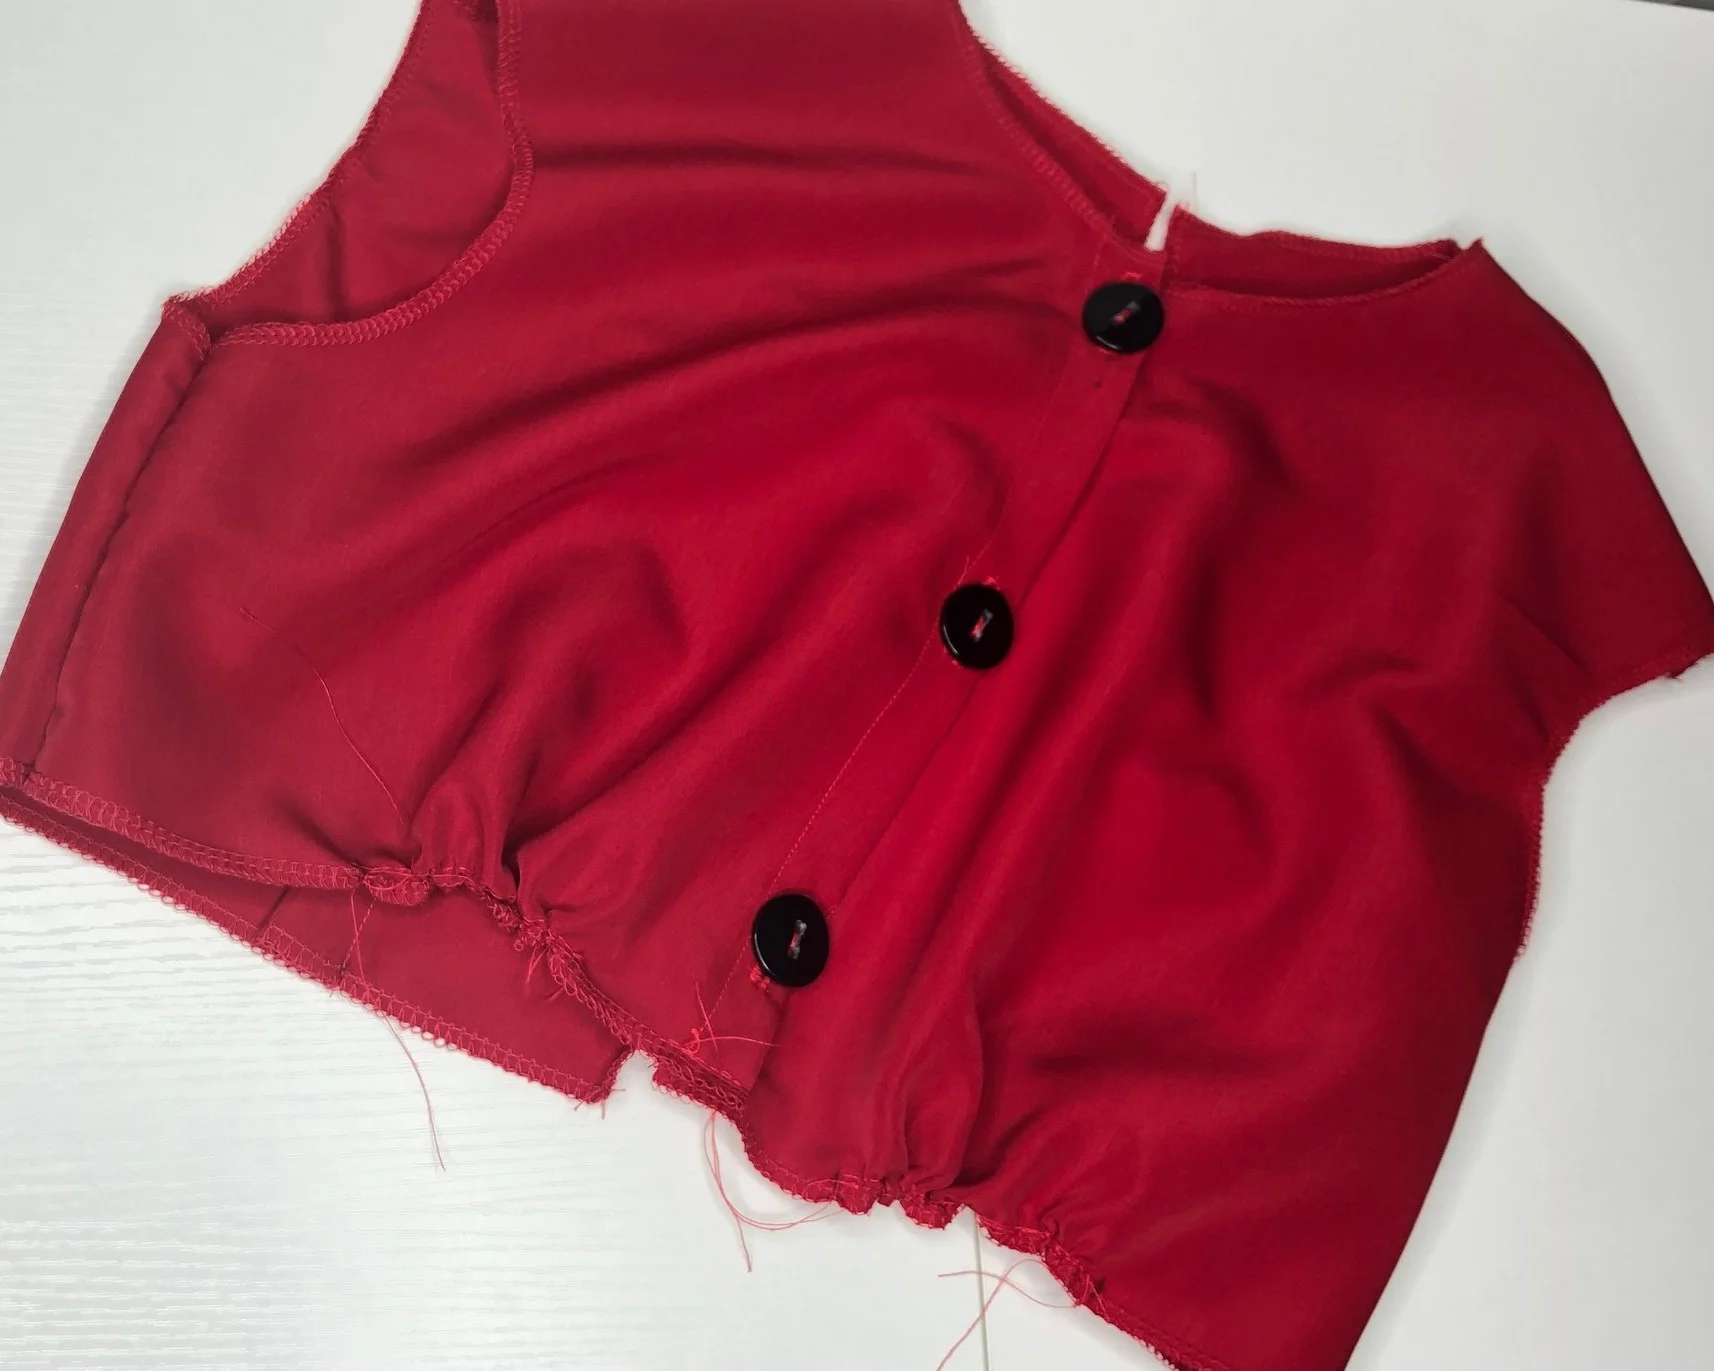
I didn’t really take the time to clean up the fabric pieces I draped on my dress form but they still look decent to me.

From there I detached the collar part from the fake shirt, I didn’t want the fake shirt to be seen and I thought it would just be easier to add the collar to the dress.

Then I cut out the skirt pieces and over locked all the edges of the dress pieces. (Not pictured)
I started with the front bodice construction by folding the front center piece over, pressed and stitched.

Then I added the buttons and button holes, as well as the gathers.
From there I moved onto the back and stitched the darts, I pressed them away from the zipper.

Now it’s time to sew the front to the back at the shoulders and sides.
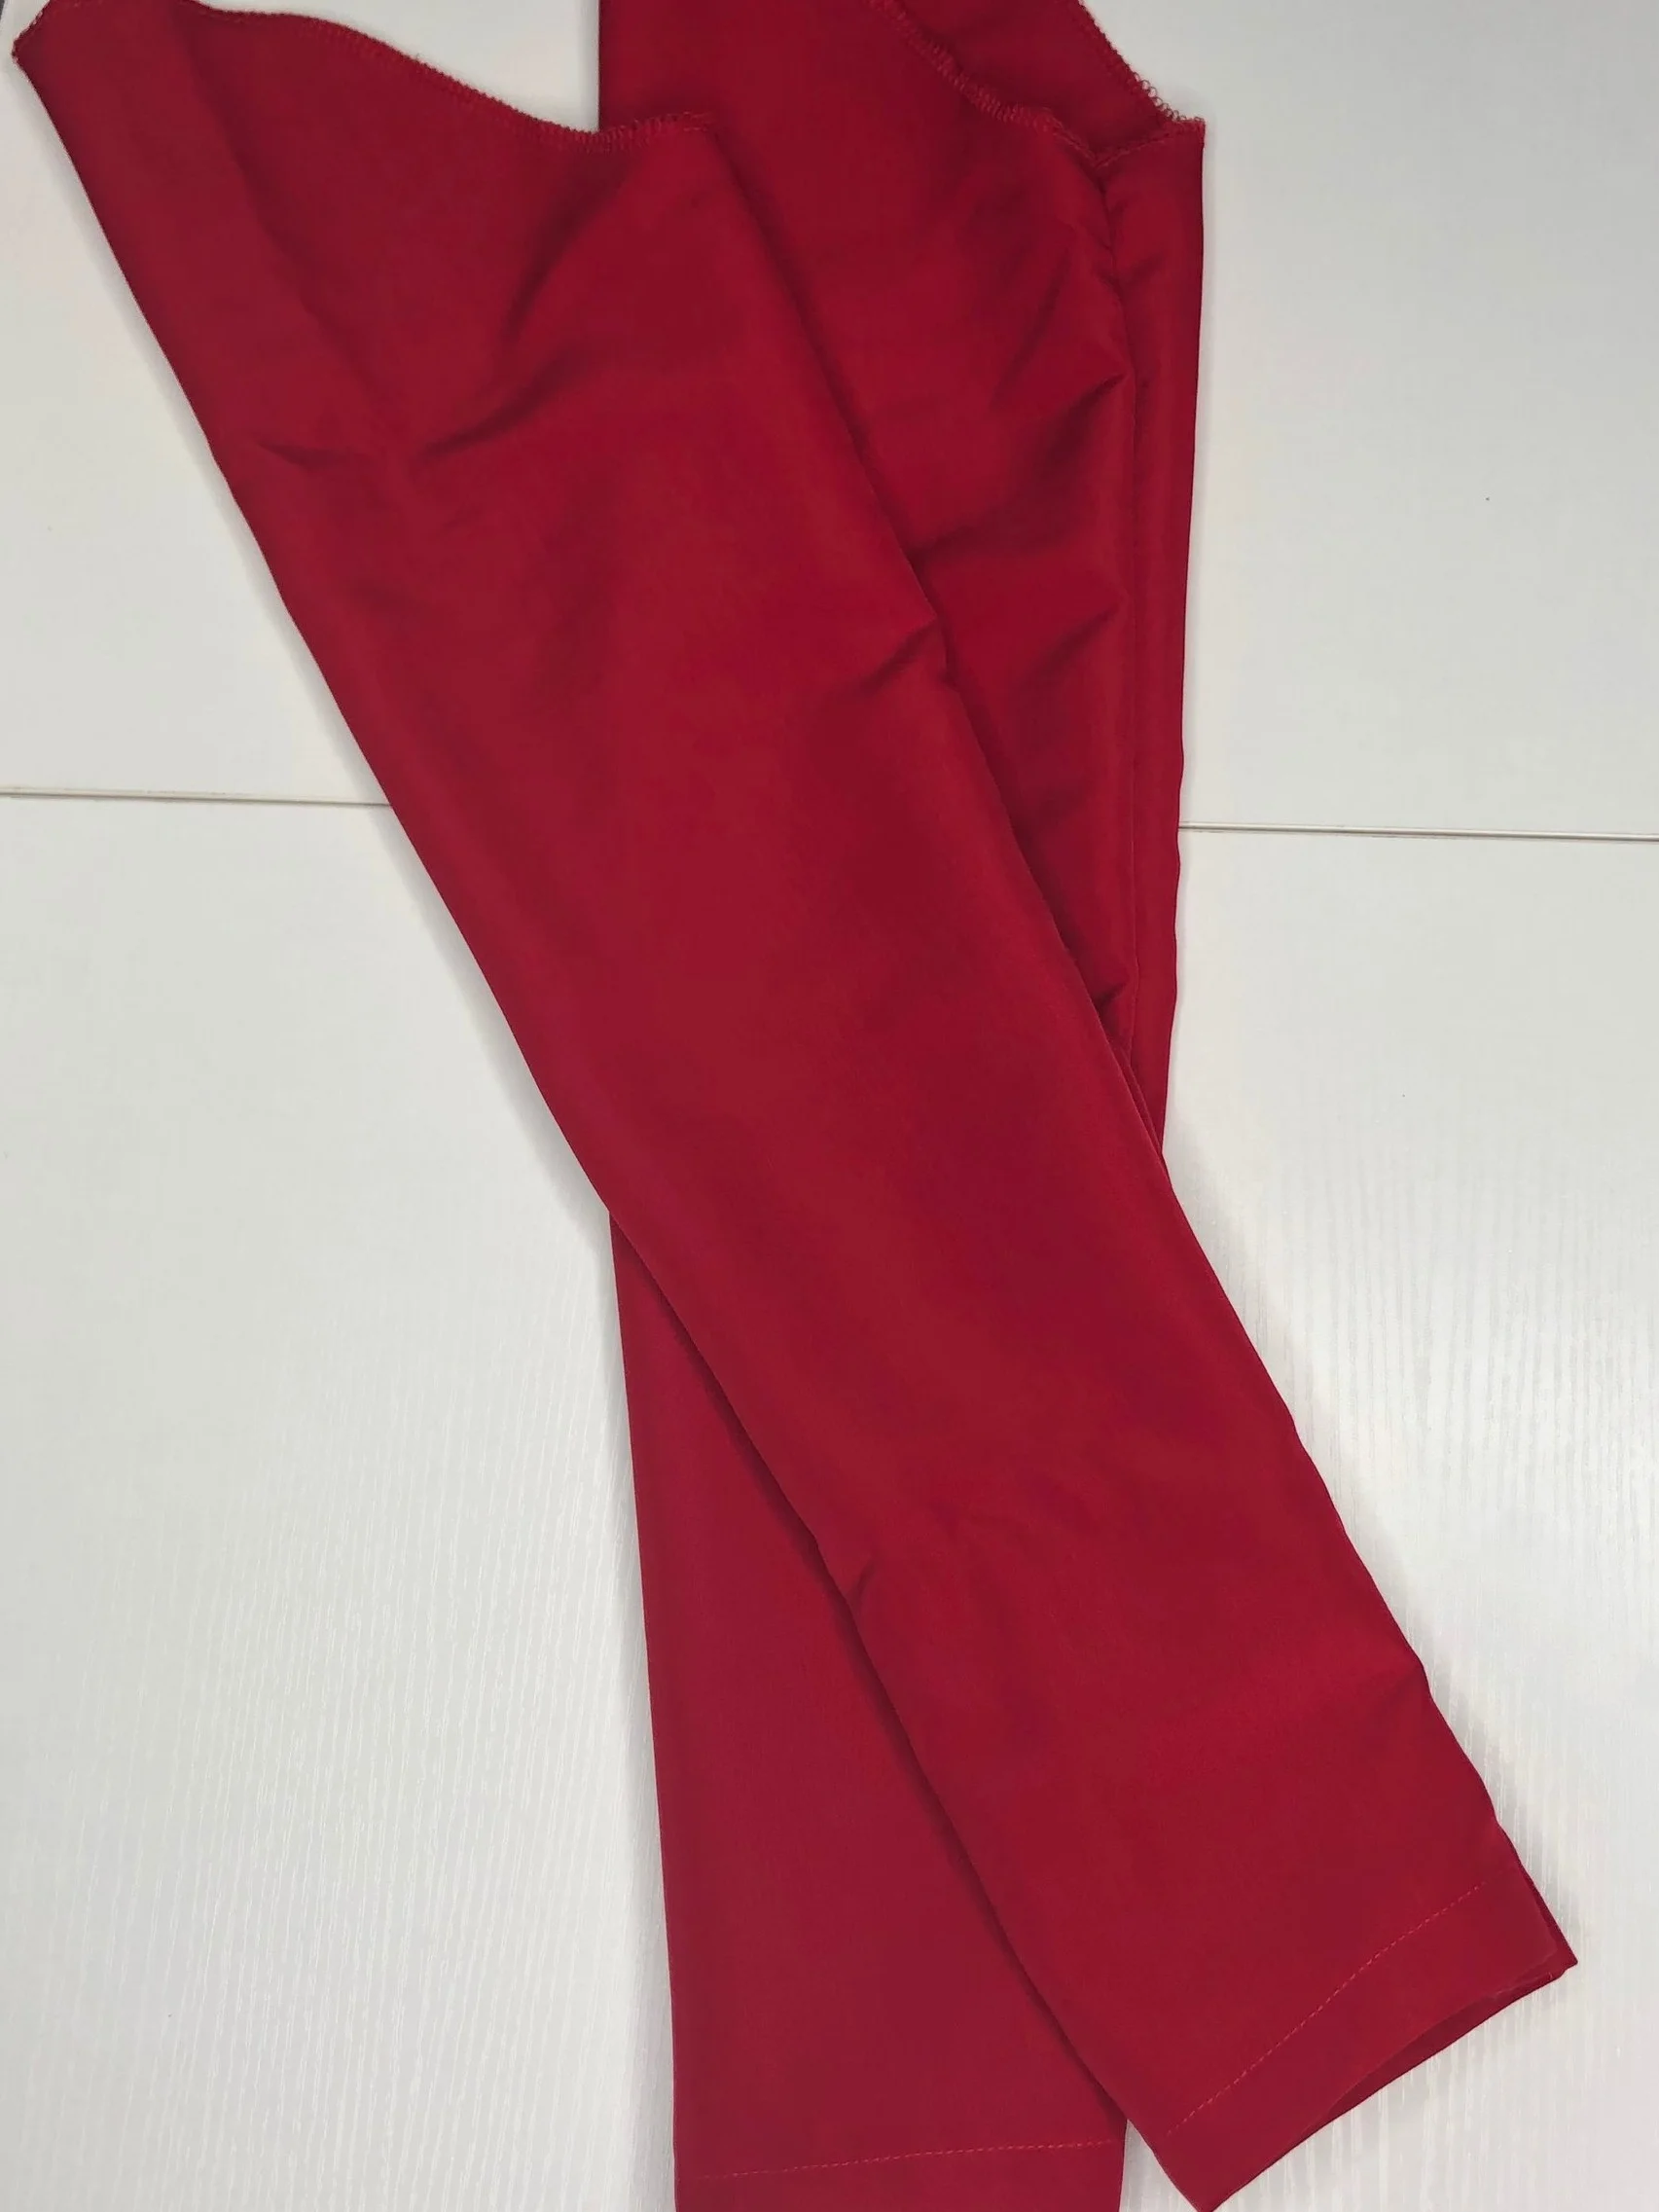
From here I moved onto the sleeves, I started with the bottom of the sleeve and folded it up by an inch, stitched and pressed.

Then I stitched the sleeves right sides together.
The last thing I did for the bodice was sew on the collar and sleeves. Patterning to this point only took five hours which was way quicker than I expected.

Starting with the middle front piece I stitched the side panels on working my way to the back of the dress. It’s very important to press each seam open as you add the skirt panels or else you will create extra bulk in the skirt.

After sewing the back seam up leaving enough room for the zipper, I folded up the hem an inch and stitched it down. Finally I added the skirt to the top, installed the zipper which I forgot to buy so I had to baste in a hot pink separating zipped in order to take photos in the dress.

A few changes I would make differently in the future is lengthen the sleeves, I always forget my arms are way longer than most sleeve patterns. I’d also lengthen the bodice by about an inch and a half, make the buttons a half inch closer to the middle and then make the shoulder about 3/4” wider on each side. My arm movement was not very good in this dress so for the future I will have to make adjustments but I think it looks cute.
Here’s a few photos’s from my photo shoot in the dress. I think this is going to be a great “casual” cosplay for me.
If you liked this blog and would like to help me fund my D23 costume head on over to ko-fi and I will put your name in the costume.
Thank you all for reading!

