“We’re all mad here.”
Or at least that’s what I keep telling myself to justify the 24-Hour madness that was our Alice in Wonderland build!
The goal was to create the dress, the chibi, the set, do the photoshoot and edit the photo from the shoot in 24 hours live on Twitch.
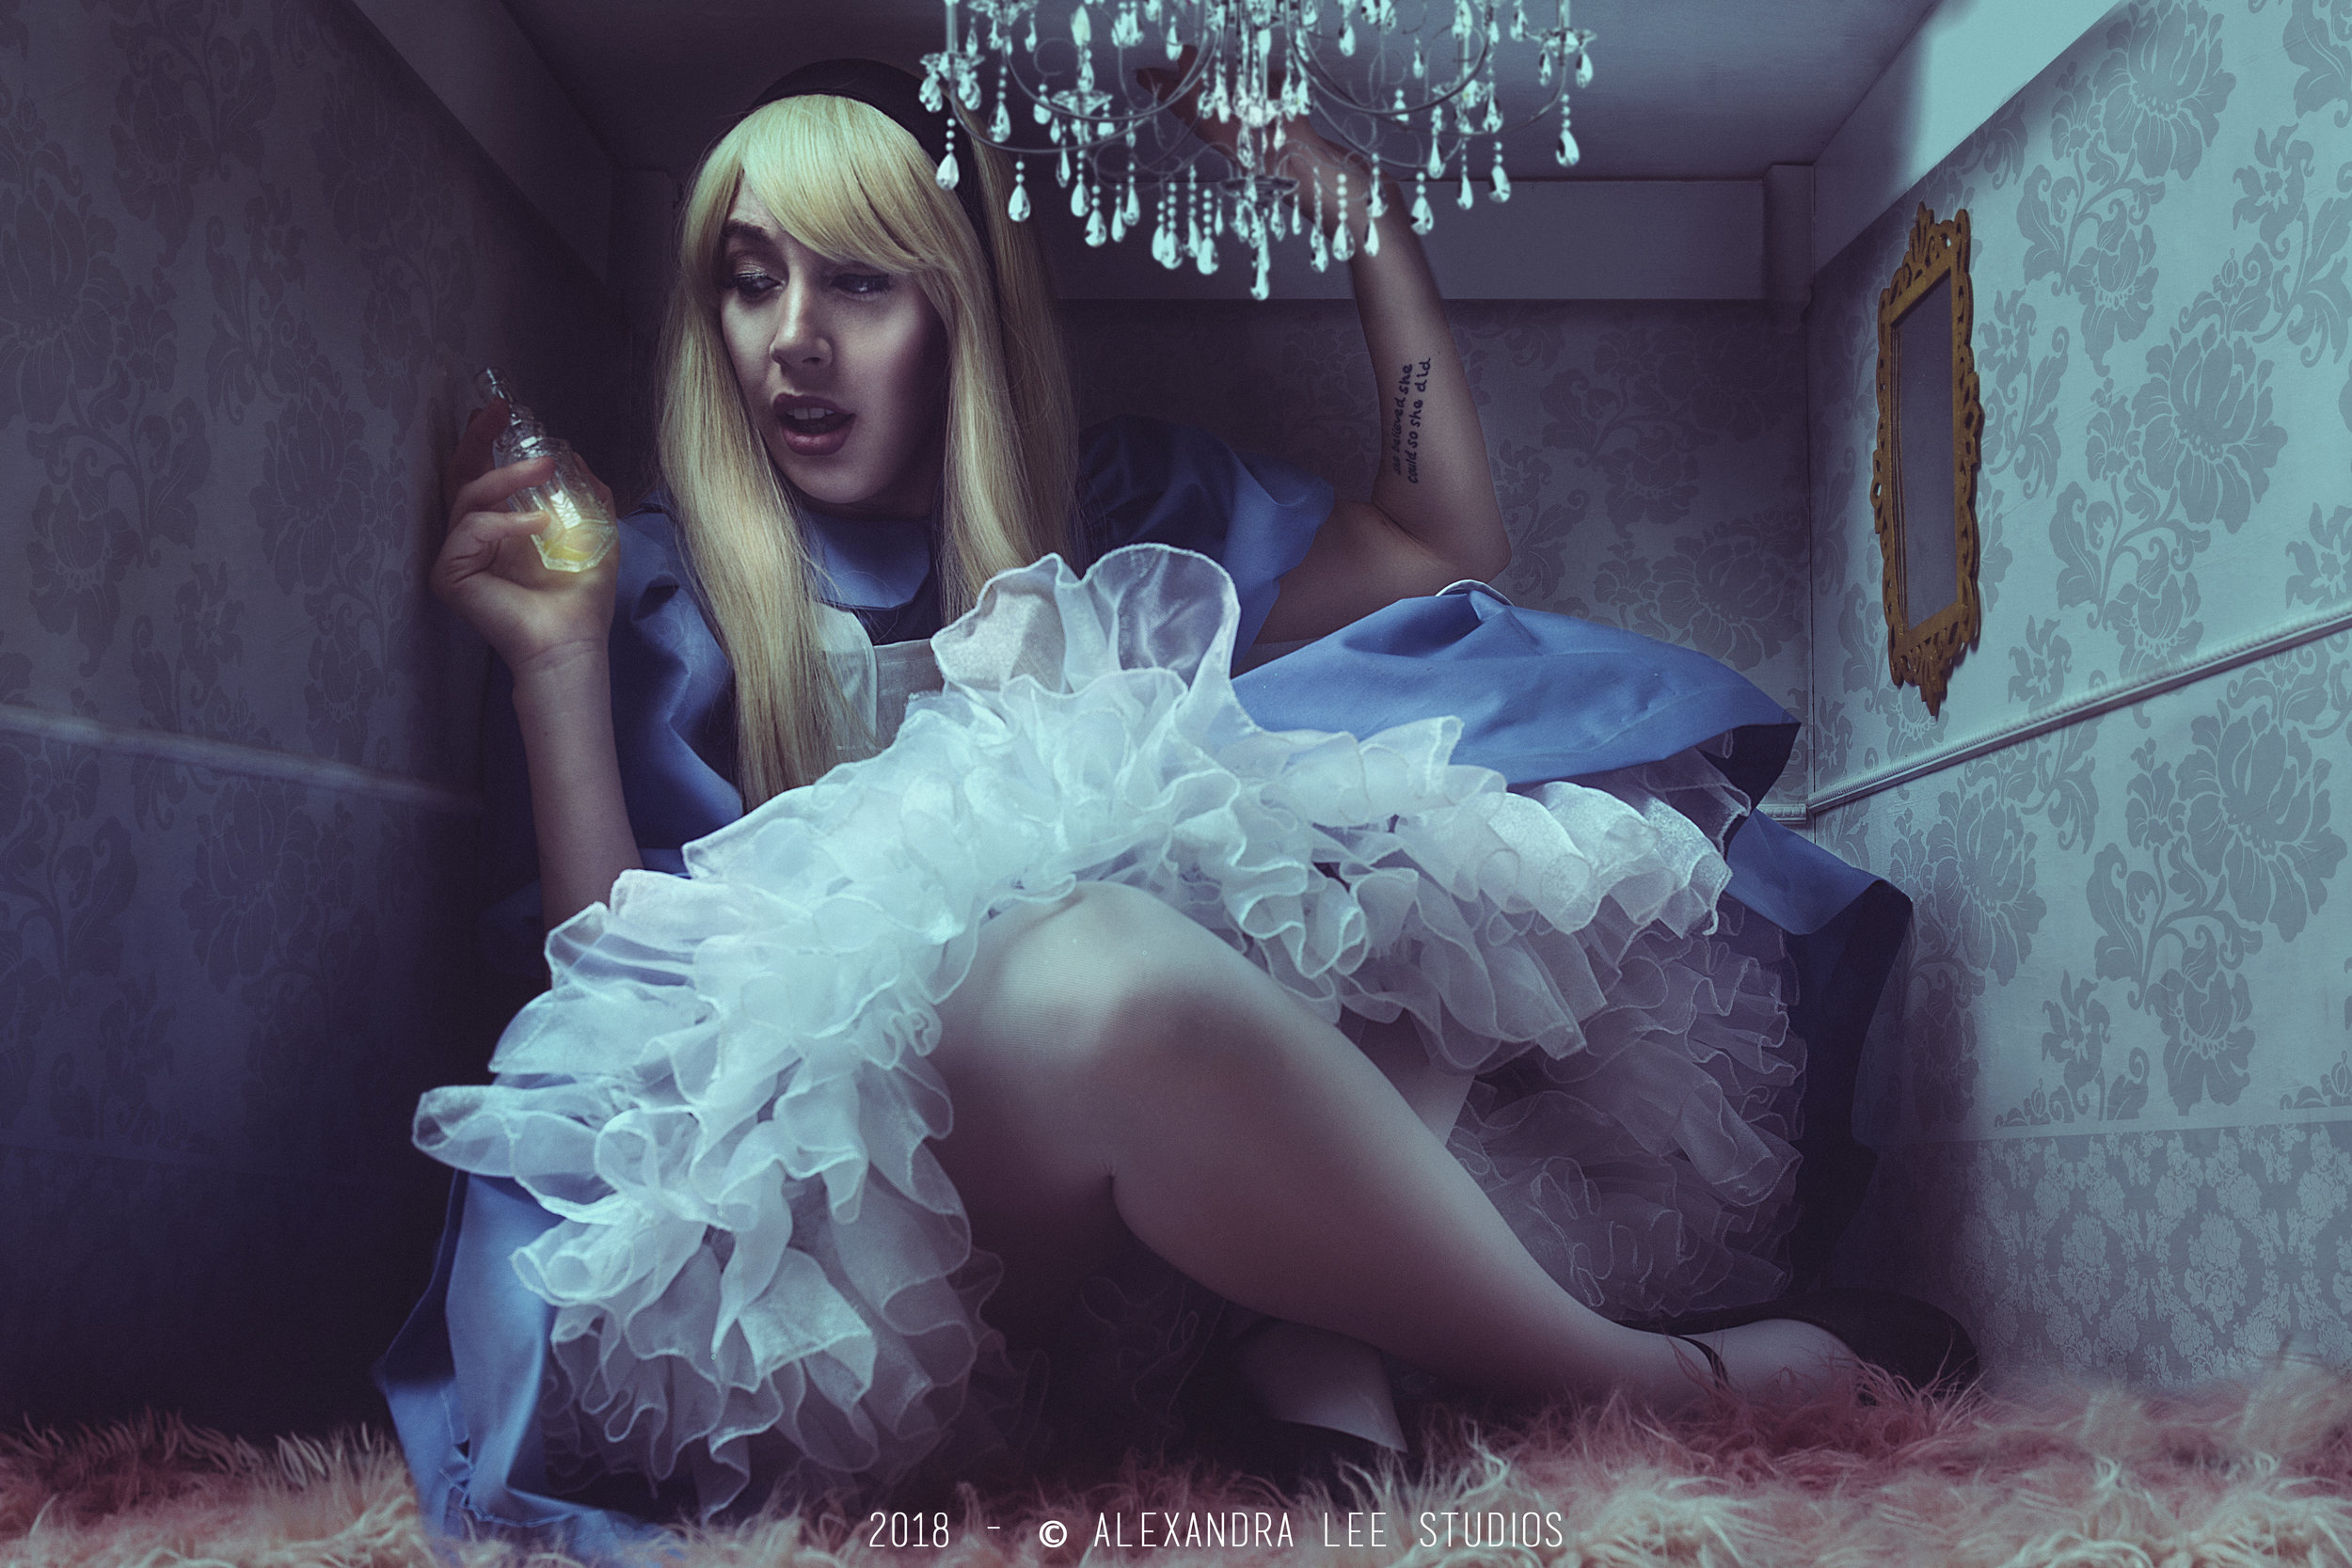
We slayed that goal and completed it in 19 Hours ending with this beautiful image by Alexandra Lee Studios.
I didn’t take as many photo’s during the process as I normally do and I cut many corners but let’s just dive right into making this costume.
To start I made a calf length petticoat that I covered in a video here. It was a four layer, three tier petticoat made out of a combination of tulle and organza.

The first thing I made was the headband. I made it out of black cotton, interfacing and black elastic. I used this blog and pattern on my Cricut Maker to cut the fabric and interfacing. I personally don’t like hard head bands because they give me a head ache but this one was soft and didn’t annoy me at all.
Also, since I had so many questions during the stream here is the link to the wig.

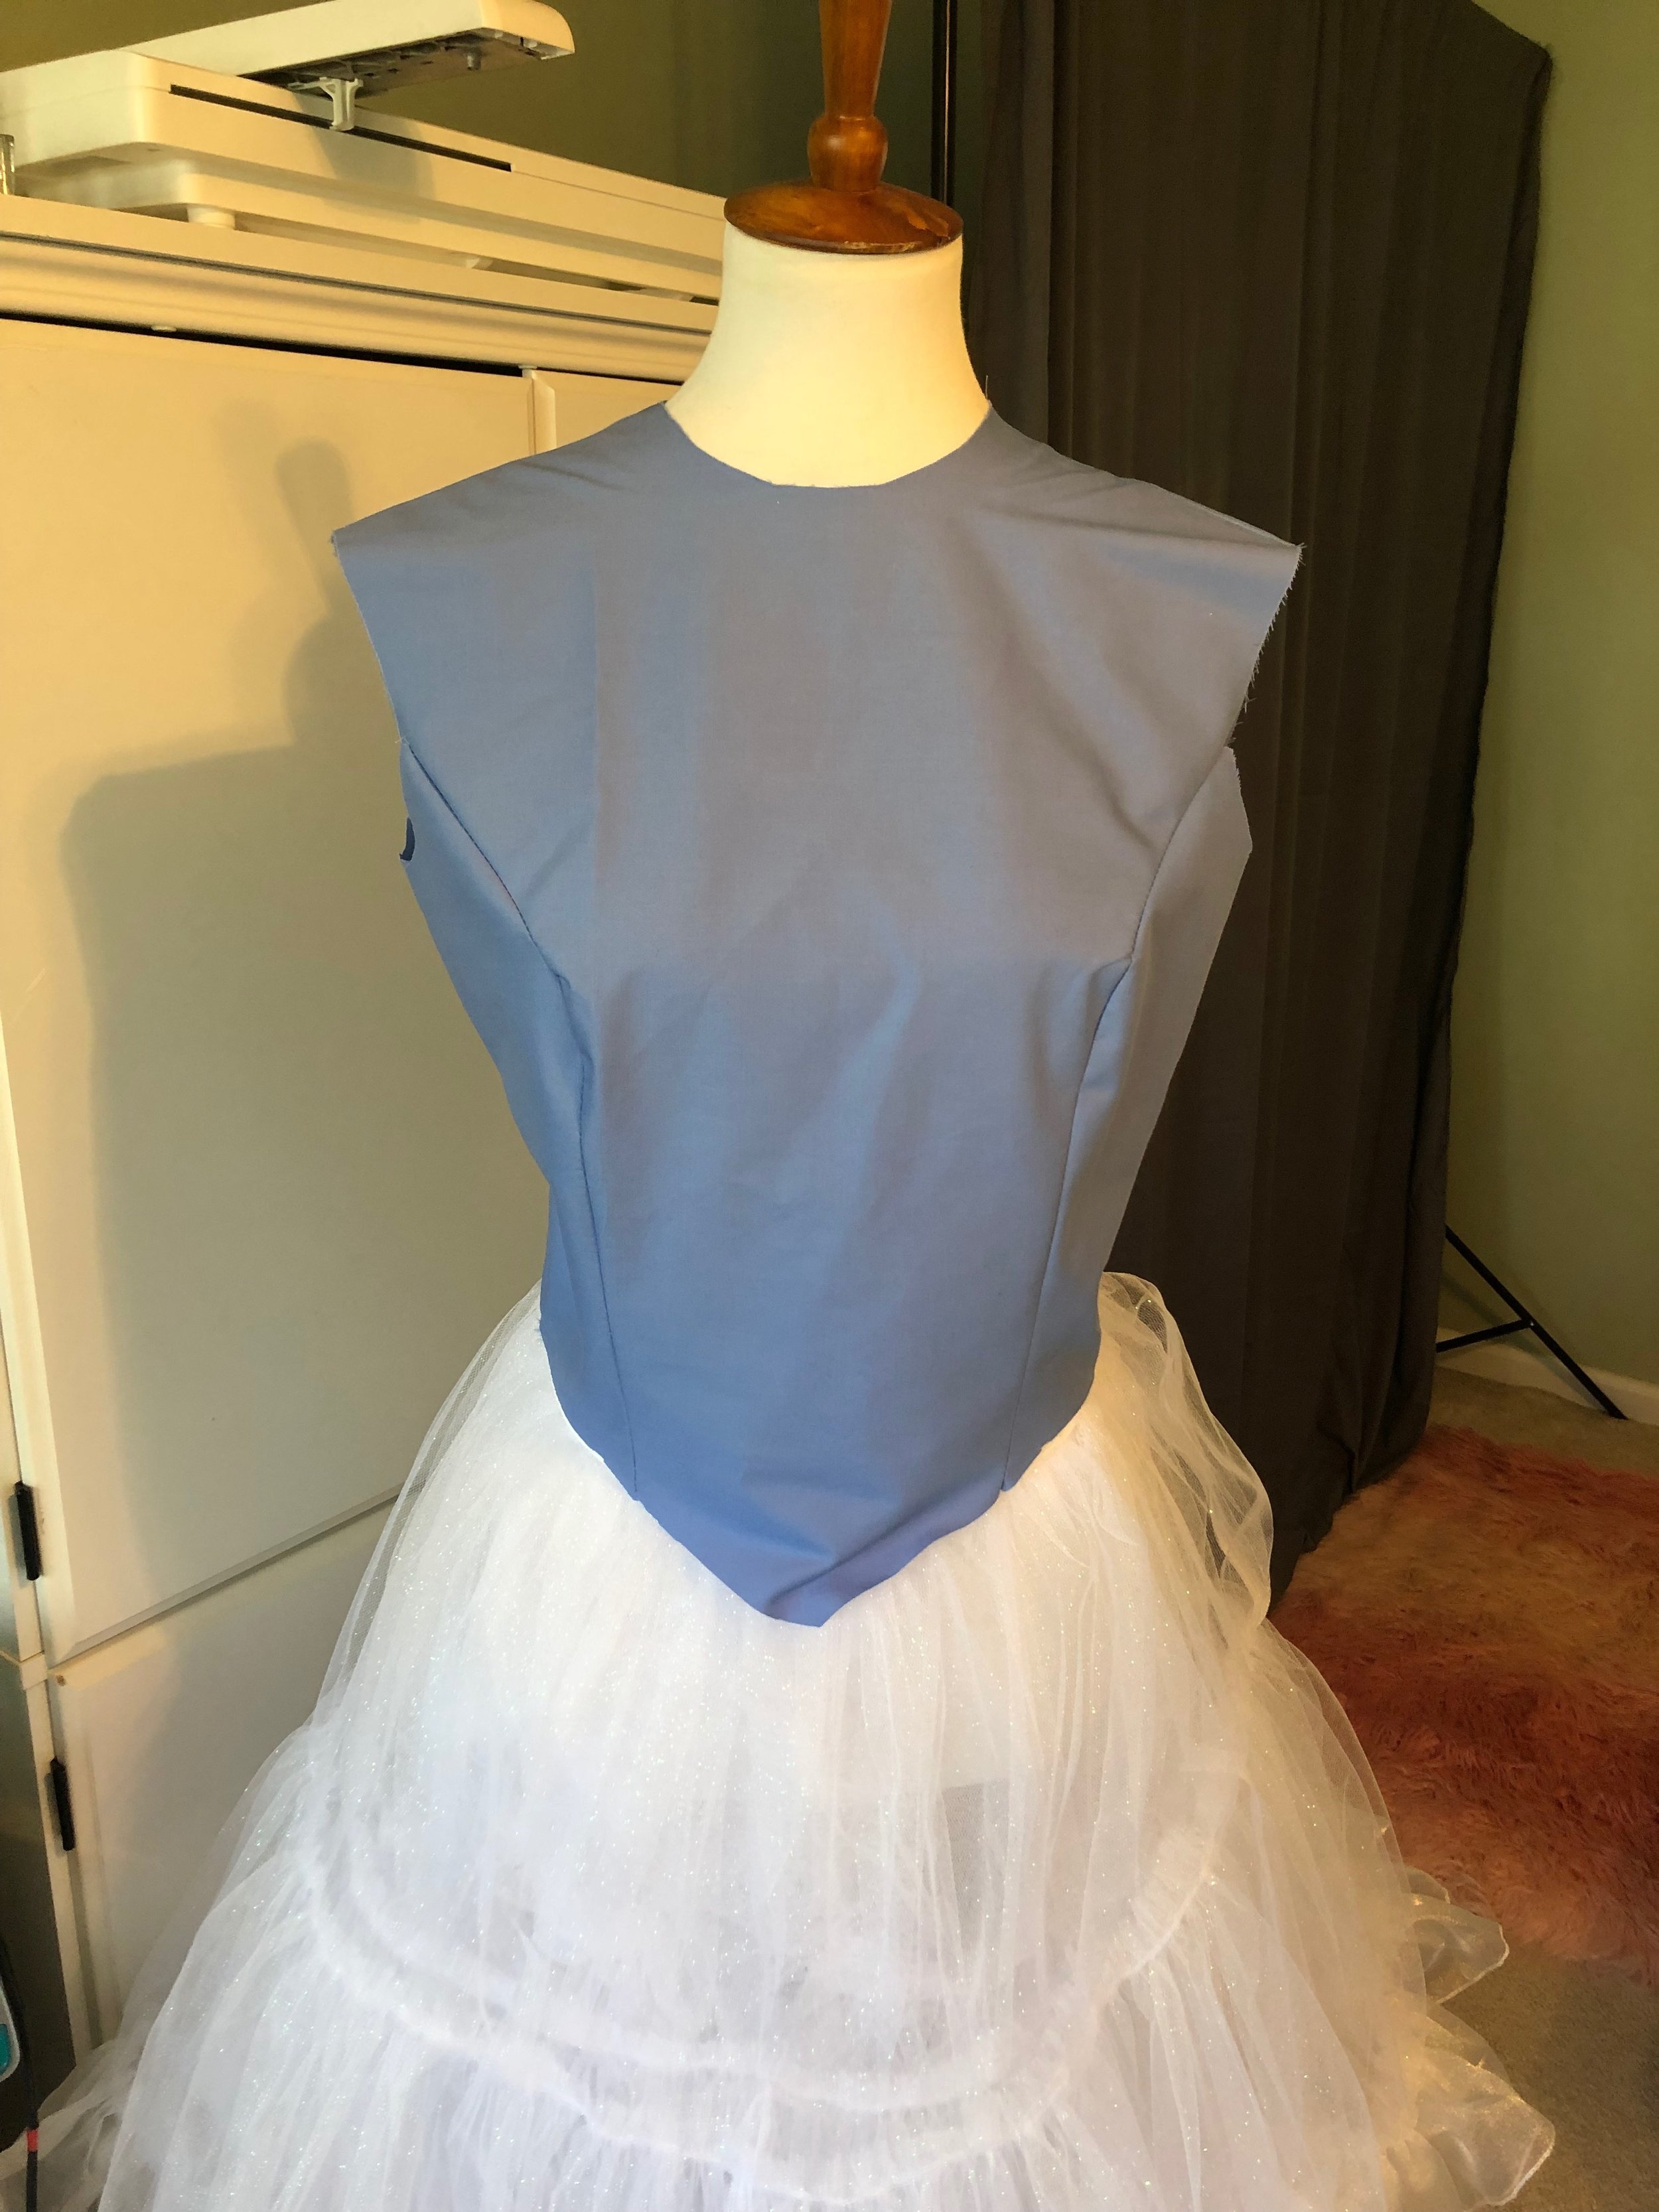
Now it’s time for the dress. I did this in basically two parts, the bodice with sleeves and collar which I used the pattern pictured below and a circle skirt.

Specifically I used the bodice and sleeves exactly like the pattern suggests and I modified the collar to look more like Alice’s but I also made a split collar so it was two separate pieces.
I made the bodice exactly like the pattern with the intention of over locking the seams but I ran out of white thread for my over lock machine and the black thread was noticeable through the fabric so I had to whip up a lining as well.
I made the lining exactly like the bodice and then set it aside to add the sleeves.
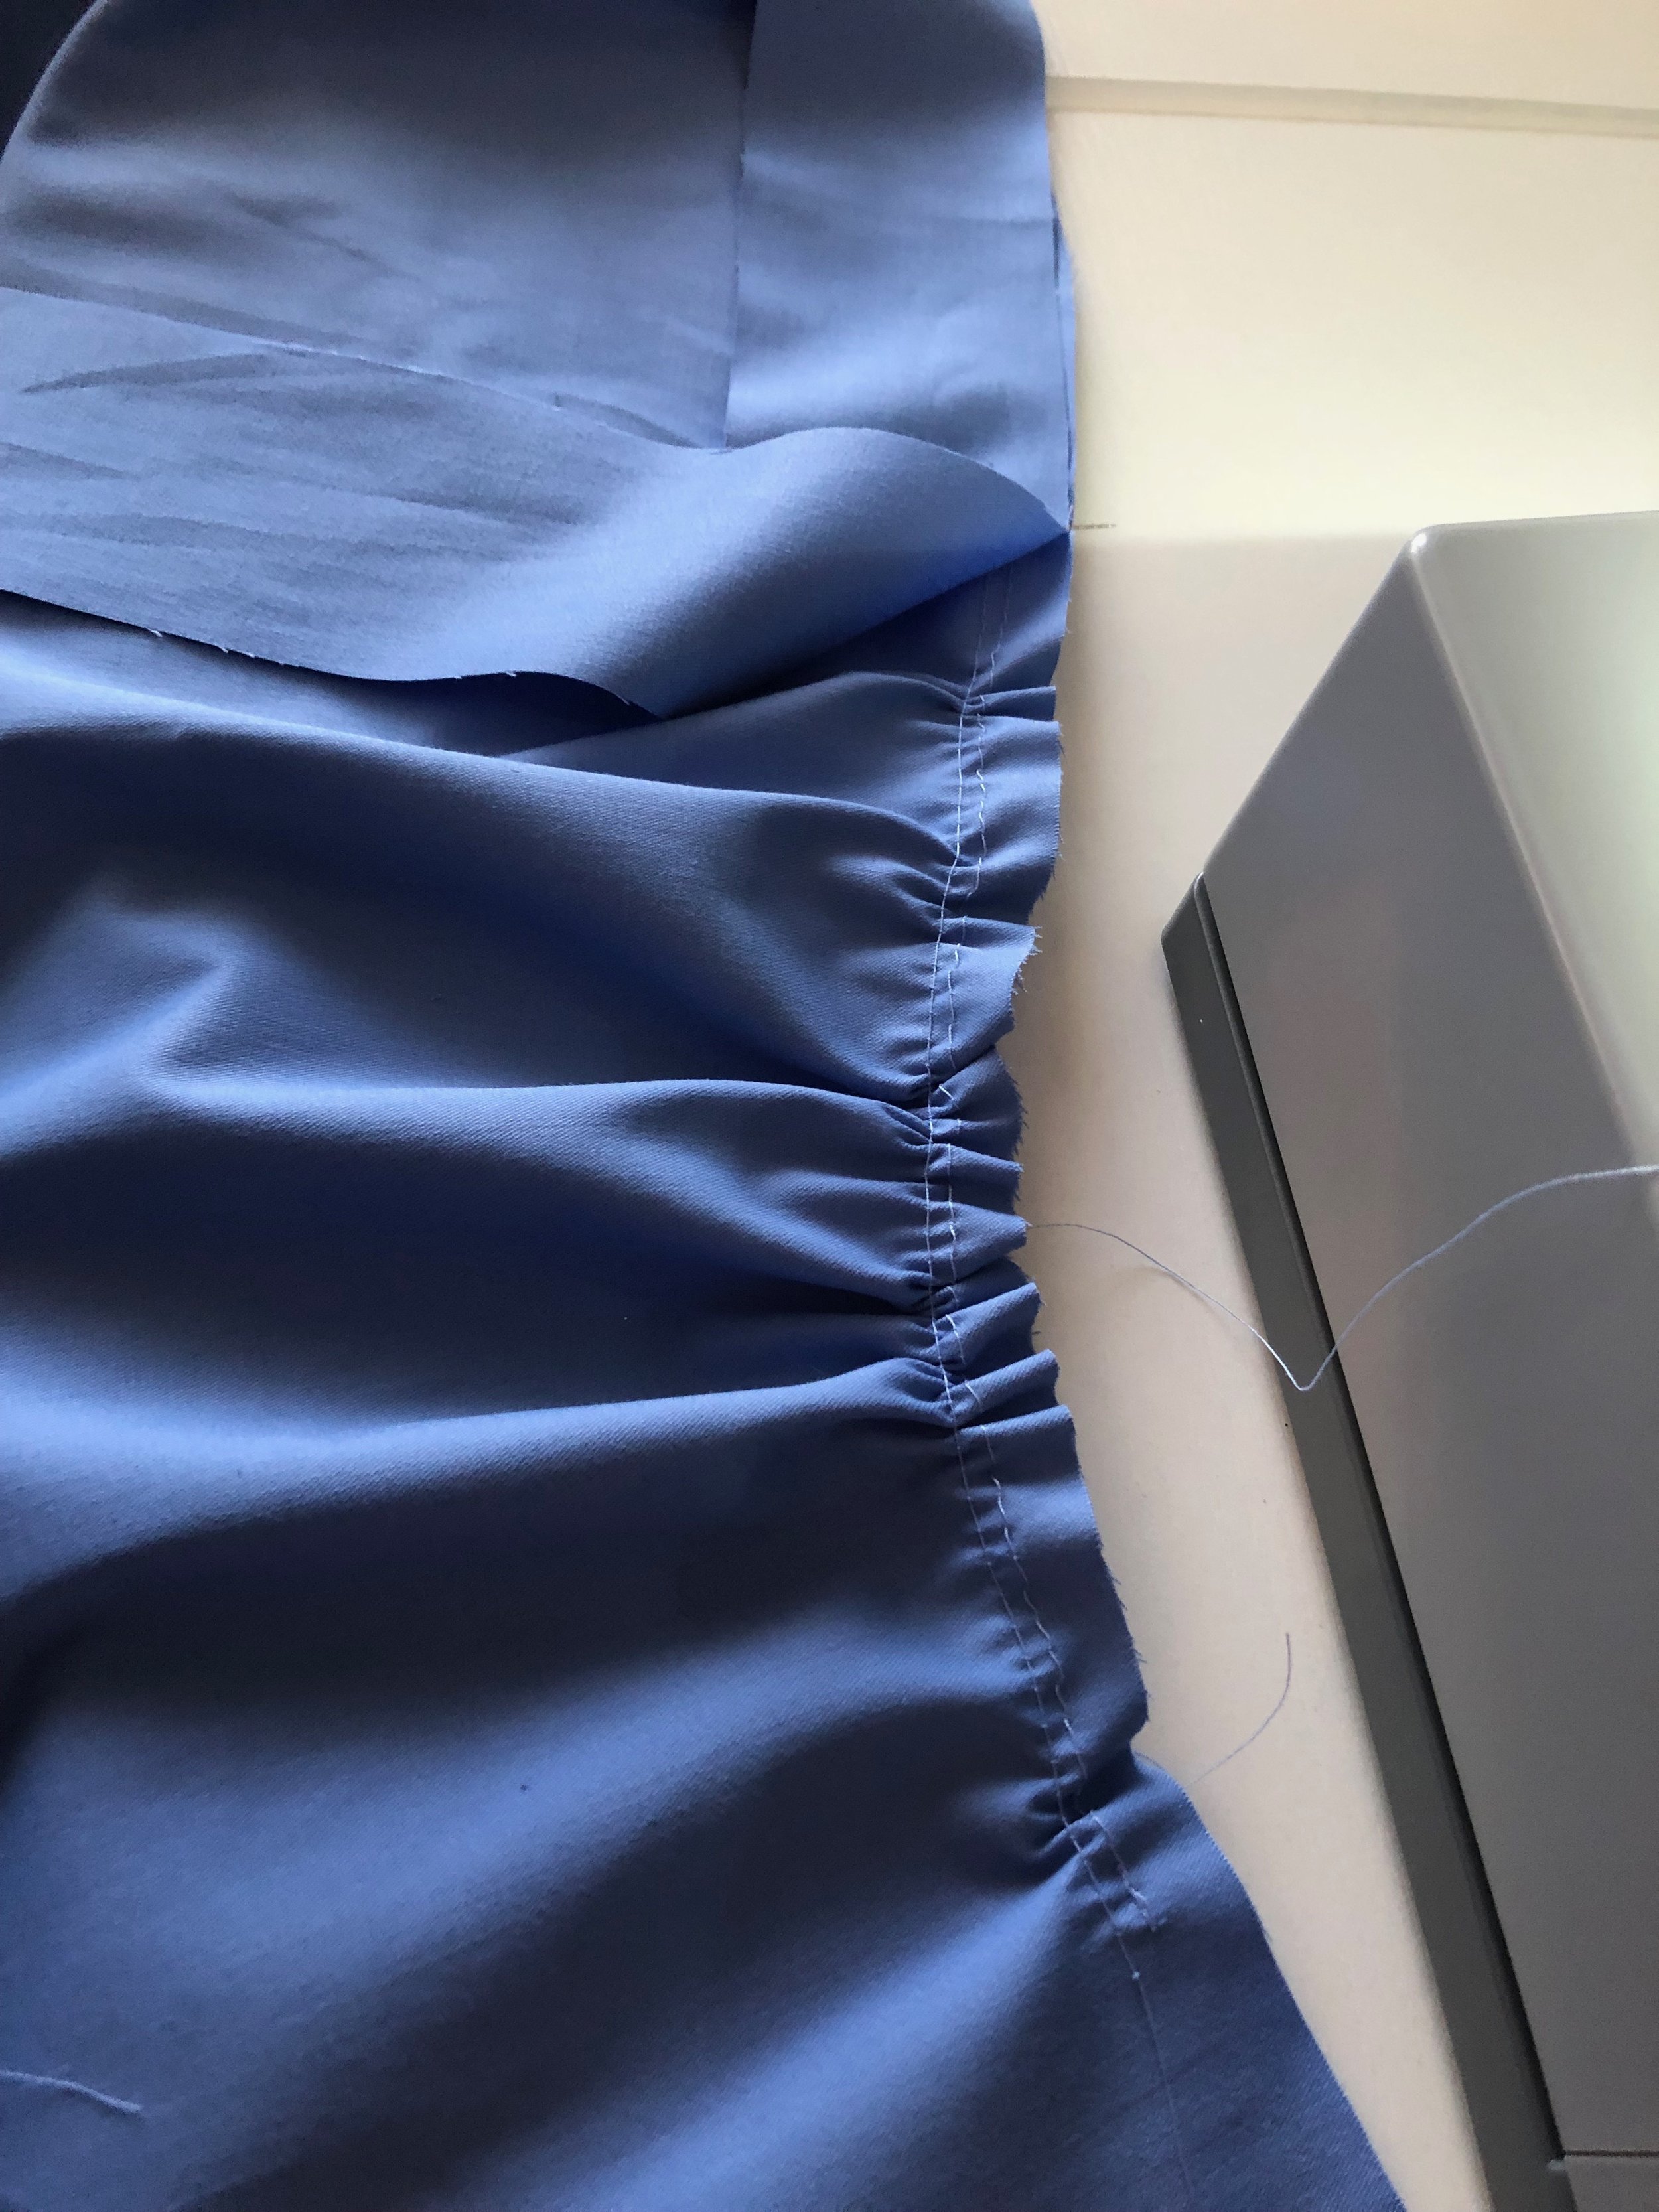
This required gathering the top and bottom of the sleeve and adding 5/8 inch elastic at the bottom of the sleeve to keep it fitted on my arm.

Next I made the collar. I used the inner curve of the “B” pattern collar to create the inner curve of my collar and then I just eye balled the outer edge of it and I thought it worked. Once the pattern piece was made I cut it out 4 times on my fabric and twice on my interfacing (my collar was two separate pieces). I attached it to the bodice and then I was ready to add my circle skirt.

Next, I added my circle skirt. I made this using my waist measurement and the length from my waist to the end of my petticoat plus 2.5 inches. I had to cut mine in two pieces halves and I really wanted to add pockets but it just didn’t happen since I thought we were running out of time.
I cut my fabric all the way to the salvage so I didn’t have to worry about the skirt being clean on the inside. For the hem, I marked 1/2 inch and 2 inches from the bottom of the skirt, then I ironed it and hand stitched it down. I probably should have used the bling hem stitch on my new sewing machine but I was on hour 13 and getting tired so I just hand stitched it.

From here I stitched the lining in at the neck and back through the zipper, flipped and pressed. From there I hand stitched the arms and bodice where the skirt attaches. Then I applied the zipper. It was supposed to be an invisible zipper but again we were close to 11pm and I still needed to make the apron so I said YOLO.
This is also where I stopped taking photos. So instead of going super into detail about the apron, I will just state the it was draped over the dress out of Quilters Cotton from Joann fabrics. I essentially made two trapezoids that I connected with a 4” by 60” strip of fabric with two 4” by 45” strips that tie at the top.
Now it was time to get into makeup and costume. Alex had spent this time making the chibi and the set as well as drawing all the amazing art for the White Board Wars.

Here’s a few BTS photo’s:


Finally, here’s the clip from when Alex did the before and after.
That’s a wrap on the 24 Hour Challenge.
The next blog will be a series on Stellagosa, I’m not sure if it will be a 3,4 or 5 part series for the costume but see ya in 2 weeks for the first blog on her which will be about sewing the sleeves, necklace, and bodice for her focusing on the detail stitches and what I did using my new Husqvana Viking Topaz 50 Sewing and Embroidery machine.
As always, if you live my content and want to support it further you can do so on ko-fi, patreon, or join me on Twitch Tues, Wed, and Thurs at 12pm EST.