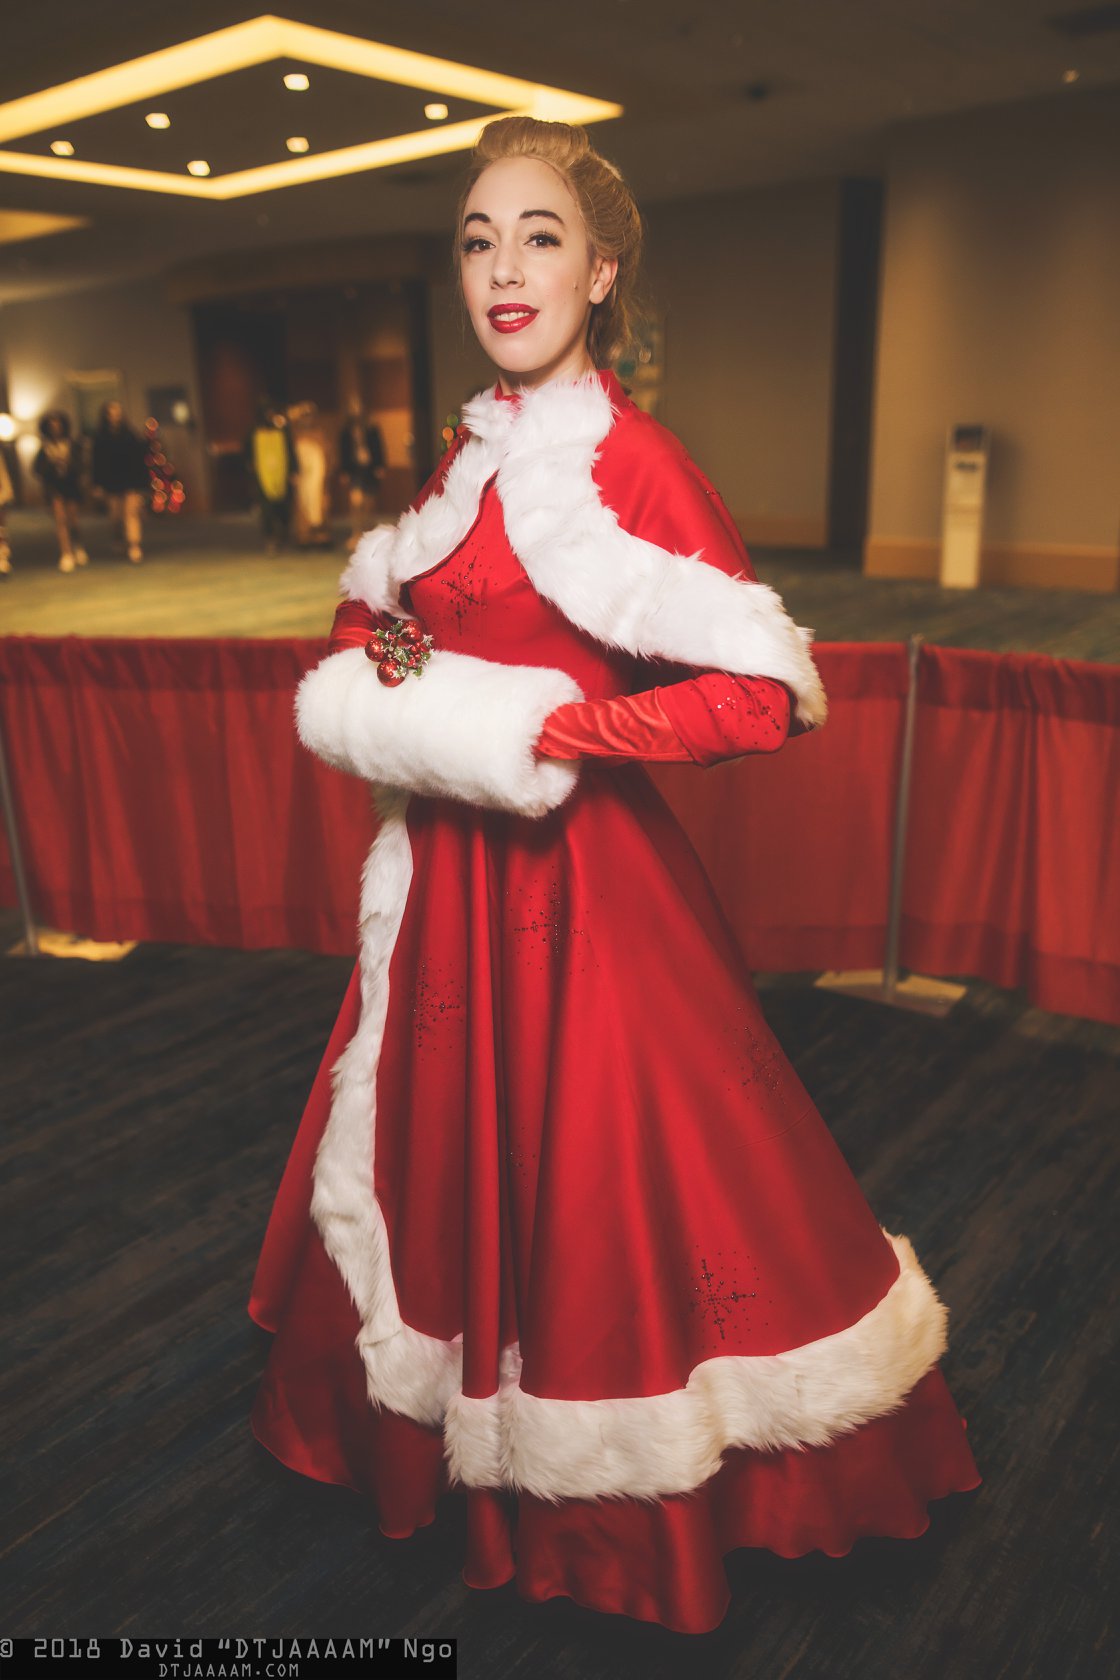
Welcome to part 3 and the final part of making my White Christmas Red Dress. In this blog I will go over how I made my full dress with the rhinestone details on it.
If you’re interested in learning how I made my petticoat you can find that here or how I made the skirt and cape-let with the fur trim you can read that here.
Full disclosure I did not drape the bodice pattern for this costume, that work was done by Sarah who was Betty to my Judy!
I started by making a mock-up with some of the scraps left over from the skirt and cape-let.
The mock-up fit literally like a glove so I made no adjustments to it and then went ahead to cut it out and make it again but this time with lining and sleeves.
I didn’t take any pictures of this process but essentially I sewed the darts in first, then the panels together, then added the sleeves and actually over locked those at the seam in order to keep them clean.
Next I whipped up a quick collar for the neck to make it a turtle neck, I interfaced it and once again serged the edges to keep it clean.
For the skirt addition, I just cut out a second circle skirt but 6” shorter and draped it over my current skirt. From there I marked with pins where I wanted to cut the slit and I actually cut it too high for the fur but I just hid that with the fur application. It wasn’t the cleanest way to do it but it worked. Then I over locked the hem to prepare it for the fur.
For the fur addition I used the exact same technique described in part two, because I hand stitched the fur down it took about 6 hours to apply but looked lovely once it was done.
Finally it was time to apply the invisible zipper. This was my first time ever attempting to do an invisible zipper and I wont lie it was way easier than I had ever imaged. I don’t own an invisible zipper foot but I’m considering buying one for the future.
As per usual I over locked my seam before adding the zipper to “keep it clean”. I’m not going to go over step by step how to add an invisible zipper but I’m willing to make a video tutorial if that’s something people want from me in the future. So above is sewing the first side.
Below is sewing the second side.
It was so easy and look how good it turned out.
Alright now the sewing was complete! It’s time for rhinestones!
Sarah created a template for us to go off of and a general idea of where the placement should have been.
We used the hot fix tool and 3mm/10ss and 5mm/20ss to make the snowflake design on the dresses. Hot fix is not my favorite method to apply rhinestones but it definitely is a great way to apply stones! I’ll actually be writing an entire blog after this about my favorite choices of rhinestones and techniques so if you like this blog then stay tuned.
I applied the stones all over the dress, cape-let and ever on the bodice and sleeves and we were good to go. The red stones were very tricky to see on the red fabric but I knew they were there and that’s all that really matters.
That was it, the dress was done and I was ready to for epic amounts of twirling.
Thank you all for reading my blog.
I’ll be posting blogs every first and third Friday of the month so stay tuned!


