
Welcome to part 2 of my White Christmas, Red Dress blog. This blog will cover how I made my underskirt, cape-let and how I applied that pesky fur trim.
If you’re interested in learning how I made my petticoat you could read part one of my blog here.
Let’s get started on the circle skirt. To start off I bought a matte satin at an extra wide width of 110” in order to make my circle skirt in one cut of fabric. If you are interested in having seams you can do this in quarters and halves with other fabric. I recommend adding pockets into those seams if you do go that route, because POCKETS!
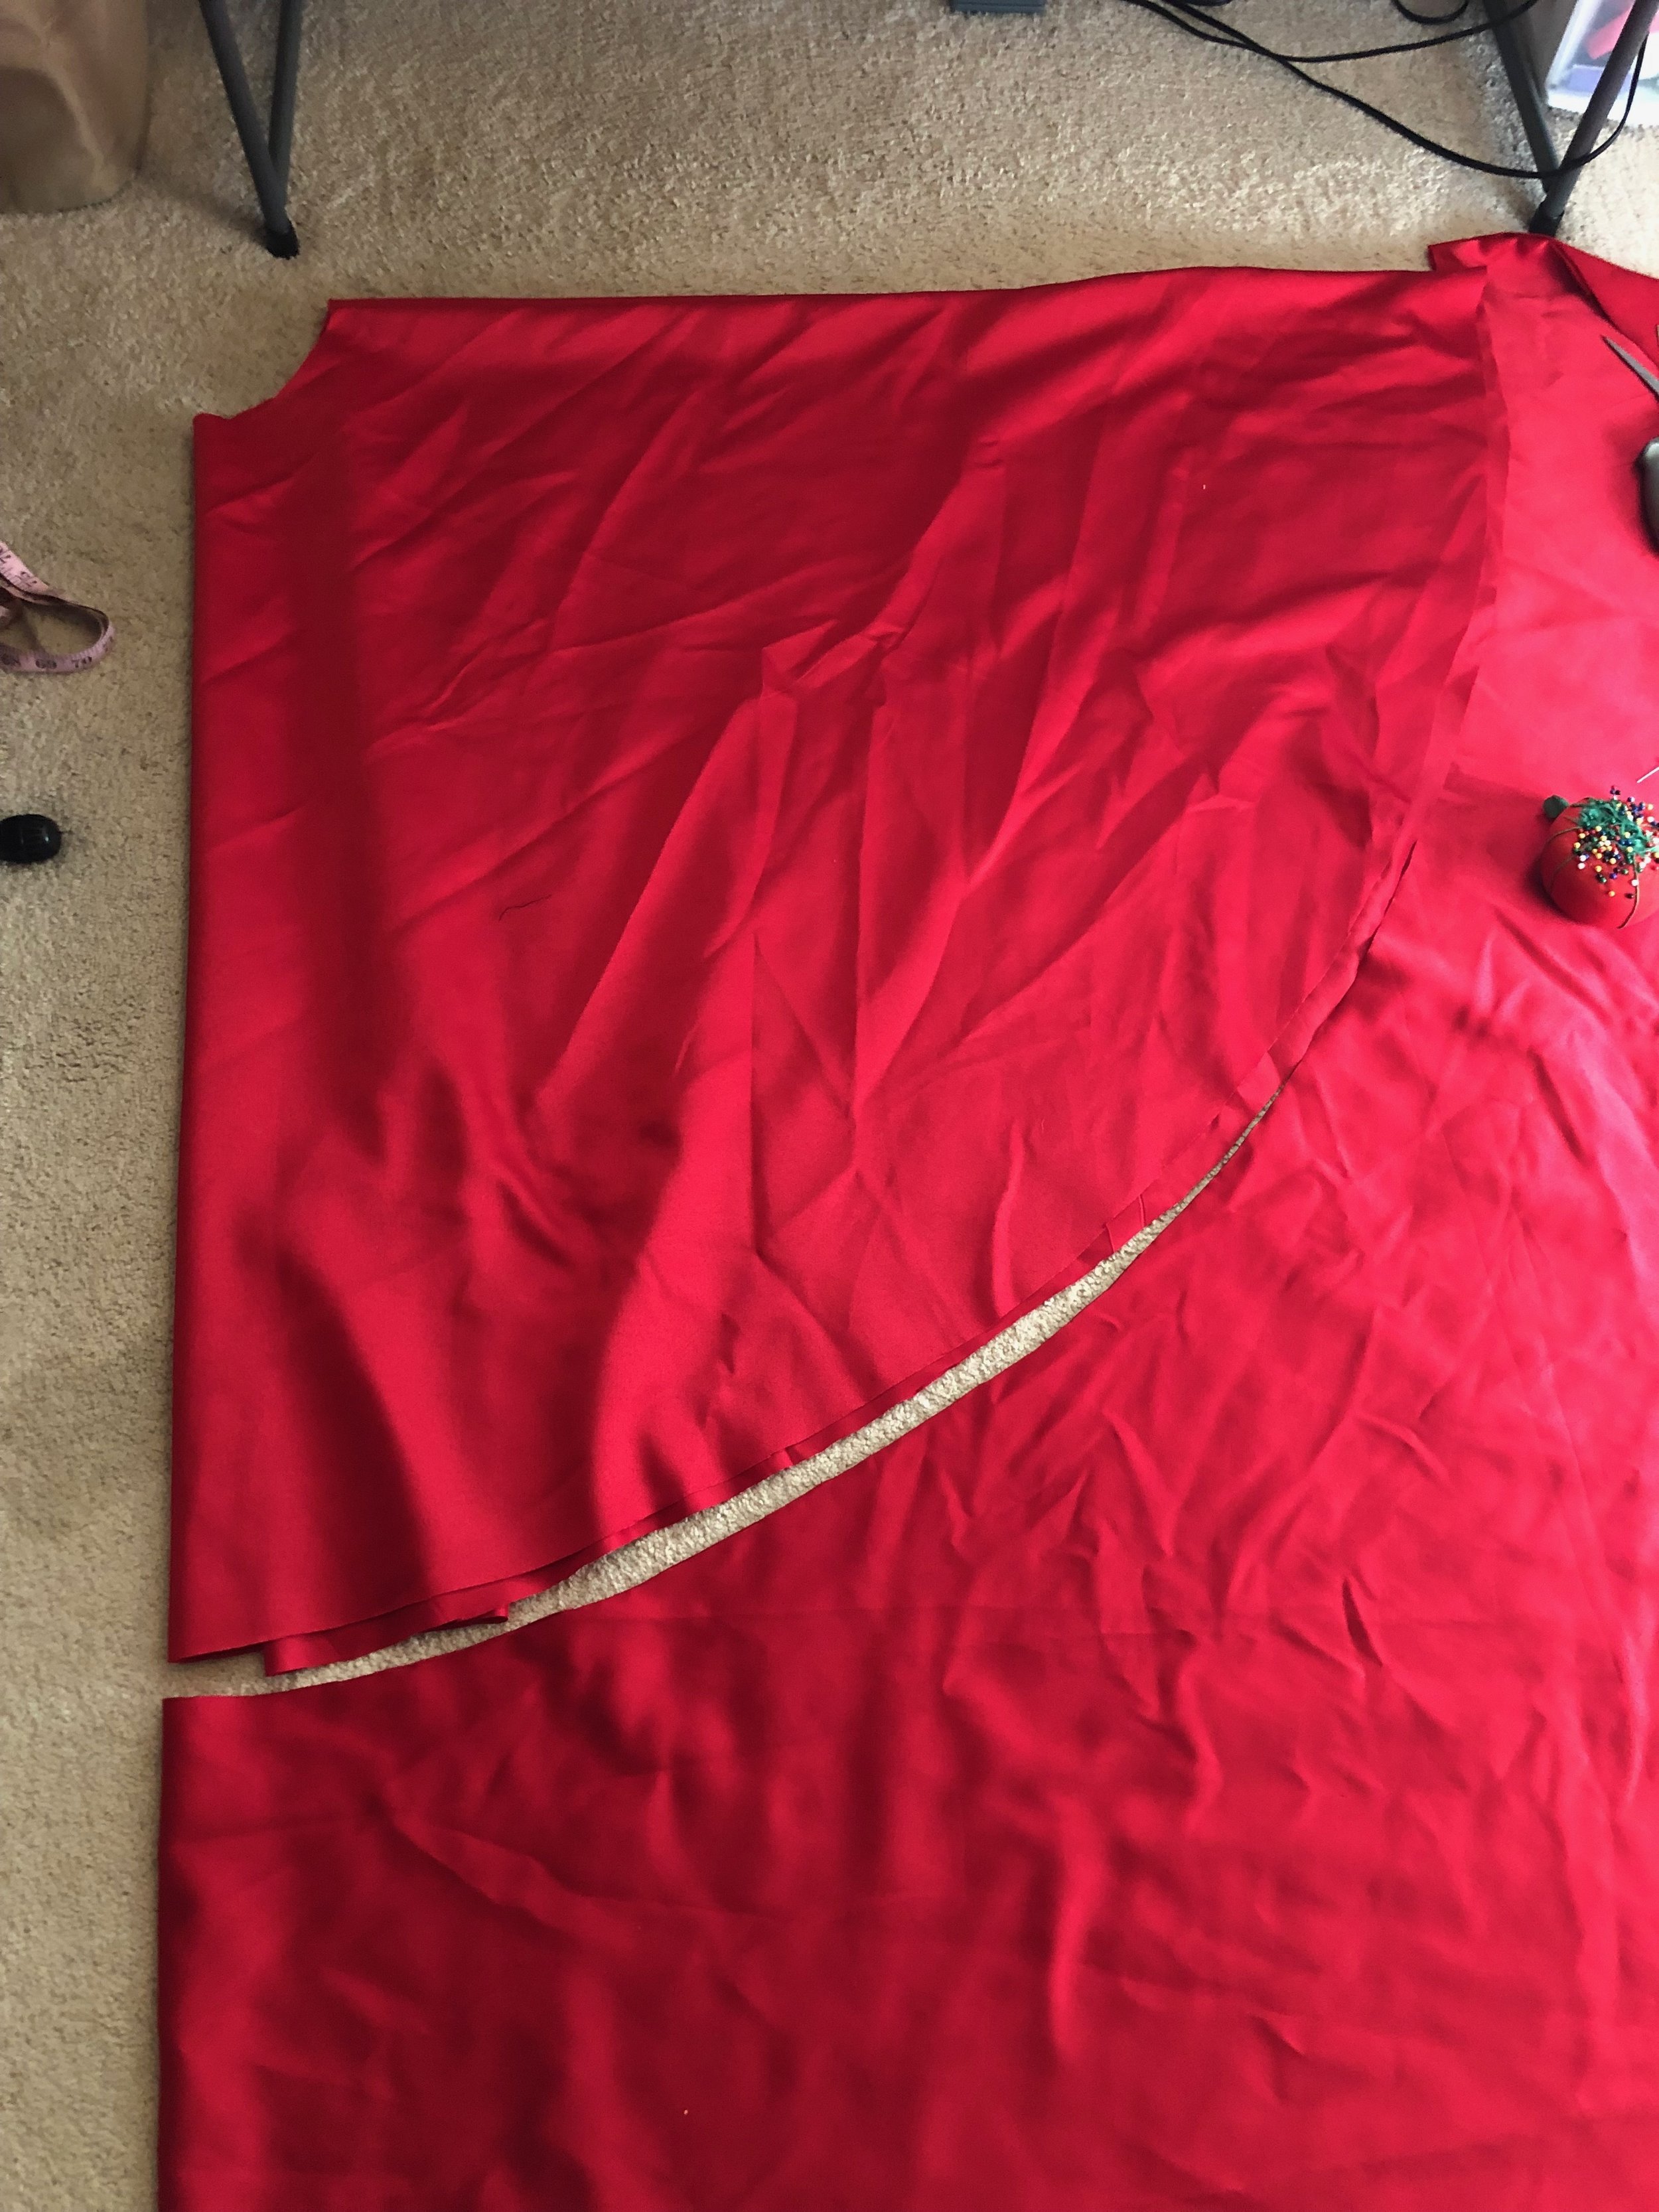
Circle skirts are fairly easy for me personally, there’s also a couple really good circle skirt calculators out there. Here’s the two I use from By Hand London and Mood Fabric. I used the one from Mood for this skirt but both work equally well. So with my 27” waist I had a 4” radius with a 44” radius at full length. I cut my skirt on a double fold to make things easier for me.
From there, I picked a space to be the back slit, and cut down 8” then over locked the edge. This is where the skirt will open and close to get on. I chose the back because with the dress over it the slit wont be seen.
Next I made a waistband and for probably the first and last time I actually have photos of making it!
So, for the waist band I cut a 29” by 5” strip of red satin. I interfaced the satin and pressed in all the edges by half an inch.

Folded the band in half and pressed as well. Then sewed it onto the waist part of the circle skirt, lining up the edge with the slit in the back.
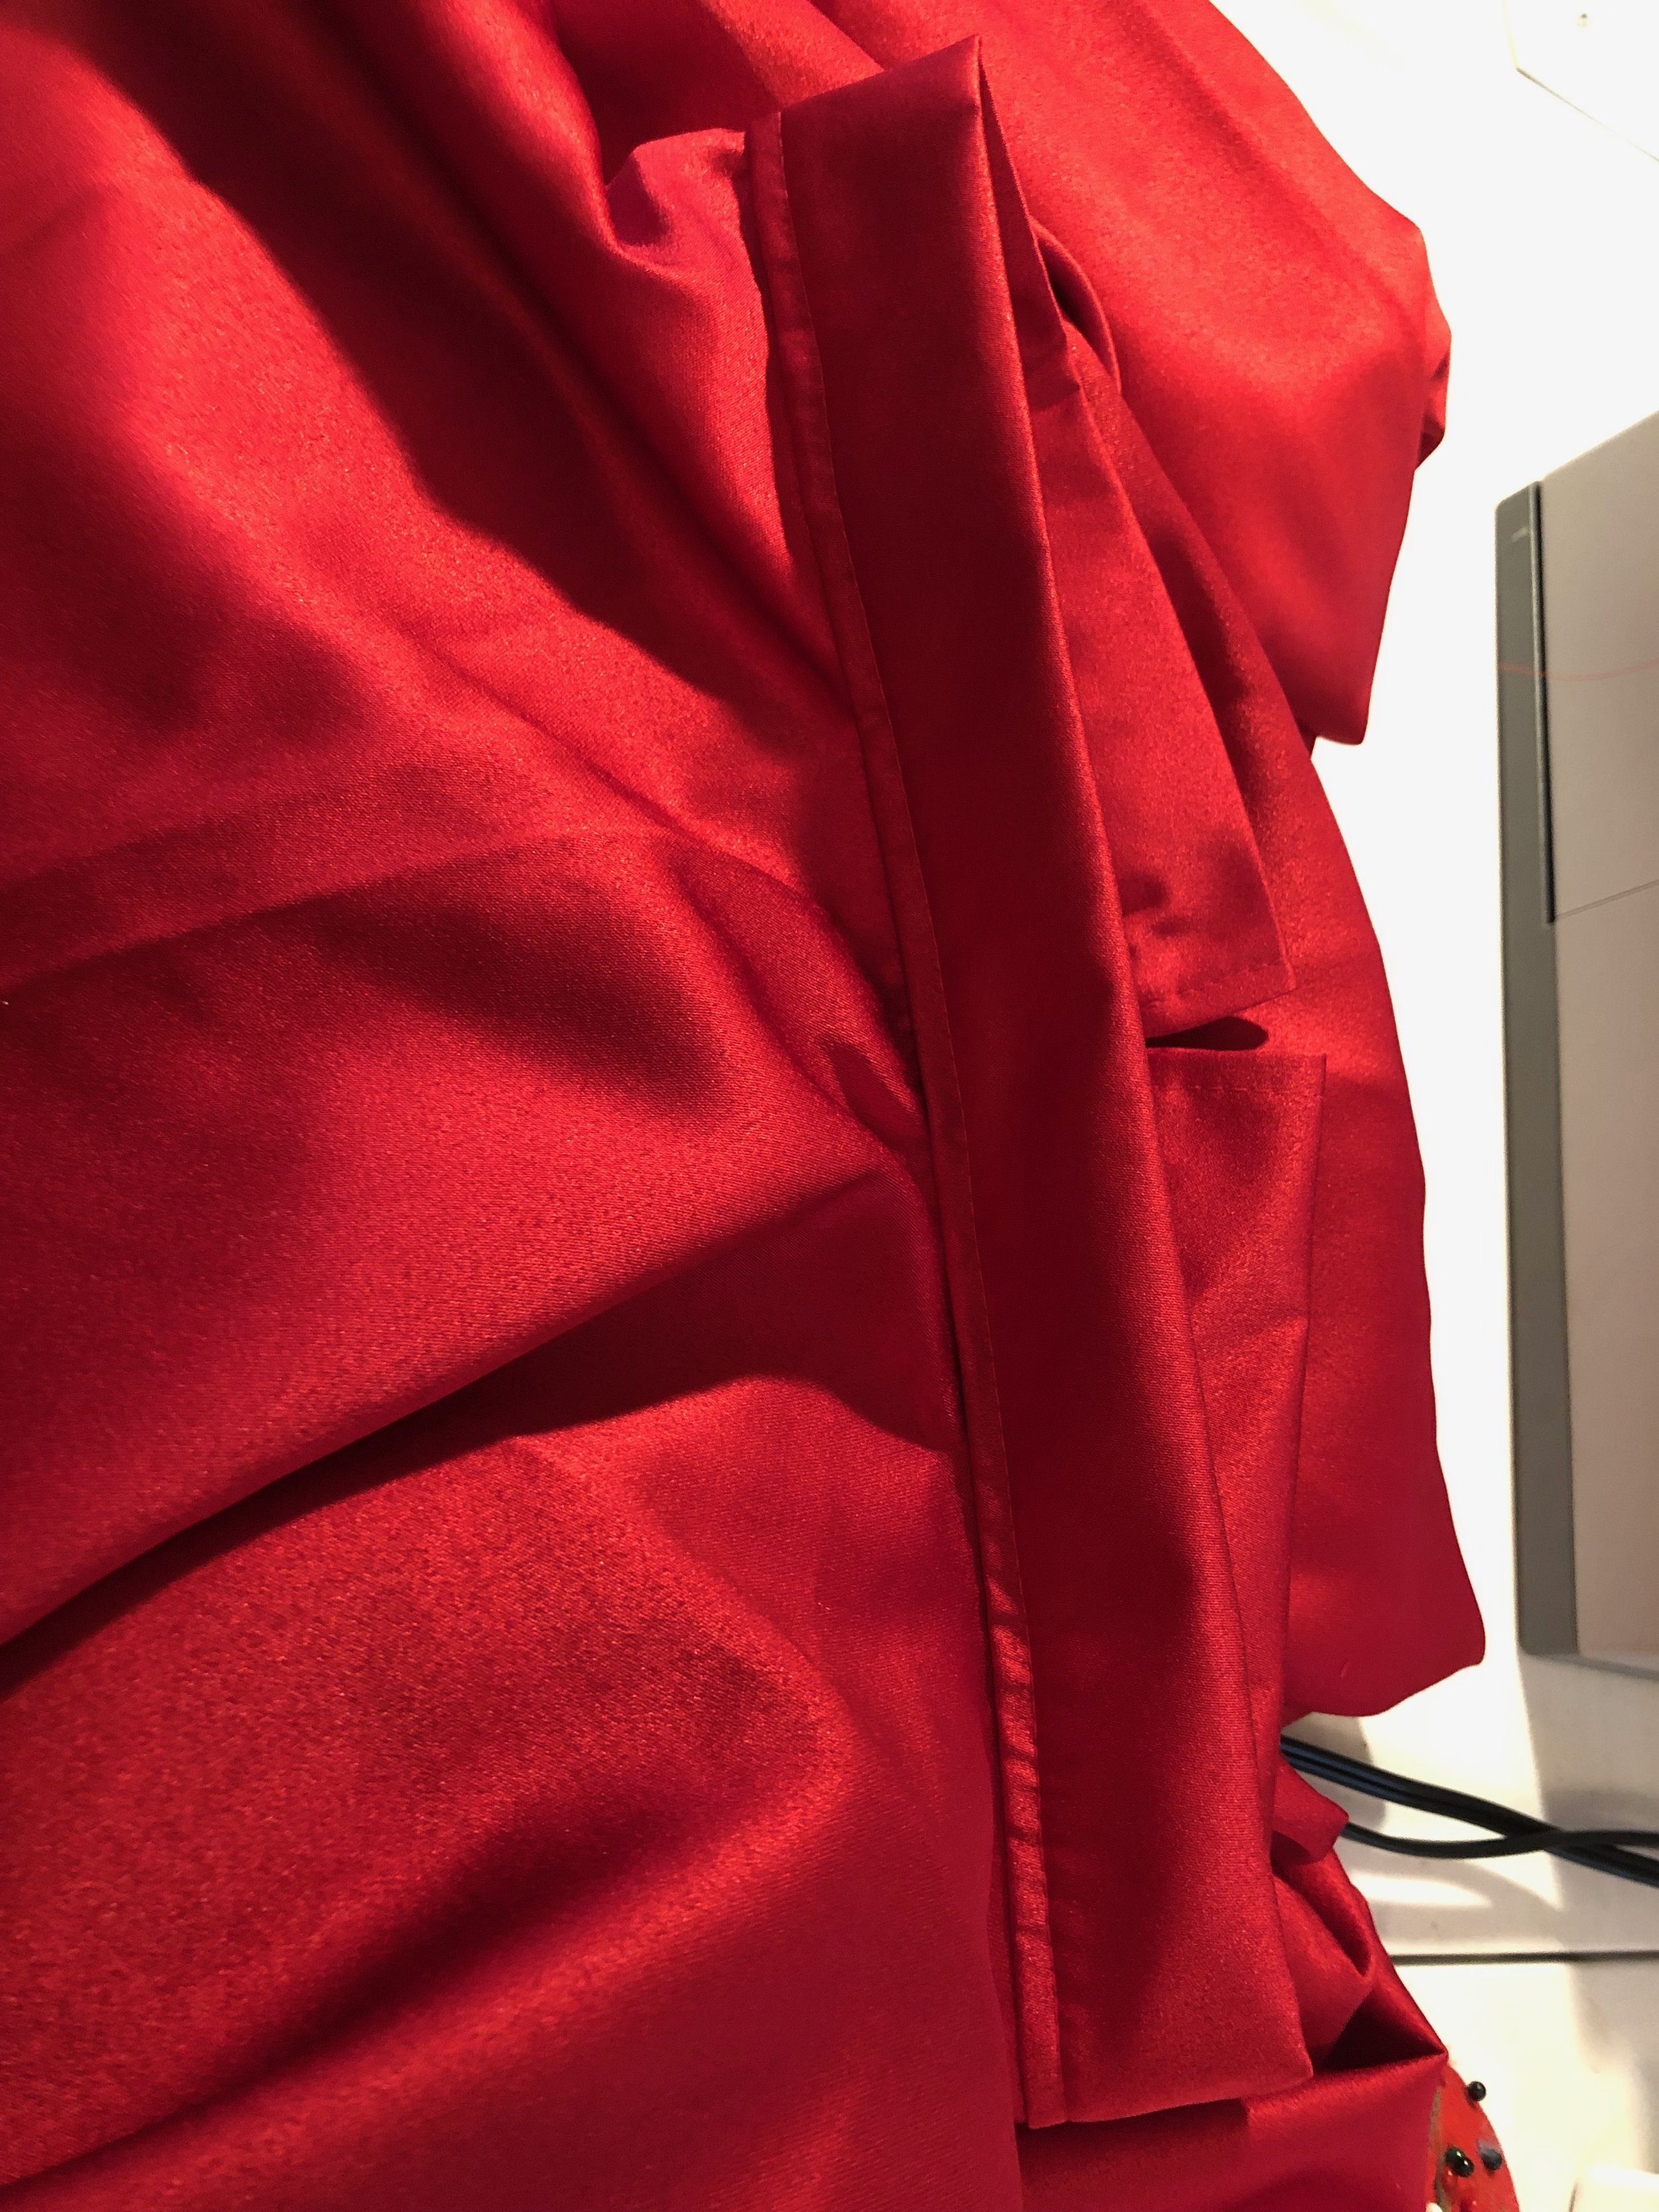
Finally for the hem, I just did a rolled hem on my over lock machine and called it a day.

With the addition of two hooks in the back this skirt was ready to go over my petticoat.

And with the approval from Eva we were ready to start the cape-let!

Unfortunately I did not get very many photos of me cutting out the cape-let, but I used the same circle skirt method for this garment, instead of a circle skirt calculator I just used math and the pie formula. I found the radius of my neck, then cut out a circle that length of my neck to my elbow. From there I actually draped the neck circle onto my dress form in half to mark and pin how I wanted that front curve to look. It was a lot of just looking at my reference and guessing what it should be like.
Next I made a neck band inside the cape-let, I took the top of the neck circle, traced the curve onto a piece of satin, then measured 5” from that curve to make a second curve. Cut and repeat on interfacing.

Then I adhered the interfacing, over locked the edges and with right sides together I sewed the band to the cape-let.

I rolled the bottom hem of the cape-let to make a nice and clean edge for when I add the fur trim.

Finally I flipped the neck band inside, top stitched it and was ready for fur trim hell.

I chose to buy a 4” fur trim instead of making trim out of fabric and I am so glad I did. This costume took about 10 yards of this fur trim. I started by pinning the fur trim to the bottom of the cape-let. Then I noticed some major bumps in the top of my fur trim so I created a technique I call “nip and tuck”. I honestly don’t know if there is a technical term for this so just go with it I guess.
So how it worked was when I found a bubble like so:

I “nip” the peak of the bubble about half an inch to an inch in.

Then “tuck” one side under the other with the hair/fur covering the seam:

Rinse and repeat the entire top of the trim.

I chose to hand stitch the fur down which took me a little over 8 hours with the cape-let and skirt.
But there you have it, the finished cape-let.

There you have it, how I made my skirt and cape-let for my White Christmas Red Dress. The final part of this blog will be about the full length dress and rhinestone decoration.
I’ll be posting blogs every first and third Friday of the month so stay tuned.